Step one: Slap some paint in the approximately correct colors in the approximately correct shapes and sizes on a 6×6 canvas: Outline, background, interior parts.
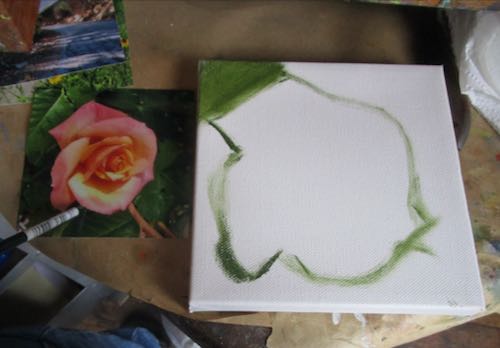

Step two: Detail the background but not too carefully because the rose is the star here. Just hint around at leafy shapes, using darks and darkers to suggest lots of greens.
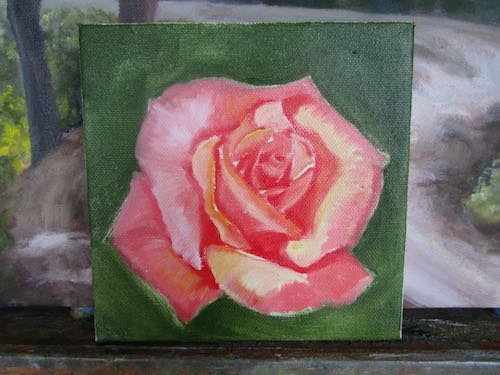
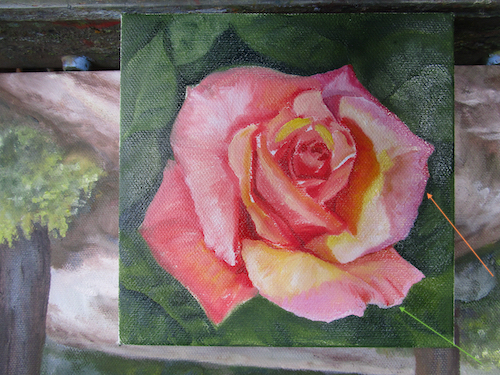
Step three: Start on the rose, putting in the darkest areas of shadow that helps to shape the petals. (Pay no attention to the painting behind it on the easel, because I am not . . . I’m doing some productive procrastination here. )
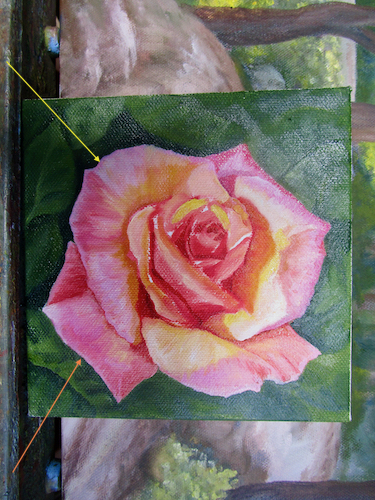
Step four: work from the outermost petals inward. (Why? Because I am the boss of my painting and this makes sense to me.) You can see that I rotated the 6″ canvas so that I could visually follow the tip of my brush. This is called “drawing”; it’s how I paint details. The arrows show you the petals I worked on (so does the glare of wet paint) working from the outermost petals inward. (Why? Because I am the boss of my painting.)
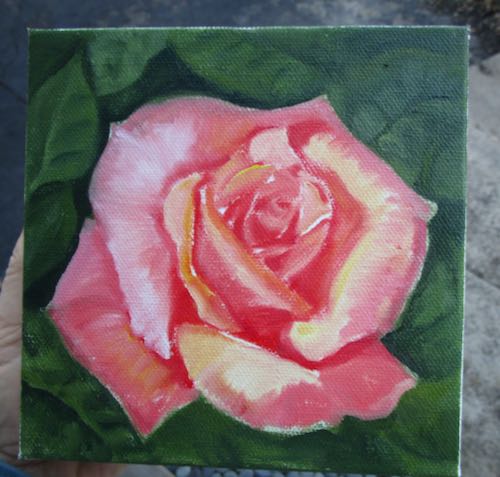
Step five: Paint more petals, continuing from the outside toward the center.
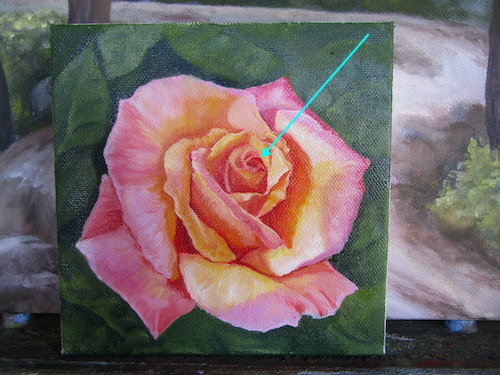
Step six: work on the center with a tiny brush.
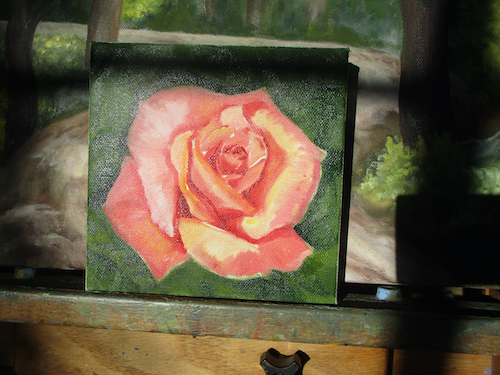
Step seven: touch up the lighter parts for more of a glow, and sign it.
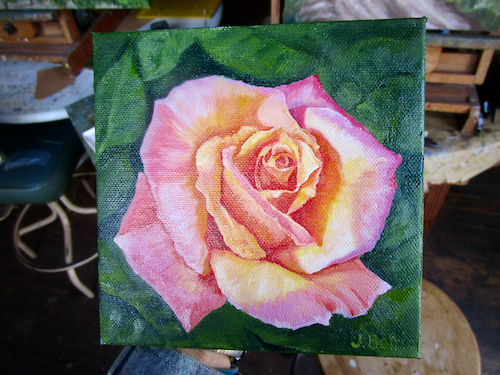
There are more steps: let it dry, scan it, spray varnish so the shiny parts (with extra walnut oil to make the paint obey me) won’t stand out, give it a title.
7 Comments
Do you see that very first picture in Step 1? That’s as far as I would get.
However, I can transpose an orchestration from the key of E-flat to A-sharp at the drop of a hat, so there!
Sharon, I could lead you through the steps to paint a rose.
Even a Rose of Sharon? (Which looks more like a hibiscus, but I digress. . . .)
The Creator’s Delight.
Sandy, thank you for that very apt description!
I love the step by step. It really the rose really pops
Thank you, Wendy! Sometimes I wonder if I am getting too “granular” in describing and showing the steps. I’m glad to know you enjoyed seeing the process.
Comments are closed for this article!