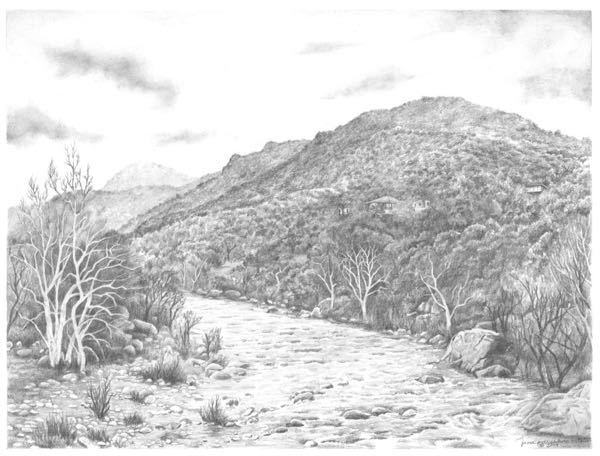
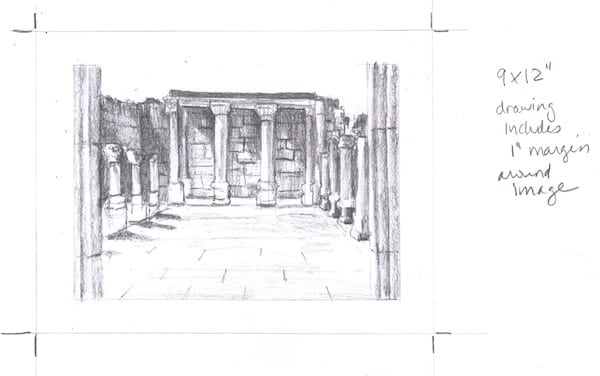
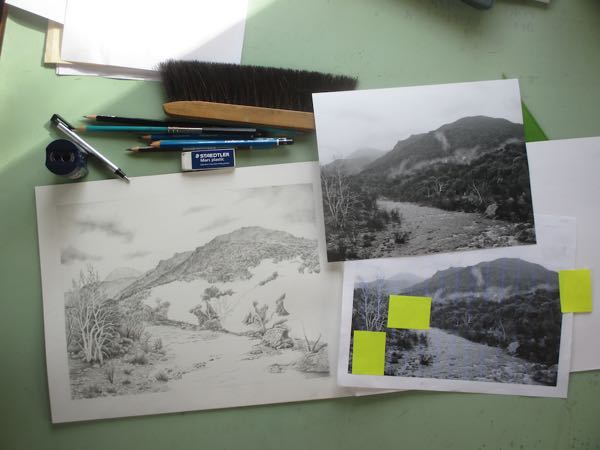
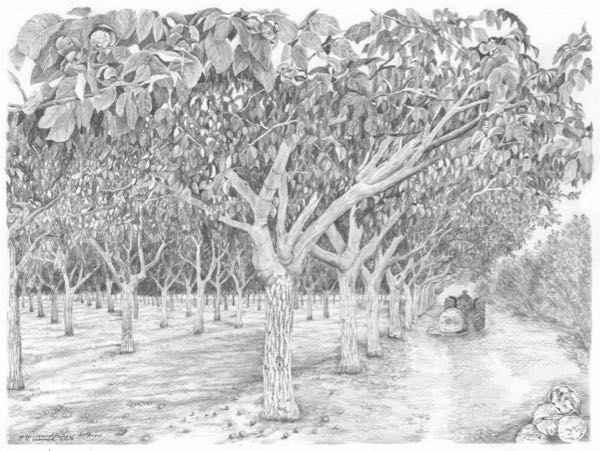
A customer brought me a pencil drawing from 1995 with the request that I turn it into notecards.
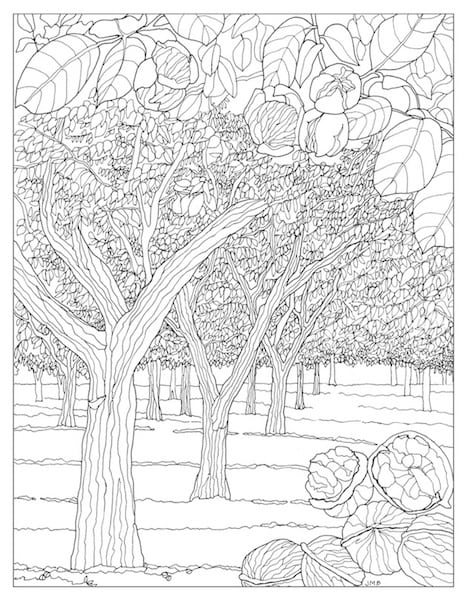
In order to turn an original drawing into a printed piece, there are some tasks to be done on a computer. First, I scan it, then open it in Photoshop, convert it to grayscale, erase anything that is supposed to simply be paper color, resize it to 600 dpi and whatever size in inches it will be printed, then convert it to a PDF and send it to the printshop, where she becomes their direct customer.
When I saw it, I thought it was a reproduction print, not the original. WHY did I draw an original on such flimsy and textured paper?? And why are all the trees on the distant hills the same size, evenly spaced and looking so distinct? Why is there no pencil on those hills? Why does no grass show between the slats of the fence? Why does that main tree look manicured?
Before I did any of those computer tasks, there was some serious pencil work to be accomplished.
Before: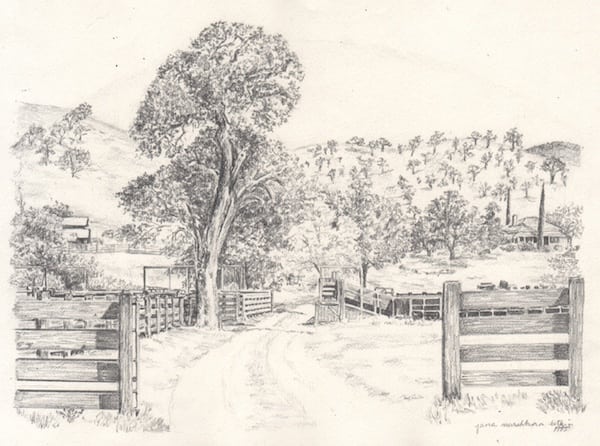
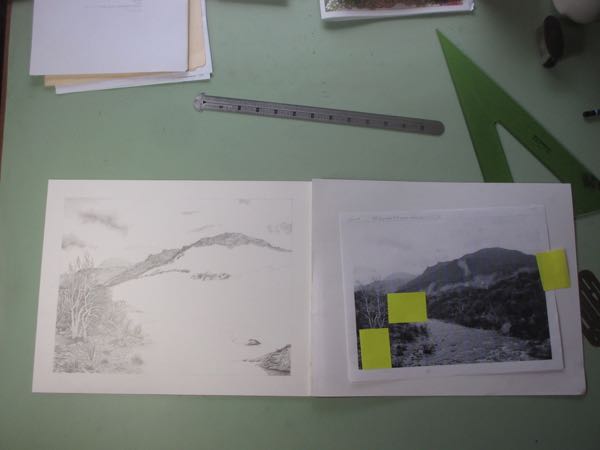
After: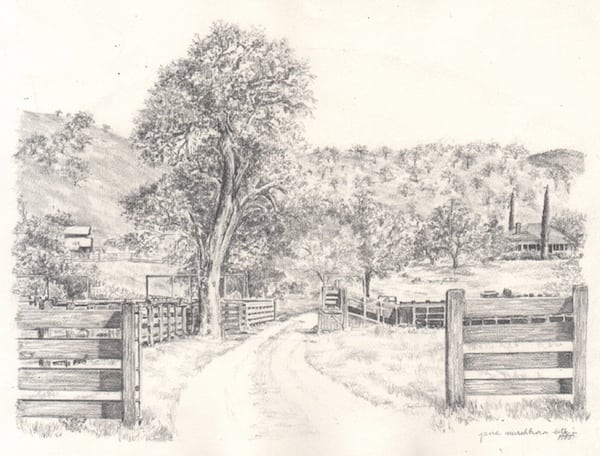
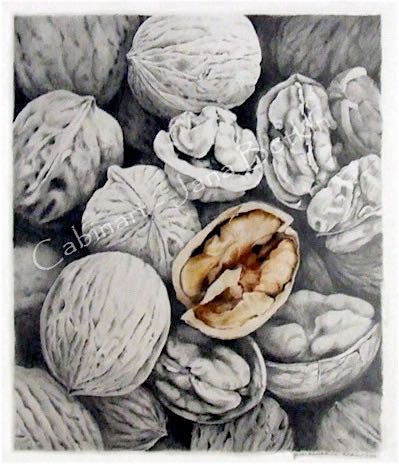
Ready to print: 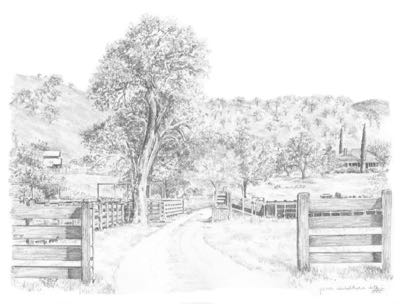
The changes are subtle, but important. My drawing students and I will see the difference, and I don’t feel embarrassed to have my name on the drawing any more.
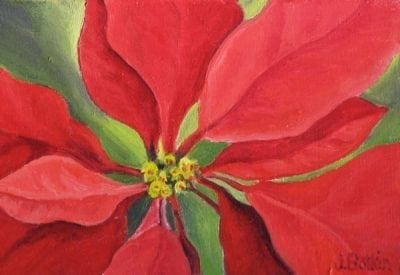
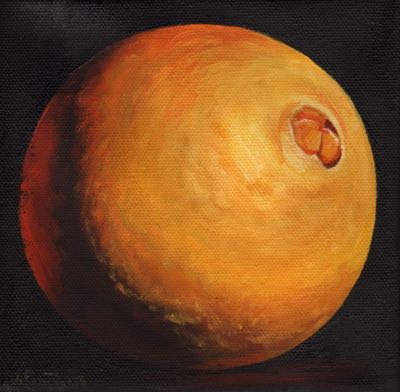
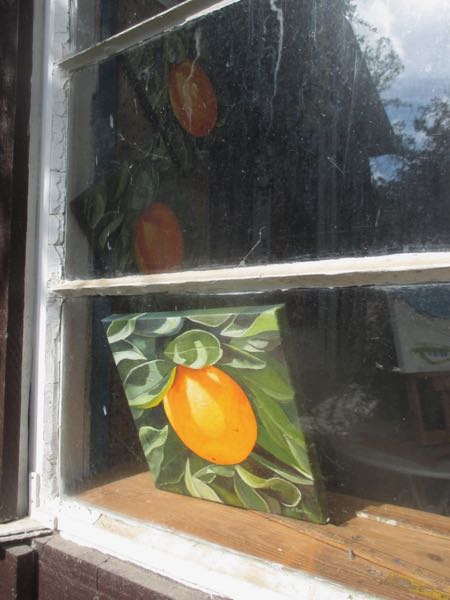
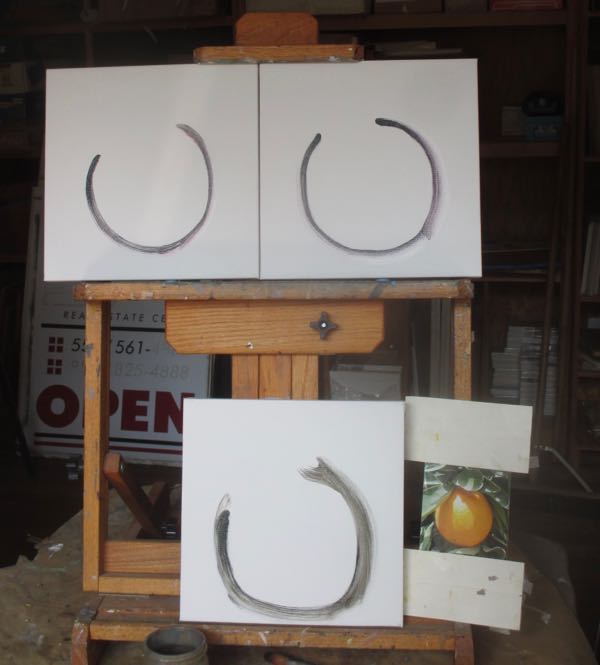
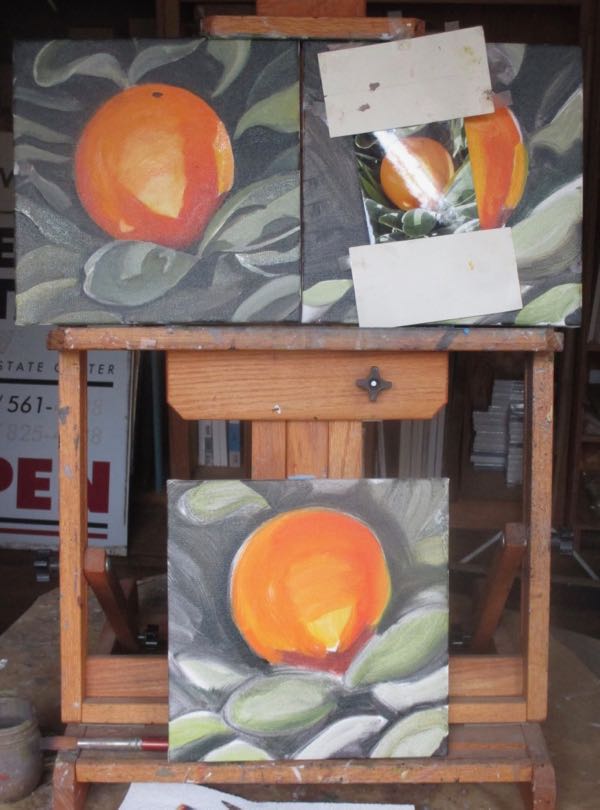
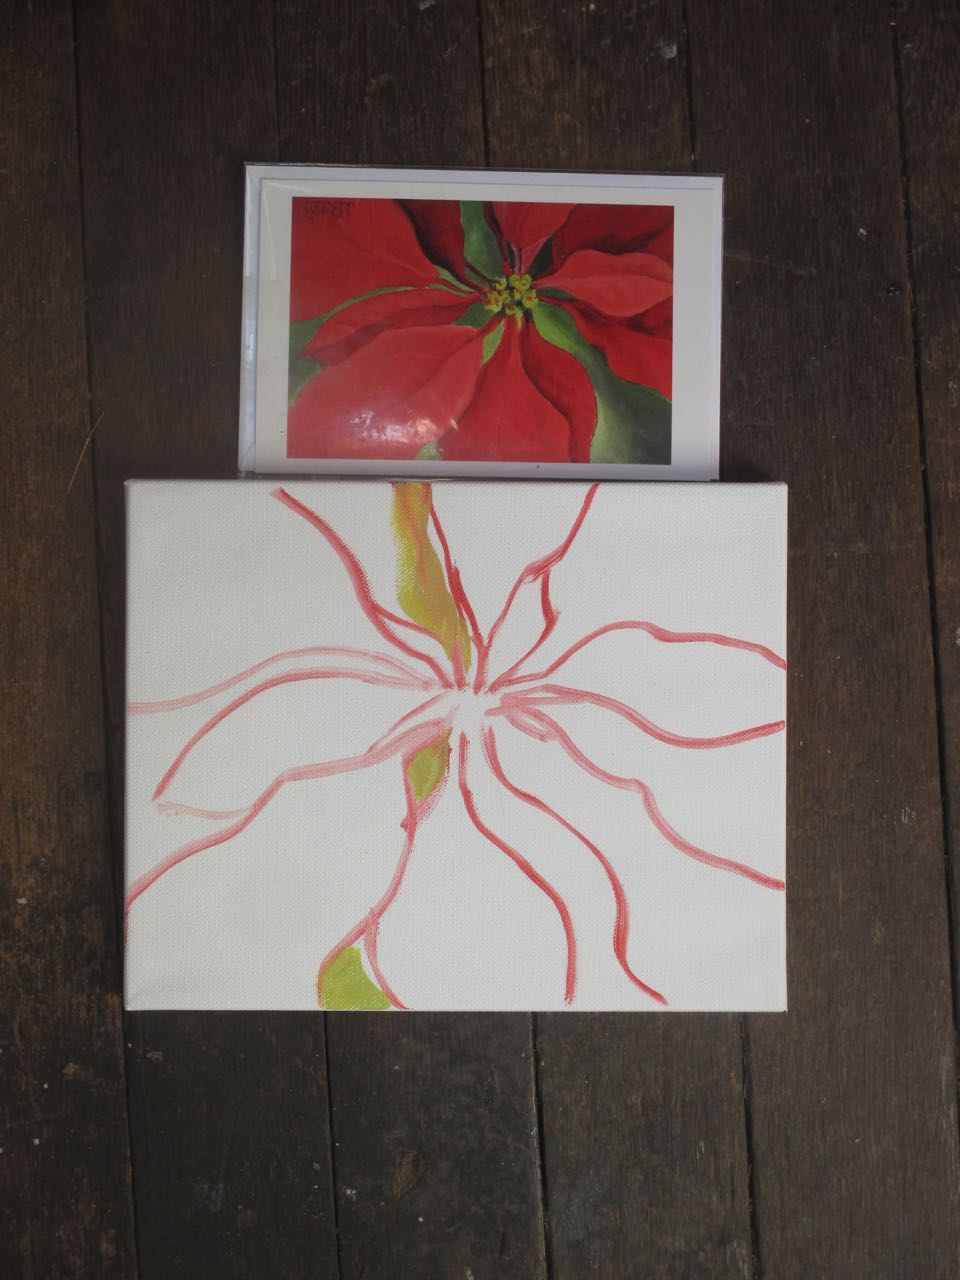 There wasn’t one photo that was my guide when I first painted this. I used several, simplifying the image as much as possible. This time I am using several photos again, but not simplifying the flower so much.
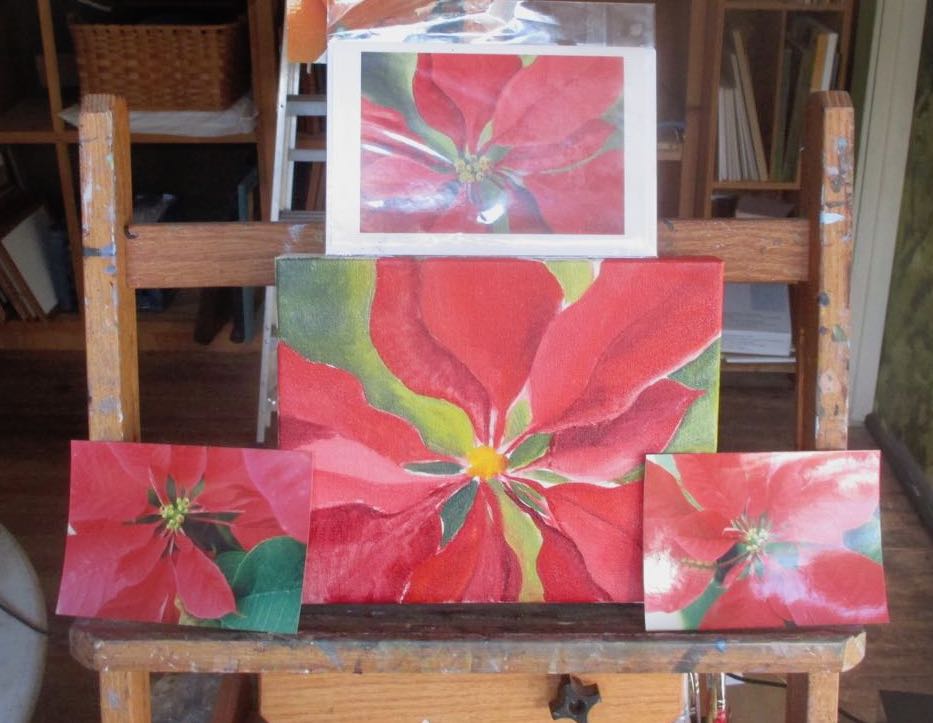
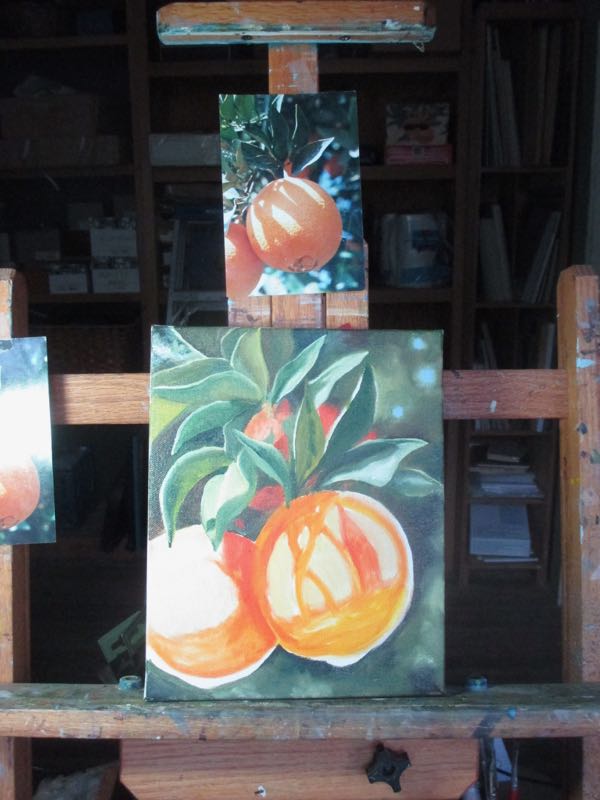
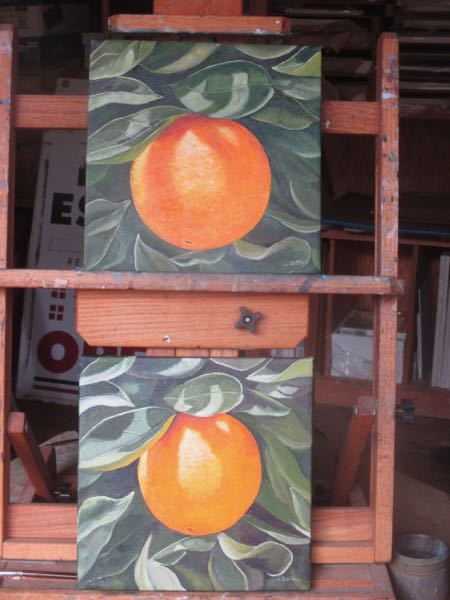
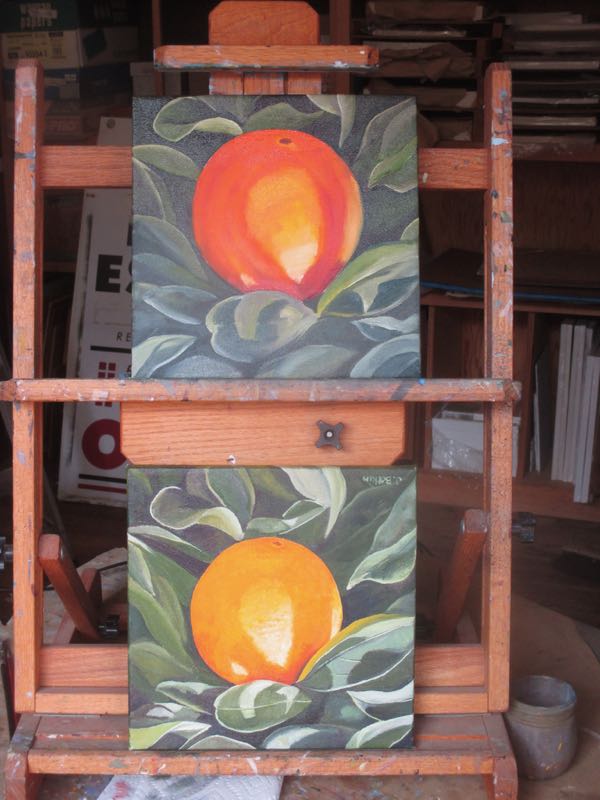
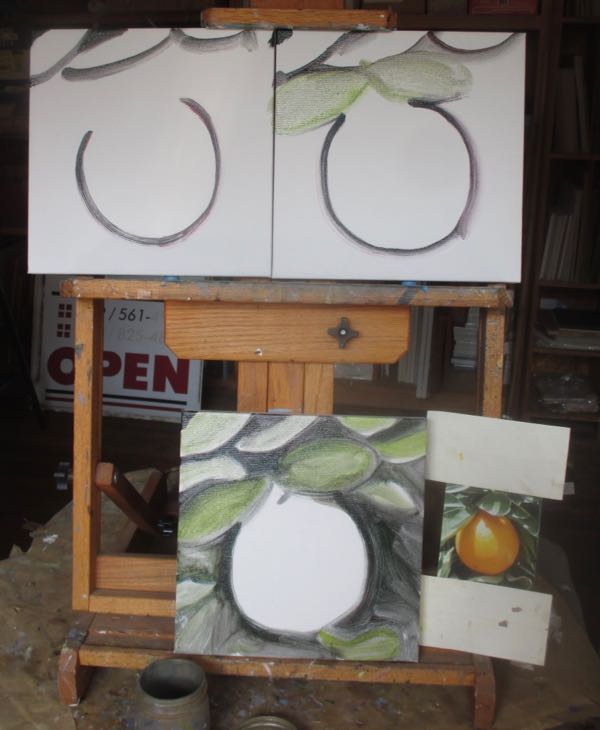
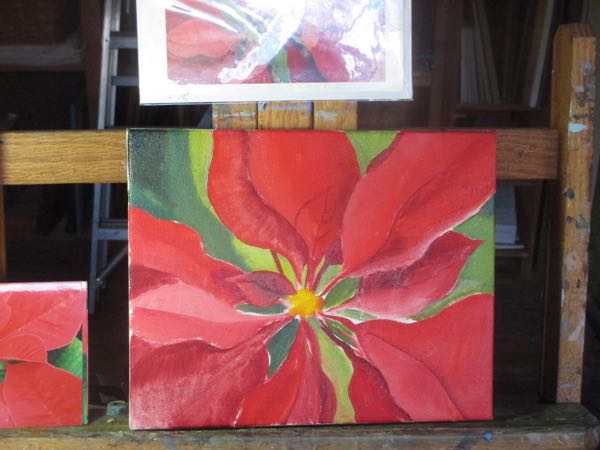 This looks a little bit weak in color because the paint is wet and shiny. This is at the end of day #1.
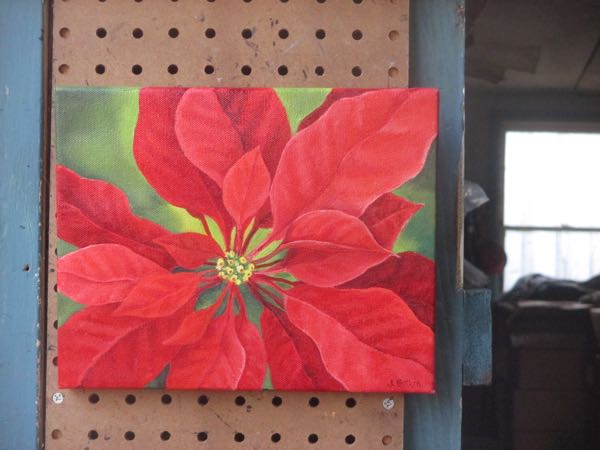
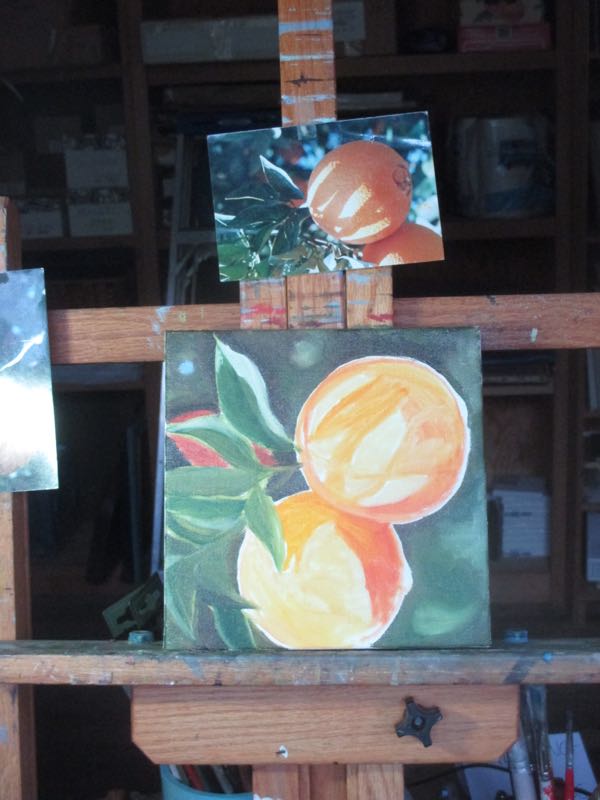
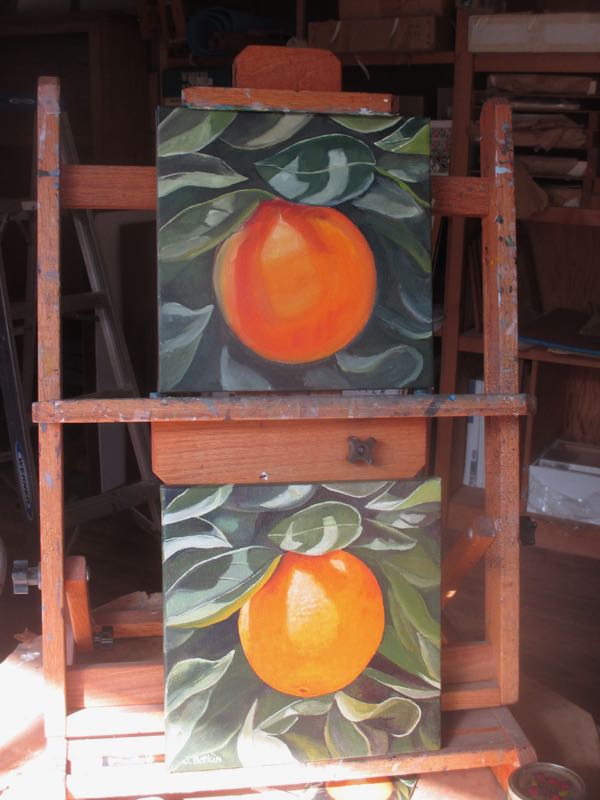
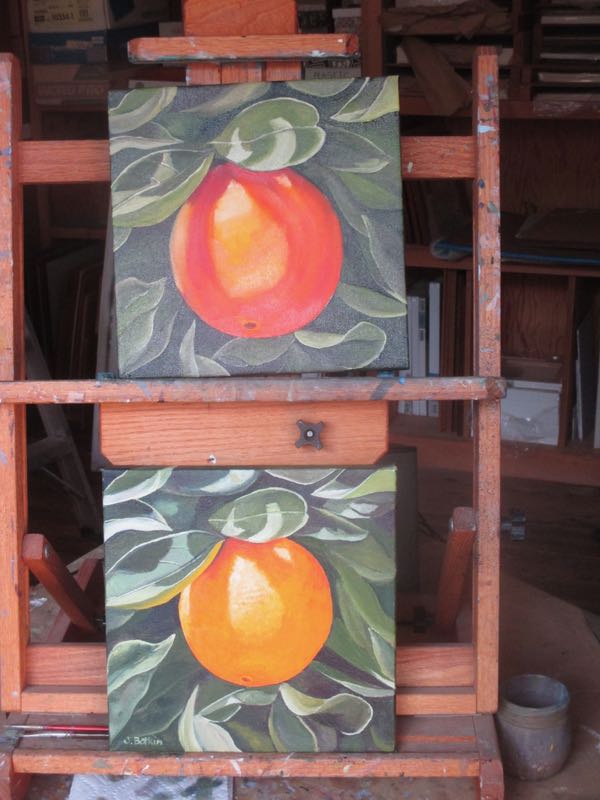
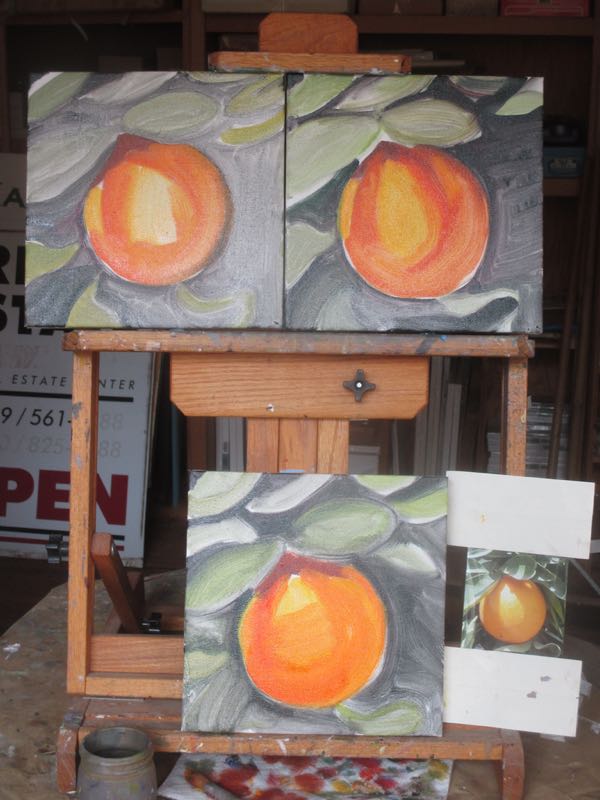
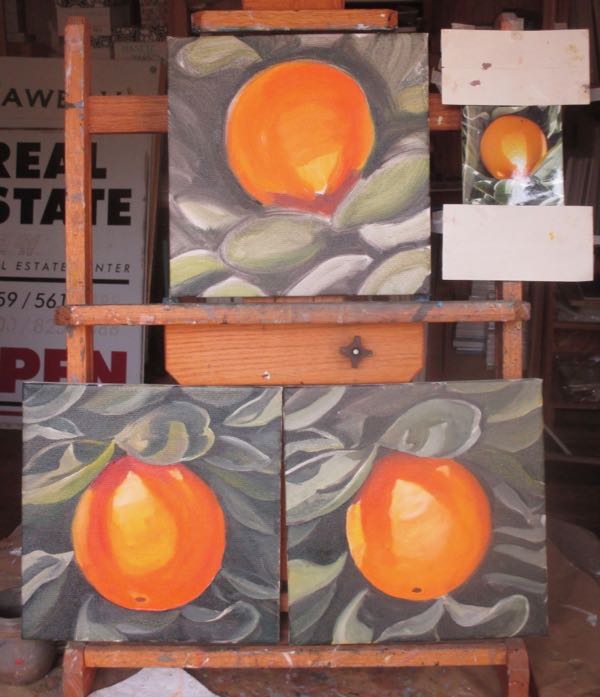
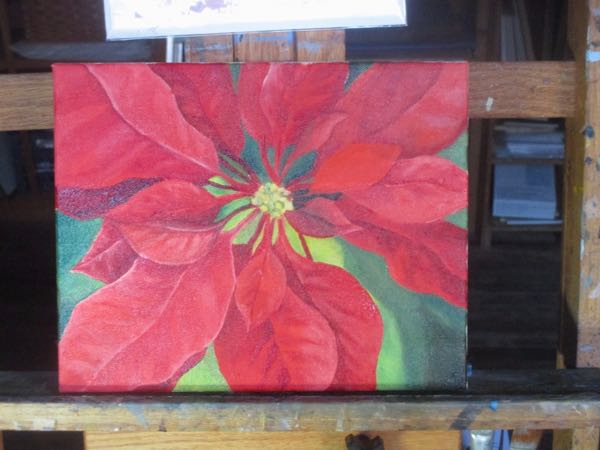 In the next painting session it looks almost finished, but there is more layering, the center detail, edges, and finally. signing. (Then drying, scanning, varnishing, drying yet again). This was painting day #2.
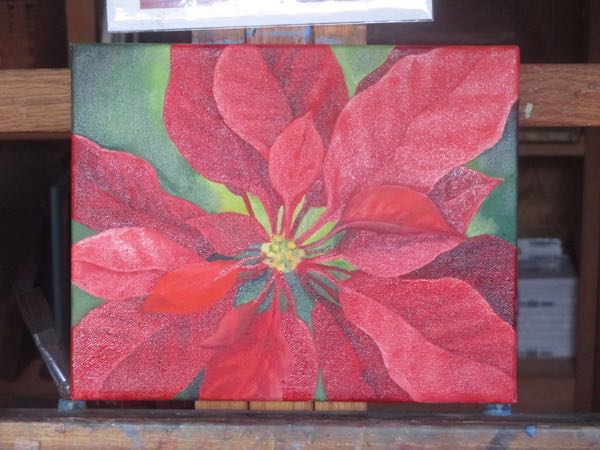

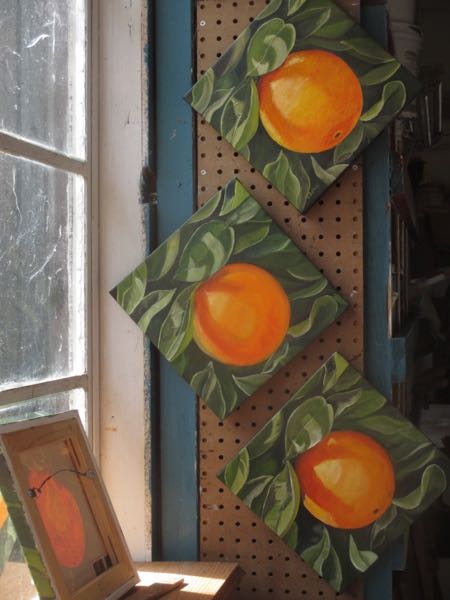
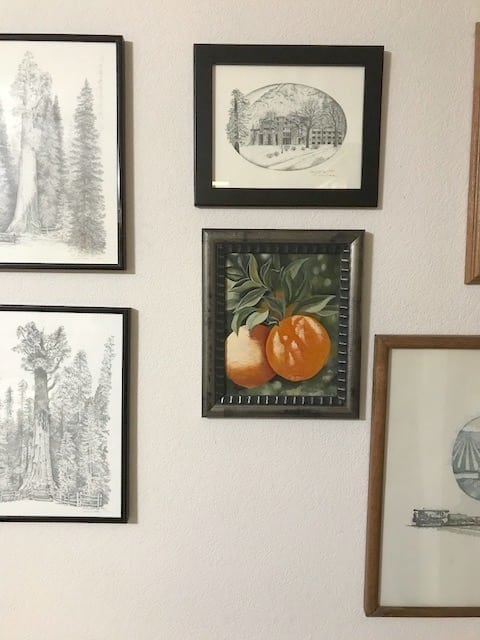 After receiving this photo, I looked through my 963 photos of oil paintings, arranged by subject, and although I recently finished Orange #134, this old painting didn’t show up in my inventory.
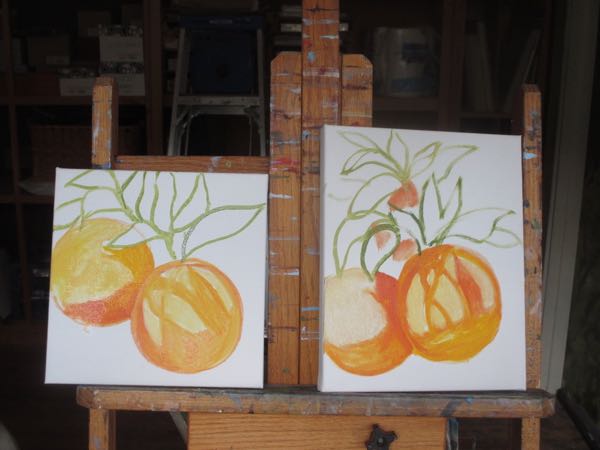
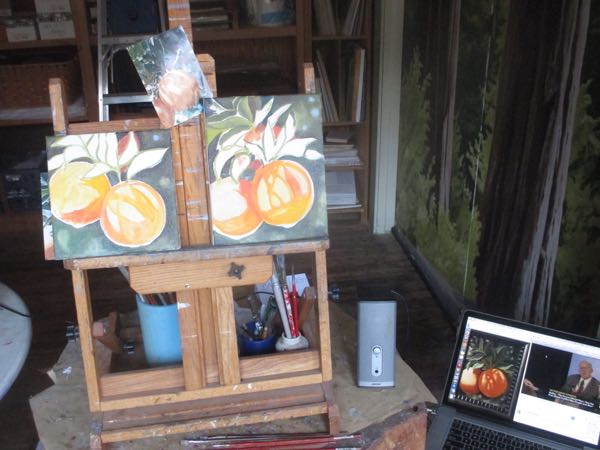
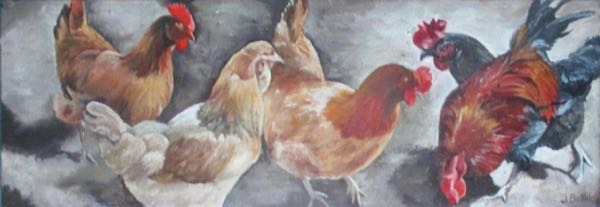
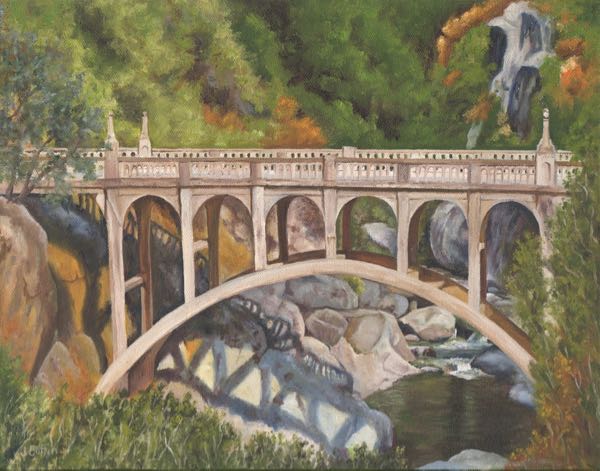
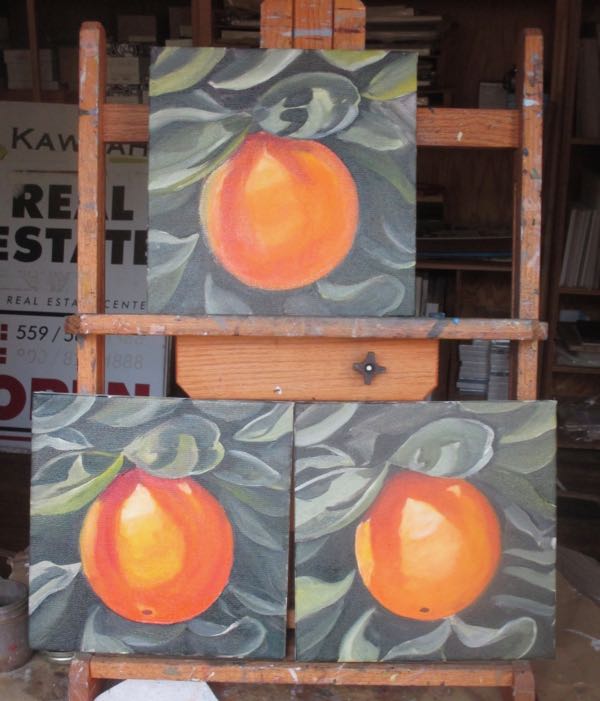
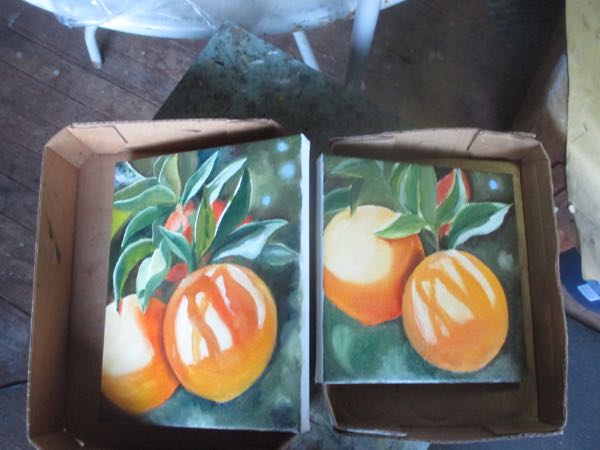 At the end of the painting day, I put them in boxes to carry into the house and prop up over the wood stove so they will be ready for the second layer.
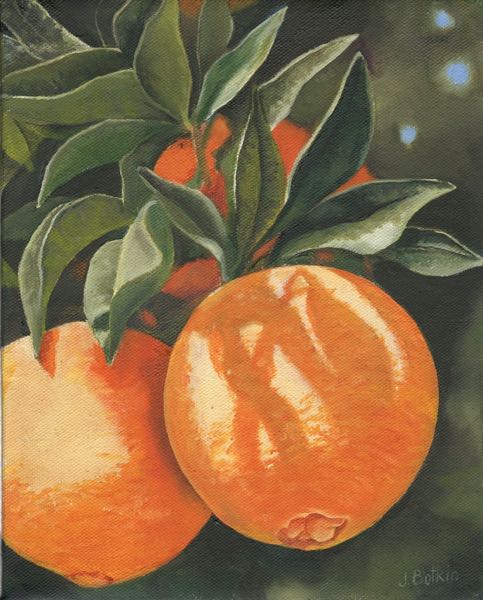
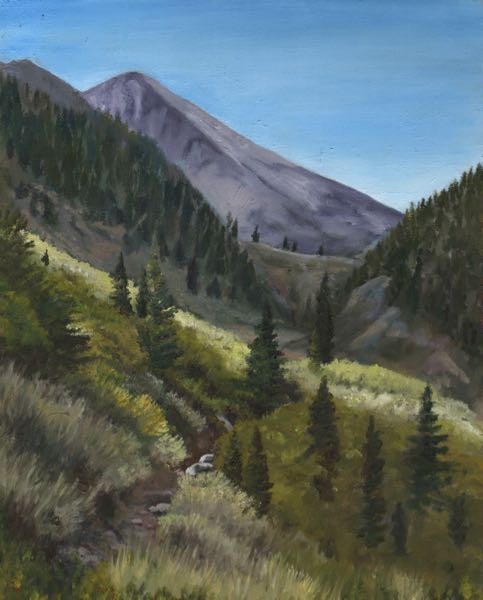
 Nothing to see here, folks; just move on. . .
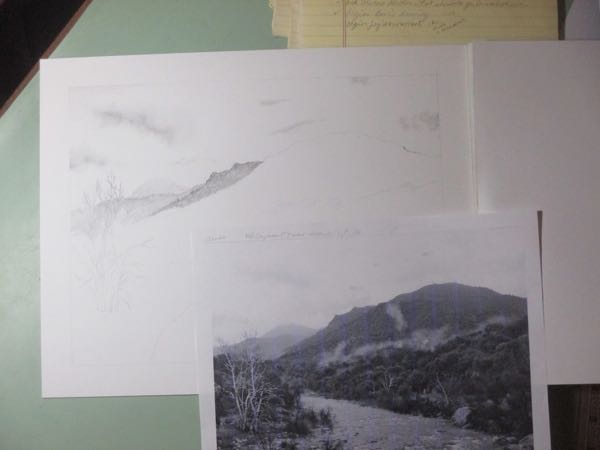
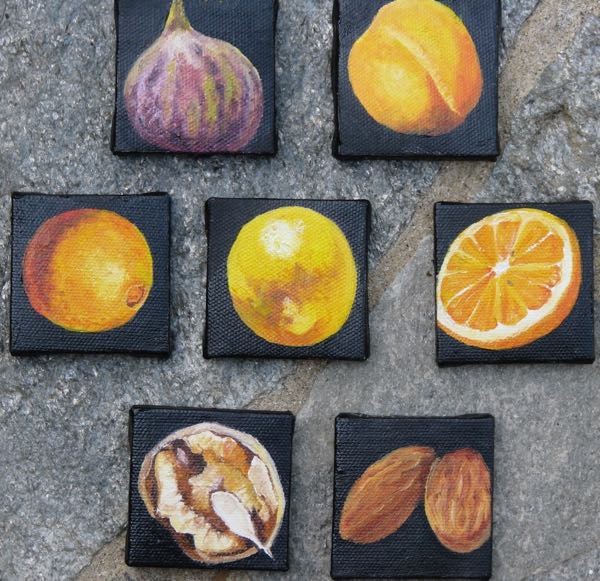
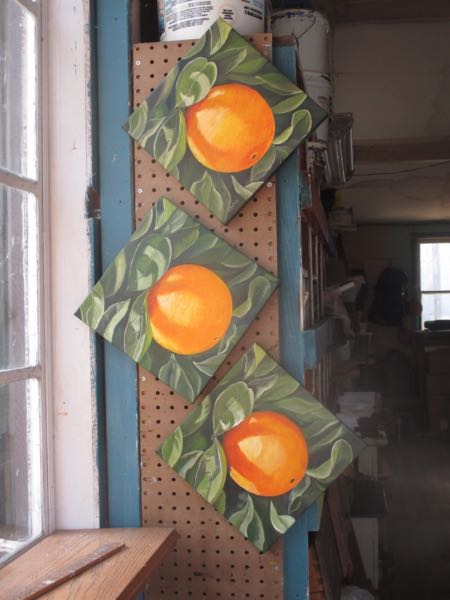


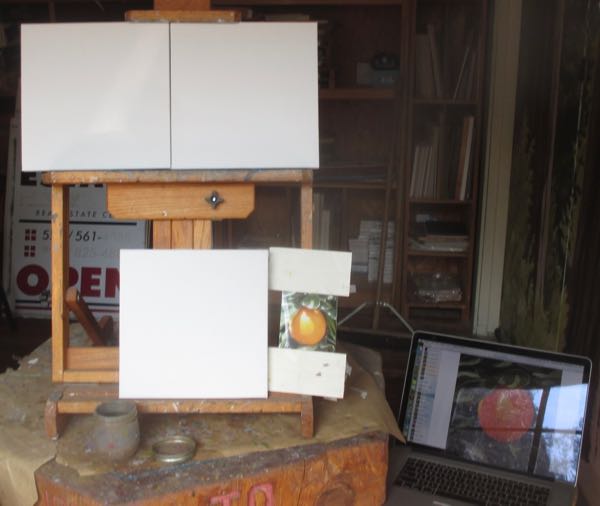
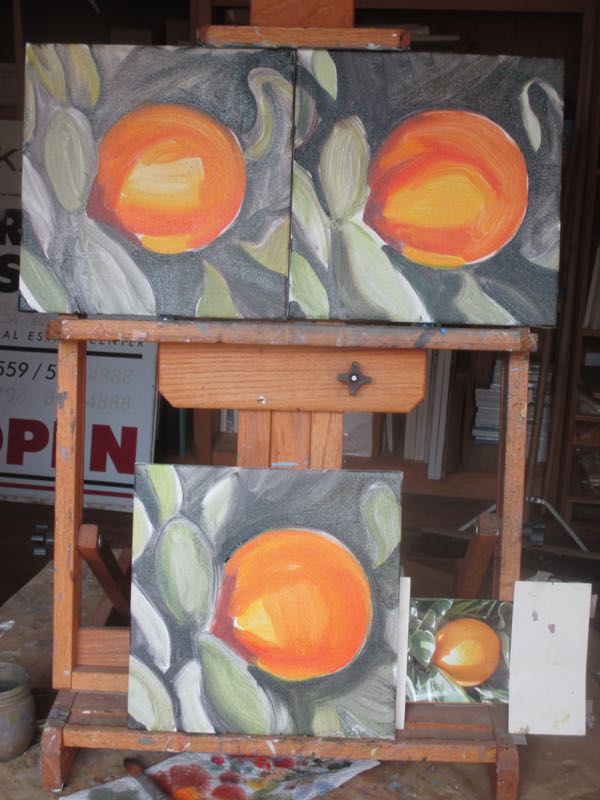
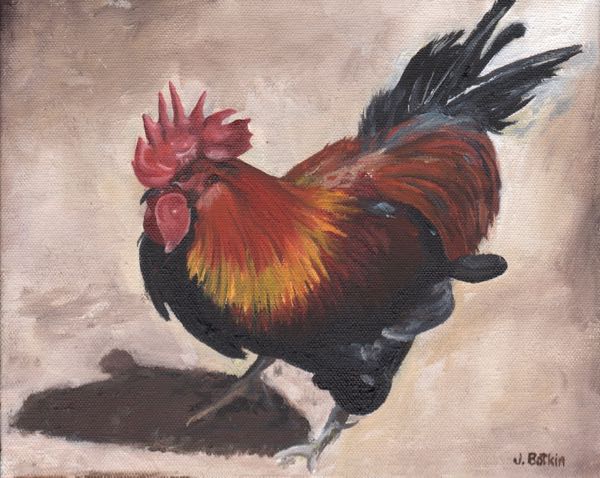
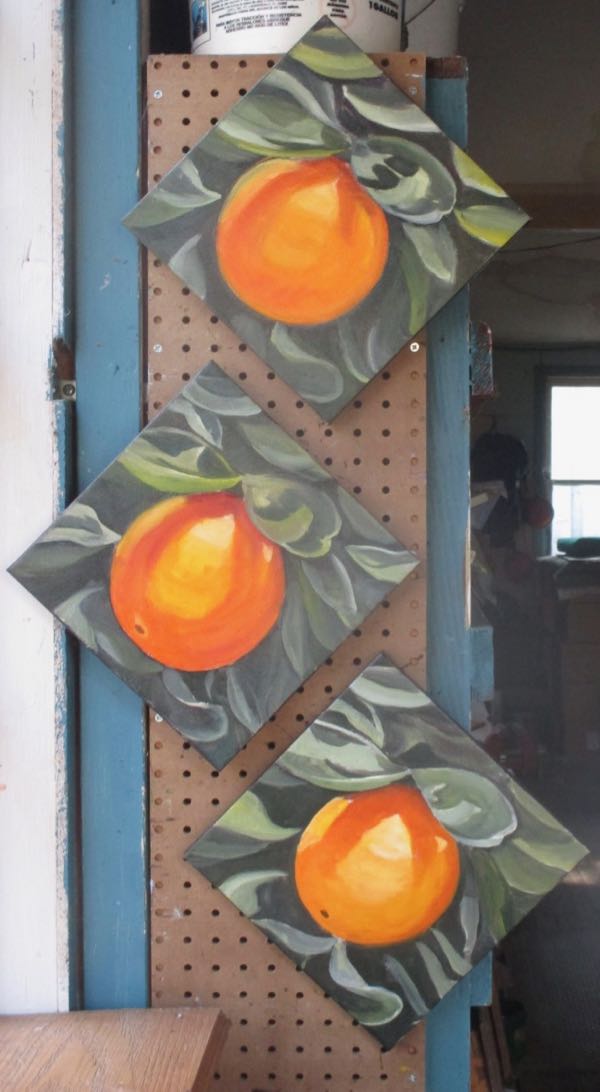 The last step of Day One was painting layer #1 on the edges. When I return to the project in two days, they will be dry enough to put on the next layer. The second day of painting will be when I perfect all the details.