Are You Really Painting Sawtooth Again?

If you subscribe to the blog and read the email on your phone, the photos might not show up. (Some people get them, some do not; it isn’t a problem I know how to solve.) You can see them by going to the blog on the internet. It is called cabinart.net/blog, and the latest post is always on top.

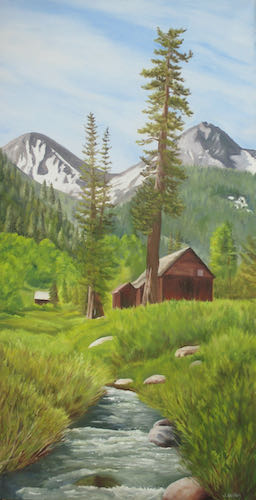
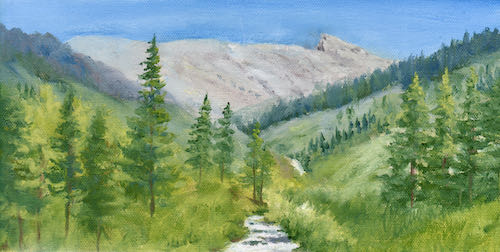
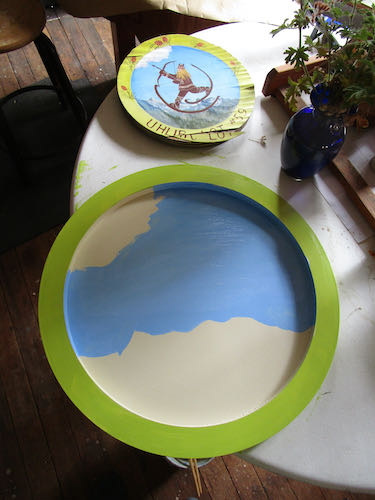
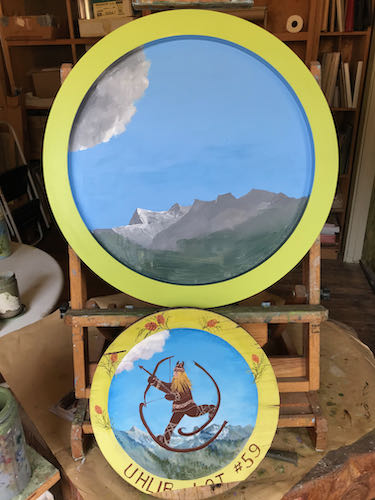
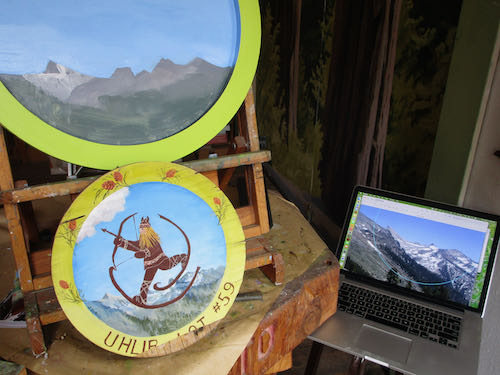
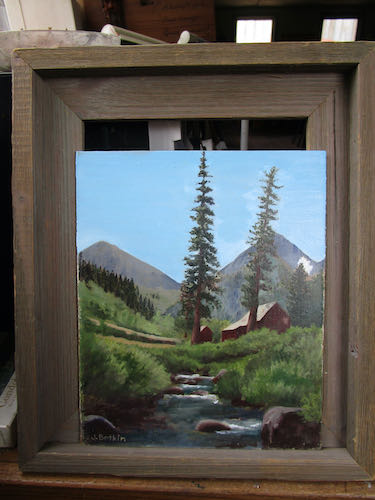
Yeppers, another Sawtooth oil painting. Sawtooth is visible from the flatlands of Visalia on a clear day and is the signature peak of Mineral King. It has recently become the most popular of the Mineral King subjects that I paint, and a few weeks ago, someone commissioned another version of the “Sawtooth Near Sunnypoint” view. This is number 8, and the first one in the ratio of 1:3 (6×18″, vertical).

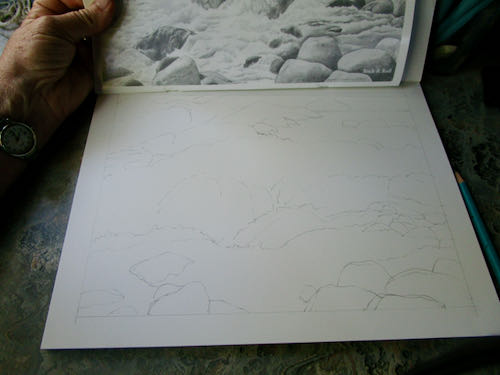
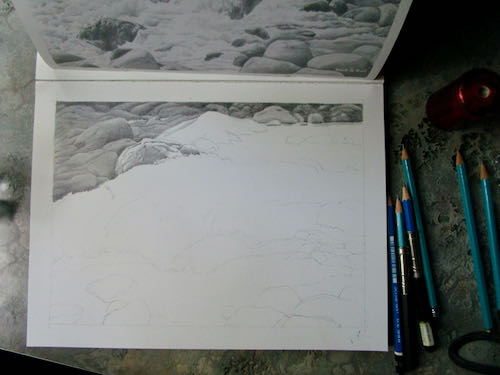
As usual, I started with a scribbly base, and then put in the sky, working my way closer and closer to the front.

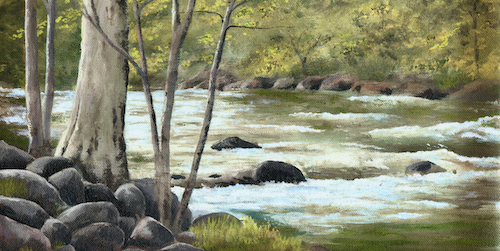
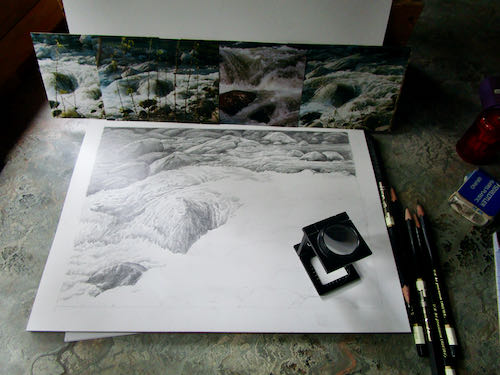
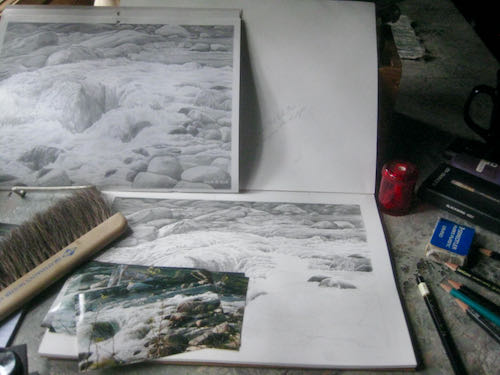
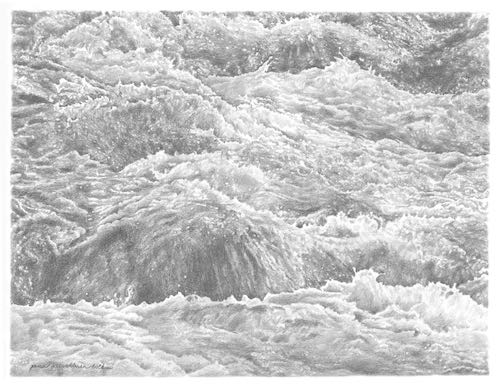
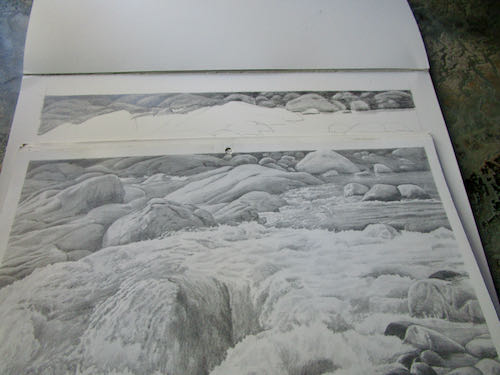
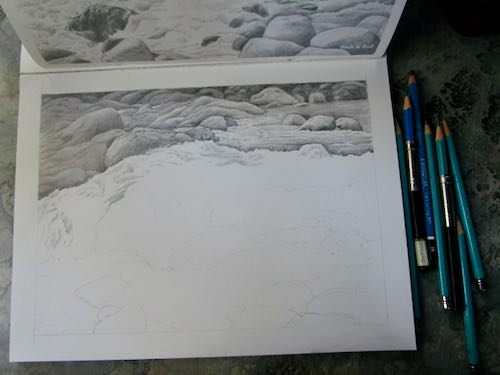
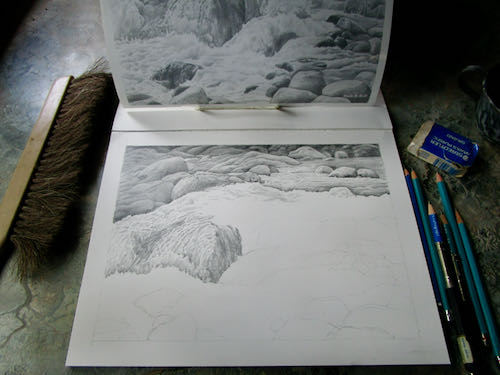
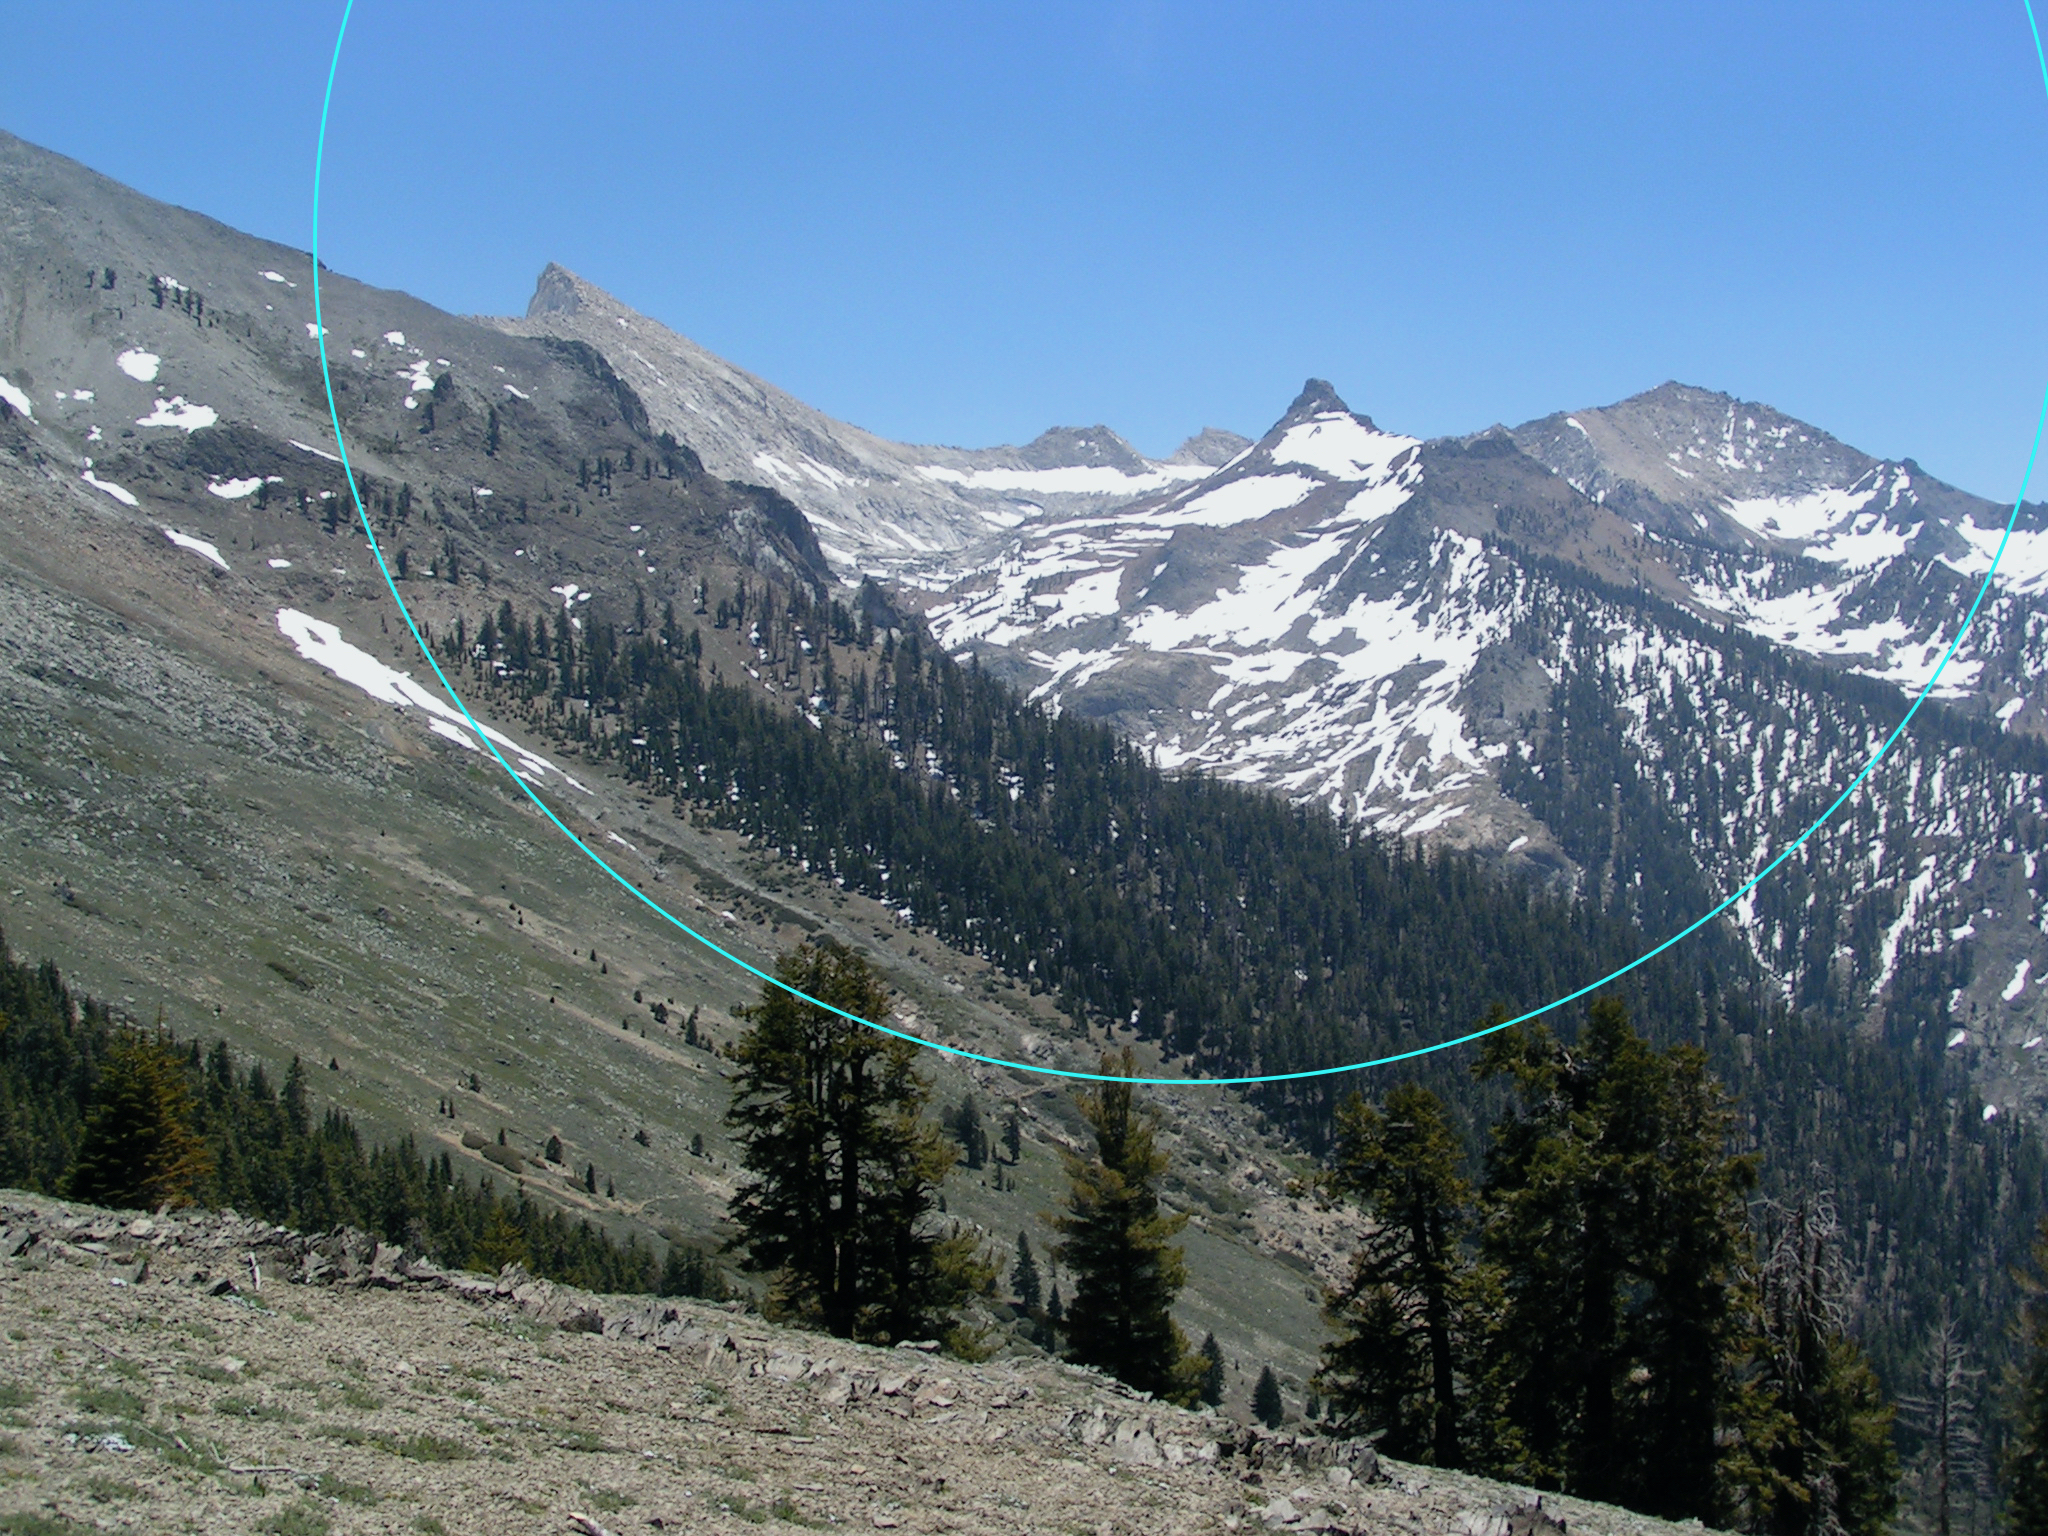
Suddenly, I was confused on all those mountain ridges, so I dropped into the stream to pick apart the rocks. I photographed the stream in order to see the rock formations at higher water, before the seasonal growth obstructed my vision. I don’t understand water flow well enough to convincingly make this up.

This represents an afternoon of work, trying to perfect the detail on the first pass, knowing full well that I will need to make corrections as the other parts get completed. And then those “other parts” will need to be corrected.

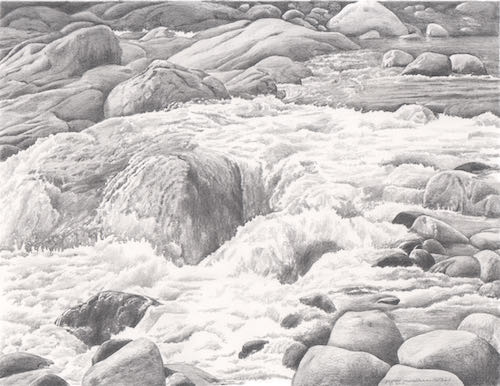
It would be satisfying to spend as much time on every painting as I am on this one. But paintings don’t require the level of detail that pencil drawings do, it isn’t cost effective, and for the most part, my customers don’t even recognize that level of intense detail. (Not everyone is as near-sighted as I am, albeit it with strong cheater-readers these days.)

Links to other posts about painting Sawtooth:

  1. Department of Redundancy Dept.
  2. Lots of Sawtooths (Sawteeth? Nah)
  3. Almost finished with the Sawtooth paintings
  4. You just won’t believe this one
  5. Back to Sawtooth

Odd Job, Chapter 4

If you subscribe to the blog and read the email on your phone, the photos might not show up. (Some people get them, some do not; it isn’t a problem I know how to solve.) You can see them by going to the blog on the internet. It is called cabinart.net/blog, and the latest post is always on top.

This was the day for the careful work on my odd job of repainting signs for a subdivision in Three Rivers: a gray line around all the letters, and repainting the California quail.

Thin Gray Line

Mixing the color was fun, because I had success quickly. Color precision isn’t terribly important here, but I like to practice my skill. You can see the new gray around the S and the old gray around the other letters. Same, same!

The California Quail

These were harder. I couldn’t tell for sure about the colors, and this particular one had such a sheen to it that I began to suspect it was a decal rather than something that was painted directly on the redwood.

On the more weathered sign, it was clear that the quail were painted directly on the redwood.

The photo only showed the quail on the less weathered sign, which should have been adequate.
When I moved over to the other sign, I couldn’t figure out why I wasn’t able to duplicate the quail when I turned my back. It took a few flailing efforts before I realized they were facing the opposite directions. 
I didn’t do a perfect job, but I was able to make them look believable.

Here are the two signs, finished as far as I am able.

Finishing

The lead man on the project knows that I don’t know how to finish these. Mendosign kindly emailed me with a suggestion to use wood stain with a red tint, saying that wood needs to breathe, and that the stain would easily wipe off the painted parts. 

Mr. South Fork Estates thought there was a risk that it would make the painted parts look grubby. He will call a painter friend in Visalia for some advice. 

So, they will figure it out, and I am finished. 

Bye-bye signs. Thank you, TT and TG!

Odd Job, Chapter 3

If you subscribe to the blog and read the email on your phone, the photos might not show up. (Some people get them, some do not; it isn’t a problem I know how to solve.) You can see them by going to the blog on the internet. It is called cabinart.net/blog, and the latest post is always on top.

Yesterday’s post about refreshing 2 signs left you hanging. I hope the anticipation of today’s continuation didn’t disrupt your sleep last night.

After applying 2 coats of the rim color, some confidence began developing. Time to tackle the narrow yellow line. You can see the old color in the middle; I put a bit of white on the left, and some brighter lightfast yellow on the right.

The yellow needed some red, along with a touch of white.

You might be able to tell that the upper yellow is now better, but since the lightfast yellow is transparent, it needed a primer coat beneath. No need to color fuss here because the goal is to make it look good.

As I painted the narrow line with white, I realized that the wood is quite splintery. This means that getting a smooth edge isn’t going to happen the entire distance on any of the sign. But, it is a sign, not a piece of fine art to be viewed closely.
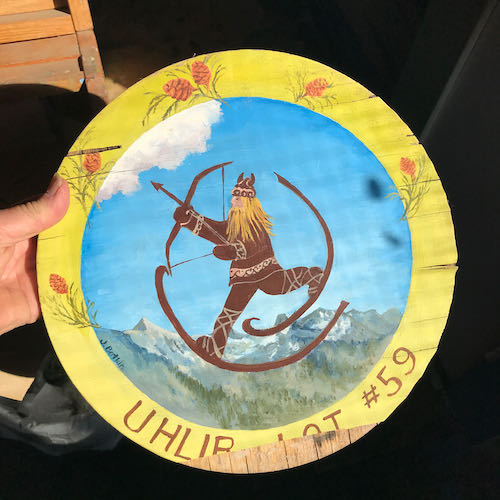
With the warm weather, swamp cooler blowing, and big doors open, the paint dried quickly. I could paint one sign, turn and do the other, go back to sign #1 for the second coat, and then turn and second coat sign #2.

The white letters seemed like a good next step. These also soaked up the paint and required 2 coats. The rough edges bothered me at first. Then I remembered that this will be viewed from inside people’s cars, until they stop noticing at all. After 5 hours, I felt an unavoidable slide into Idiotland, where Sloppy, Stupid, and Careless all reside. Besides, my cheater-readers kept falling off when I leaned over the sign, and then I painted a blue streak on my face by accident.

So, that’s all on this Three Rivers custom art project for today. The quail and the narrow gray line surrounding the letters will require a strong focus (and a better fitting pair of cheater-reader glasses).

Odd Job, Chapter 2

If you subscribe to the blog and read the email on your phone, the photos might not show up. (Some people get them, some do not; it isn’t a problem I know how to solve.) You can see them by going to the blog on the internet. It is called cabinart.net/blog, and the latest post is always on top.

Because I am an artist in a small town, I get asked to do a variety of things.

This keeps me growing, learning, and becoming more capable of doing more odd jobs. Still, I start out a little unsure of where to begin and unsure of my abilities to git ‘er dun well.

The outer rim of each sign is a grayish blue, or perhaps a bluish gray. It looked pretty straightforward, both in the mixing and the application. I put these 2 colors together and made the gray on the top of the lid.

You can see that I tried a few versions.

Because my gray had a purplish cast, I put in a smidgeon of yellow, which is opposite purple on the color wheel. (The ArtSpeak word for that is “complementary color”, as in “complete” because its presence completes the 3 primary colors which can be blended to make every color in the world. Not white. White is the absence of color.)

A touch more white, and then it was close enough. 

Clearly I had to be very very careful because Pippin was underfoot.

Let’s continue tomorrow, shall we?

You’re an Artist, So Could You. . .? (Odd Job)

I recently bid on an odd job, one of those that comes to me like this: “You’re an artist, so could you. . .?”

This was a request to repaint 2 large redwood signs, originally sandblasted and painted in 1990.

The neighborhood’s budget didn’t match my bid, so I suggested that they do the scraping and sanding. They did, and then brought me the signs (there are 2 and this one gets the most sun so looks the worst).

Ready to work

Trail Guy set up 2 work tables using sawhorses in our painting workshop. (He doesn’t paint, but the workshop is also his place, so I can’t say “my painting workshop”.)

I set aside the unfinished Mineral King oil paintings that have no deadline in order to get this job done quickly for this Three Rivers neighborhood.

The subdivision asked me to seal the sign for sun damage protection. I know nothing about this. Mixing colors, refreshing tired paint, that’s what I know.

When you don’t know something, ask someone who does. Preferring someone with experience over someone with an opinion, I began thinking of people who might have knowledge to share.

My first contact was an old friend in Massachusetts with a sign business who referred me to someone in Mendocino who was kind enough to email me. I also found a sign company online in Charleston, South Carolina, filled out their contact form, expected and got nothing back. I called the man who sanded the signs to see if he knew who originally made them; he gave me the name and number of someone I worked for briefly back in 1986 (and have encountered several times since because that is the nature of Tulare County). That man gave me the name of a sign company that he thought might have made the signs, but they are going out of business. Their answering machine says to text with any questions, and so far, silence.

Next, I will show you my painting progress and process while I wait to see if Mendosign replies to my specific question about a sealant.


Still More Painting in Church

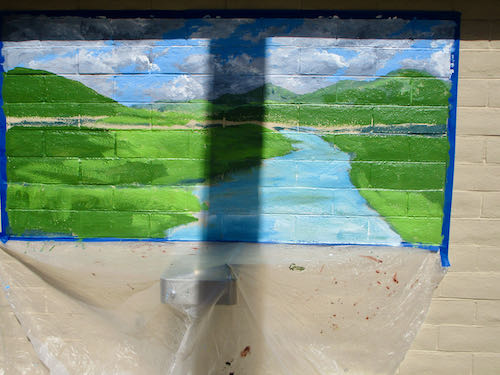
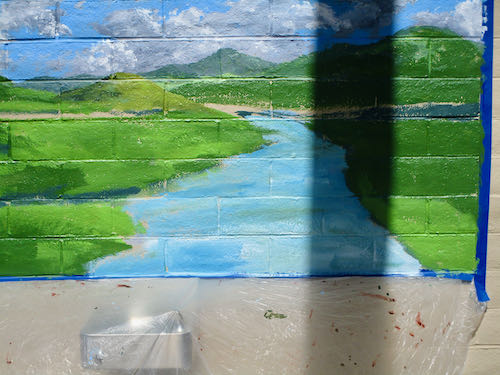
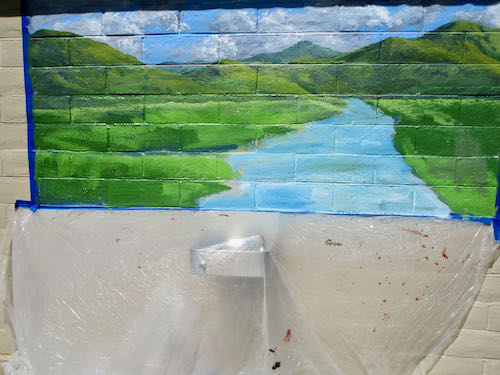
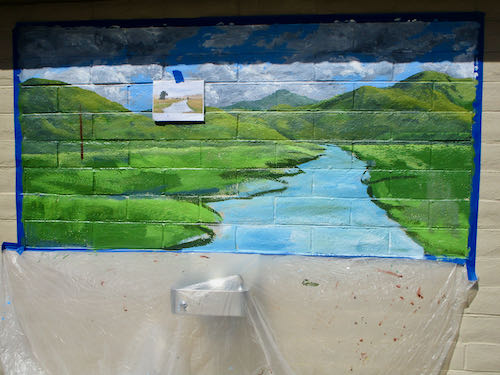
After having the audacity to mess with someone else’s art, I returned to the endless mural at my church. (It would be a real blessing if someone else messed with this one for me.) This blank right side needed to be finished. 

Weird color because the big stage spotlights are on.

I started by defining and filling in the different segments from farthest away to closer (called “planes”, which is a word you might recall from geometry.) Boulders seemed like a good solution. It is better if the two “wings” aren’t symmetrical, which means that they don’t mimic one another. That wouldn’t look natural, as if it is natural to have a giant mural of a fake Sequoia meadow on the stage of a church. (I love Three Rivers, with all our original authentic uniqueness. Sometimes it seems as if we use our location as permission to be mavericks.)

I found a different setting on my camera to show the colors more true. After 5 hours, I dropped off into Idiotland, where I began to get sloppy and stupid. It isn’t good to get sloppy in a place with carpet and painted areas that have no touch-up paint available.

Am I finished?

Maybe, maybe not.

It will probably take a month or two of Sundays before I decide. 

Maybe I just won’t sit where I can see this, and then I won’t pick it apart. It looks fine from this angle.

So there.

I mean “Amen”.

P.S. The drummer gave me a wonderful compliment about the mural extensions. He said they looked so right, so perfectly continued from the rest of the mural that he didn’t notice that they were there.


Did Mineral King Need a Paint Job?

Did Mineral King need a paint job?

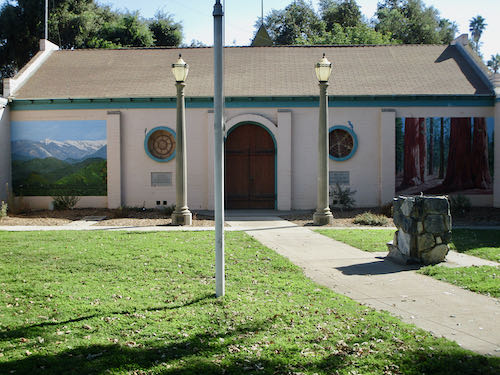
No, but the Mineral King Room at the Three Rivers Historical Museum did. The blue didn’t match the murals in the room, and the mountaintops weren’t recognizable. (You can see the murals here.)

First, I was determined to mix the right shade of blue using whatever paints I had on hand. Lightfastness isn’t a problem on indoor murals, so I was able to use a can of indoor white paint that came from who knows where, along with my 2 mural paint blues. Mural paints are highly pigmented and that makes them very useful for making my own interior colors.

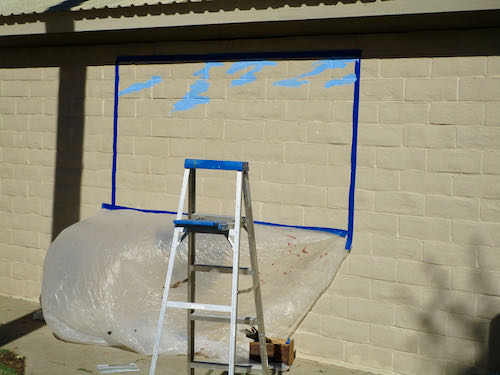
Second, we taped all the parts that needed protection. (This was not the royal we—I had great help from MKPS Sandi).

Next, I traced the tops of the mountains on the mural showing the peaks surrounding the MIneral King valley. This provided a guide to redraw the peaks to match reality. (This was based on the assumption that I painted the mountains accurately in the mural.)

I drew the mountains on with chalk. (It wasn’t a Mineral King blue either but it matched my painter’s tape.)

Then, I started painting and almost immediately, dripped onto the rust color.

Good thing there is touch-up paint for all the colors involved. 

Here is an example of something weird that I have learned about acrylic paints, as opposed to oil paints: they are LIGHTER when they are wet. Doesn’t make sense, but it is true.

That teal color was great with the rust, but just not right for the subject matter. I told the Mineral King Preservation Society that if they are just going to waste the paint, I’ll be happy to take it off their hands. I’m sure I can find a use for it. (Weird how the rust looks like red here, and the white looks like light tan).

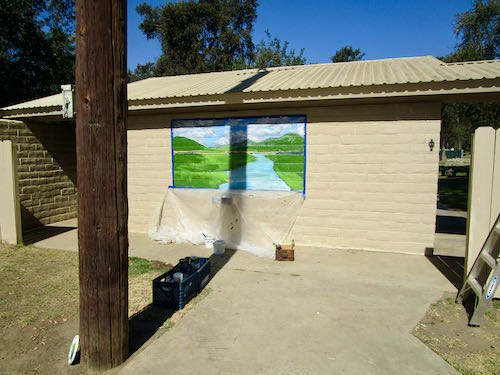
Now look at the room so you can see the corrected peaks and the color that matches the murals. (I’ll show a before and after on the 2nd shot for you.)

Before:

After:

The mountains in the Before photo are more dramatic and more proportionally pleasing. However, the mountains in the After photo are realistic rather than stylized, match the murals and give more display space for whatever will be going on the wall.

Tomorrow I will tell you a few thoughts about this job.

Quick Quick, Can You Help Us?

The Mineral King Preservation Society has 2/3 of a room at the Three Rivers Historical Museum. We call it The Mineral King Room, in spite of sharing it with another exhibit. 

A few years ago I painted some murals in that room.

Recently, the room started getting a facelift, or perhaps “makeover” is a better word. I was at the museum for something, went in the Mineral King Room, and saw the beginnings. My first thought was that it was colorful and spiffy looking; my second thought was that the blue didn’t match the sky in the murals, and my third thought was that the supposed Mineral King peaks did not look like Mineral King.

Several weeks later, another Mineral King person stopped by and said, “That color of blue is doesn’t look like a Mineral King color, and I don’t recognize those peaks.”

Thus, I got a phone call, asking if I could change the color of blue and fix the line of mountains.

Aren’t you just dying to see what I am talking about?

An incidental thought about that blue: it is a great color, kind of a turquoise or teal, something I have quite a bit of in my wardrobe. It just doesn’t happen to match a sky in Mineral King. It might look better with the rust than the sky blue, but reality has to take precedence.

Sold in April and May

It has been awhile since I did a Brag List. Perhaps it could be called a Reassurance List, because when my business hits a lull, it reassures me to see that work has sold recently.

Mineral King Painting Machine

I have 11 paintings ready to deliver to the Silver City Store for the season, which begins on Memorial Day weekend. (I think this is the correct way to designate the last weekend in May.)

Having just finished the commissioned oil painting, I could have just quit painting for a week or two. My art business is usually feast or famine, and when there are no impending deadlines, that is the time to plan and work ahead.

Here are the steps to firing up the Mineral King Painting Machine:

  1. Grab a random assortment of canvases off my shelves, nothing larger than 6×18 or 10×10.
  2. Cover them in a layer of paint, any paint, whatever is left on the palette
  3. Pull out my prechosen photos. I have to choose the right photos ahead of time, being careful to keep scenes that I painted in recent years separated. Although I paint the same scenes over and over (Mineral King doesn’t have that many different options), the goal is to change the shapes, the times of day, and the angles from which I photographed the popular scenes.
  4. I pull out the list of sizes and subjects that I have already painted for this year, and then choose new photos of the ones most likely to sell first.
  5. The photos get paired with the canvases, making sure that the sizes and shapes are different from the ones already finished for the year.
  6. Each canvas gets a title, inventory number and hanging hardware.

7.  I usually begin with skies; it is most efficient to do all the same color in one session.

8. Next, I either block in the main shapes or I draw them in with a small paintbrush. None of this is how I was taught in any of the various classes and workshops. It just happens to be the most efficient way that I have developed.

9. When I have finished about half of the canvases, I begin getting tired and sloppy. So I just slap on approximate colors in the basic shapes, knowing that the next time I paint, the guidelines are in place, the proportions are correct, and there is enough paint down that the canvas won’t show through.

I had ten canvases out, primed, and wired, then only worked on eight. I wasn’t sure that the last 2 photos were appropriate for the 6×6″ canvases—too many details on too small of a canvas means too much effort for too little money. My prices are competitive with other local artists, but when Silver City takes its hard-earned bite, my “wages” drop considerably. Thus, it behooves me to be efficient with my time.

Does this post affect you the same way that watching sausage get made might affect you? Make you not want to eat sausage anymore, or make you not want to buy paintings?

I hope not!