Electronic Drawing Lesson with Buck

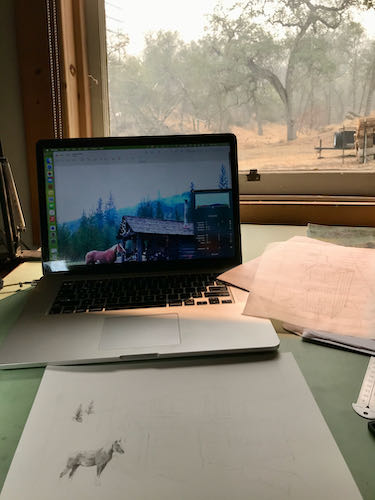
Remember my drawing student, C? She and I have been doing drawing lessons through email since last year. I haven’t updated you on her pencil drawing of a horse named Buck, whom I referred to for awhile as Mr. Curly.  I have been posting about other things, while C has been working diligently.

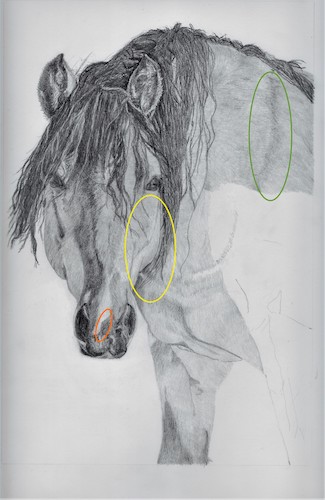
The last time I showed you:


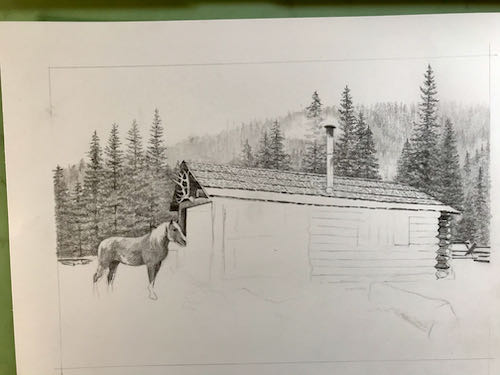
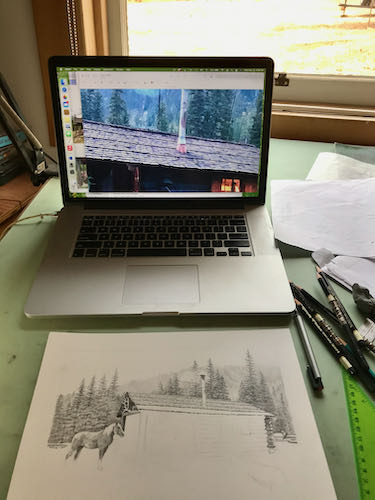
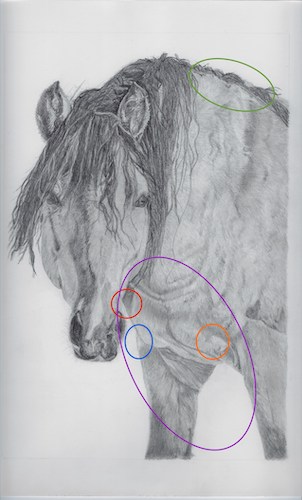
The mane is looking great. She has now begun “undercoating”, just laying down pencil for a base coat while she waits for me to tell her something helpful. I actually had very little to say because she is doing a great job on her own.

This is what I told her:

1. Yellow: the cheek sticks out a bit too far. I noticed because his face seems noticeably curvy in your drawing. This made me check the photo, and when I put a box around the area on the drawing and one around it on the photo, I could see the drawing had a wider box. Just carve off a little of the cheek by widening the mane on the right side of the cheek. A fraction ought to do the trick.
 
2. Orange: blur the edge between the dark and the light of this area so it looks like something is changing color instead of being 2 separate pieces ofnthe face/nose.
 
3.  Green: Obviously you aren’t finished with this yet so this is just a heads-up to be sure to have the dark parts of the coat much darker than the bright-light parts. There is a ton of contrast in the photo, which is part of the appeal.
 
GOLD STAR FOR YOU!! 
 
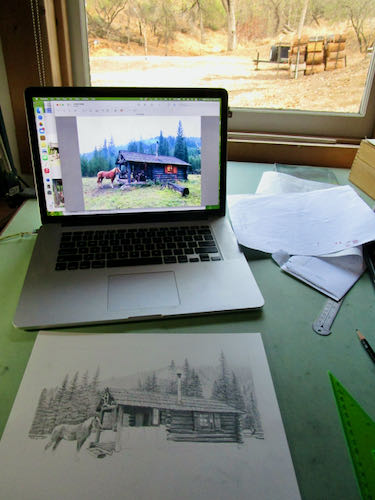
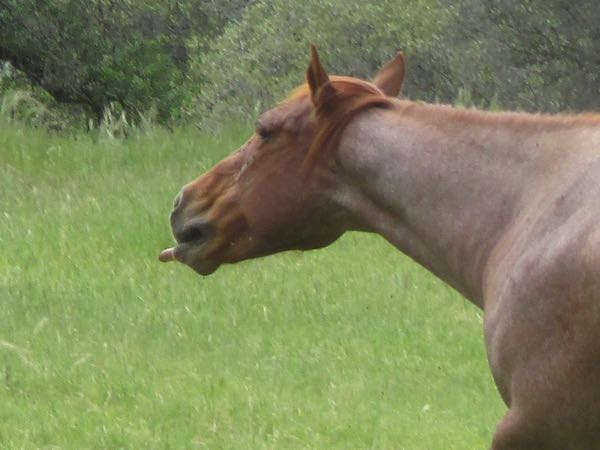
Here is her original photo so you can see what I am referring to:

And if you would like to see the previous posts about virtual drawing lessons with C, here is the list. (Each link will open in a separate tab so you don’t lose this page.)

Previous Lessons

The beginning

Lesson 2

Mr. Curly Becomes Buck (lesson 3)

Lessons via email (lesson 4)

Soldiering on (lesson 5)

It is possible I missed a link to a post; it is more possible that I just didn’t keep you all current.

Good Sales of Sequoia & 3 Rivers Art

I’ve told you that sales have been brisk. Let’s look at the pieces that have sold recently and REJOICE! I haven’t included commissions or the large panels of Giant Sequoias. I might have even forgotten a few.

I have no false illusions about becoming a Big Deal, or that this is “The New Normal”. It is a surge, and I appreciate the business. When stores sell my work, they don’t tell me who bought the pieces, so I don’t have a way to personally thank anyone. Thus, this blog post (which might also be a bit self-promotional, but then it IS the blog of my art, and this IS how I earn a living.)

THANK YOU for reading, for buying, for liking my work and my words.

More On Drawing Lessons

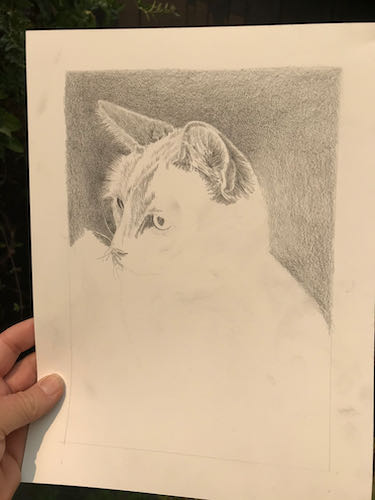
These drawings are all by my drawing students, in progress, quickly photographed by my inadequate phone.

Different levels of experience, different levels of completion, but all work at their own speeds on subjects they choose.

Some of the things I tell them: “You can try this if you really want to, but it might even be too hard for me”; “You draw better than I do so I’m not sure why you are here but I will try to help you”; “That looks really fun!”; “Oh wow, that is going to take a long long time”; “I drew something like that once and ended up hating the subject”; “That is a great photo and will make a great drawing”; “Good thing you know your subject matter because it is really difficult to tell what is happening in that little area”.

I also help with step by step instructions. Lessons last 1 hour with 4 students per class. $55/month plus supplies, no lessons in July, August, or December. If you would like to know more, email me (cabinart at cabinart dot net, spelled out because it is supposed to discourage robots from contacting me) or use the contact button here on the website.

Drawing Lessons

Drawing is not a talent; it is a skill, and if you can listen and be patient with the process, you can learn.

Look what is in progress right now with my drawing students of all levels (I took the photos quickly with my phone so OF COURSE they look better in person):

Some are almost finished, some have weeks or even months to go. Each student works at her own pace on the subject of her choosing. Some work from their own photos; others find photos from other sources. Some are doing the drawings as gifts; some turn them into cards; some have reproduction prints made from their originals to share with people; some are drawing commissioned work.

Everyone has fun (including me). 

More later.

A Horse Named Taco. . .

. . . not a horse with no name. (Might have felt good to be out of the rain, but Taco was in the fog.)

A drawing student showed me a photo that she would like to draw. I cropped it, converted it to black and white, and enhanced a few details for her to have the best version available. After all that work, I realized that I would LOVE to draw it, and not only did she give me permission, she provided a piece of paper.

I have plenty of my own paper, but she had 3 different types, wondering which one to use; I was curious about one of them. I mainly use Strathmore 400 series Bristol smooth finish, and this one was Strathmore 500 series Bristol plate finish, which is a little too slick for my needs. However, it has been decades since I used it, the higher quality (500 series is the best) seemed to have a little more texture than I remembered, and I was curious.

On a not-too-terribly-hot day, I did what a friend described as “sauna drawing” in the studio while my air conditioner was getting replaced. (Tony didn’t need any supervision, but I hung around in case he needed anything.) The drawing went quickly because the photo was so clear, but I did change a bland water tank in the photo to old boards. The paper was indeed too smooth for me – stroke marks showed up more, and it smeared too easily for my normal style; however, the smearing was very effective when it came time to put “fog” over the building in the background.

A Horse Named Taco, graphite pencil on acid free paper, 11×14″, unframed,  price unknown (make an offer?)

Big Old Country House, Done!

Done? That word brings biscuits to mind, or perhaps a tri-tip. “Completed” is probably a better word for a custom pencil drawing.

Because of the influence of my drawing students, I decided to put clouds in the sky rather than oranges or walnuts. (Oranges in the sky? Walnuts in the sky? Riders in the sky?)

Because I love our flag and love to add color, Jane and I decided to add a flag to the drawing that wasn’t there in person.

Because I want the colors to be right on the flag, I experimented on a piece of scrap paper on the drawing table.

Because it is a huge drawing, I decided to sign with my huge name. (When I paint, all I can manage with that uncontrollable paintbrush is “J. Botkin”.) I don’t know why I got into the habit of not capitalizing, but now it is an established habit.

And because it is so vulnerable, just a piece of paper, until Jane and I decide a retrieval/transfer date and method, it has to remain flat on the table, covered by tissue paper. (The drawing has [t]issues?)

The most difficult part of the entire drawing was getting a good photo. It was too bright outside, too dark in the studio, and so no matter what I tried, it had to be photoshopped to be worthy of showing to Jane. It is just too big for the scanner, so all that fiddling around had to be done.

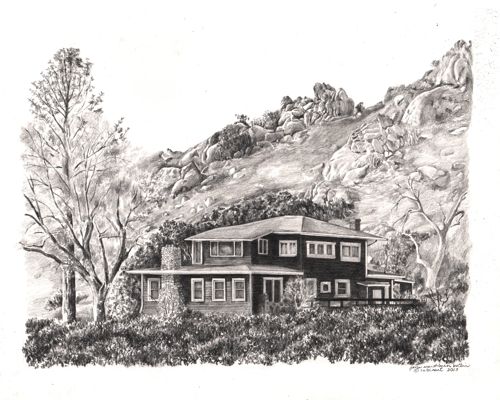
Enough teasing. Here is the Big Old Country House custom pencil drawing, 16×20″:

Using pencils, oil paint, and murals, I make art that people can understand of places and things they love, for prices that won’t scare them.

Big Old Country House Drawing, 2

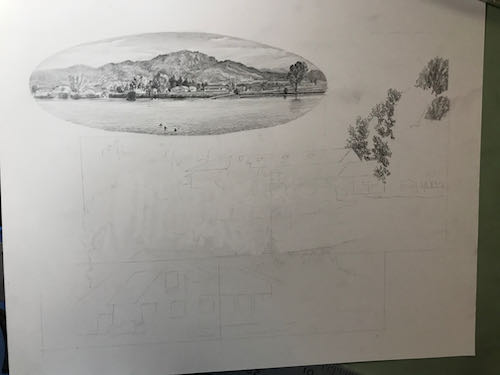
Another day at the drawing table, and only 2 photos in progress. Watching this part is a little like watching paint dry, or watching grass grow.

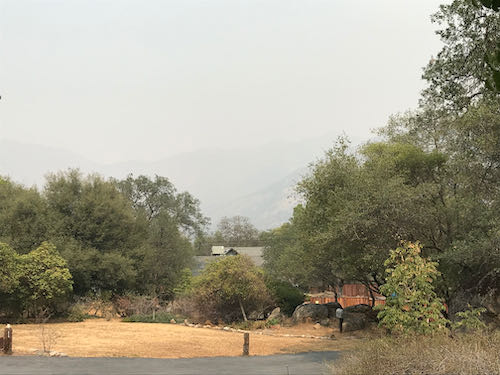
Because of pruning back the shrubs on the left, I needed more photos to show what is behind them. The shrubs on the right are also being pruned in the drawing, so more photos of that side of the house will help fill in some blanks. The very tall valley oak tree on the right is a bit of a mystery too, as is the mass of confusing growth behind it. I can’t figure out the detail on the front door, and the shapes of the windows are confounding me.

A field trip is in order for more photos. Let’s go!

The front door is wider than it appears in my drawing and has more detail on the screen than I could see in my earlier photos.
Nice detail on this window. I missed it entirely. It might not show in the angle of the house that I am drawing, but more photos than necessary are a better “problem” than not enough.
Is this thing important? I’d better ask.
Now I can see that the window over here is square and centered. (I saw the square part in real life – may not have been able to capture that in a photo without crawling into a shrub.)
How many trees are over there??
It splits into 2 massive parts but from a distance, appears to be 2 separate trees.
Wait a minute. There are several trees over there, and one is a pine.

Good thing Jane isn’t in a big hurry for this drawing.

HAPPY BIRTHDAY, RACHELLE LEDBETTER!!!

Big Old Country House Drawing, 1

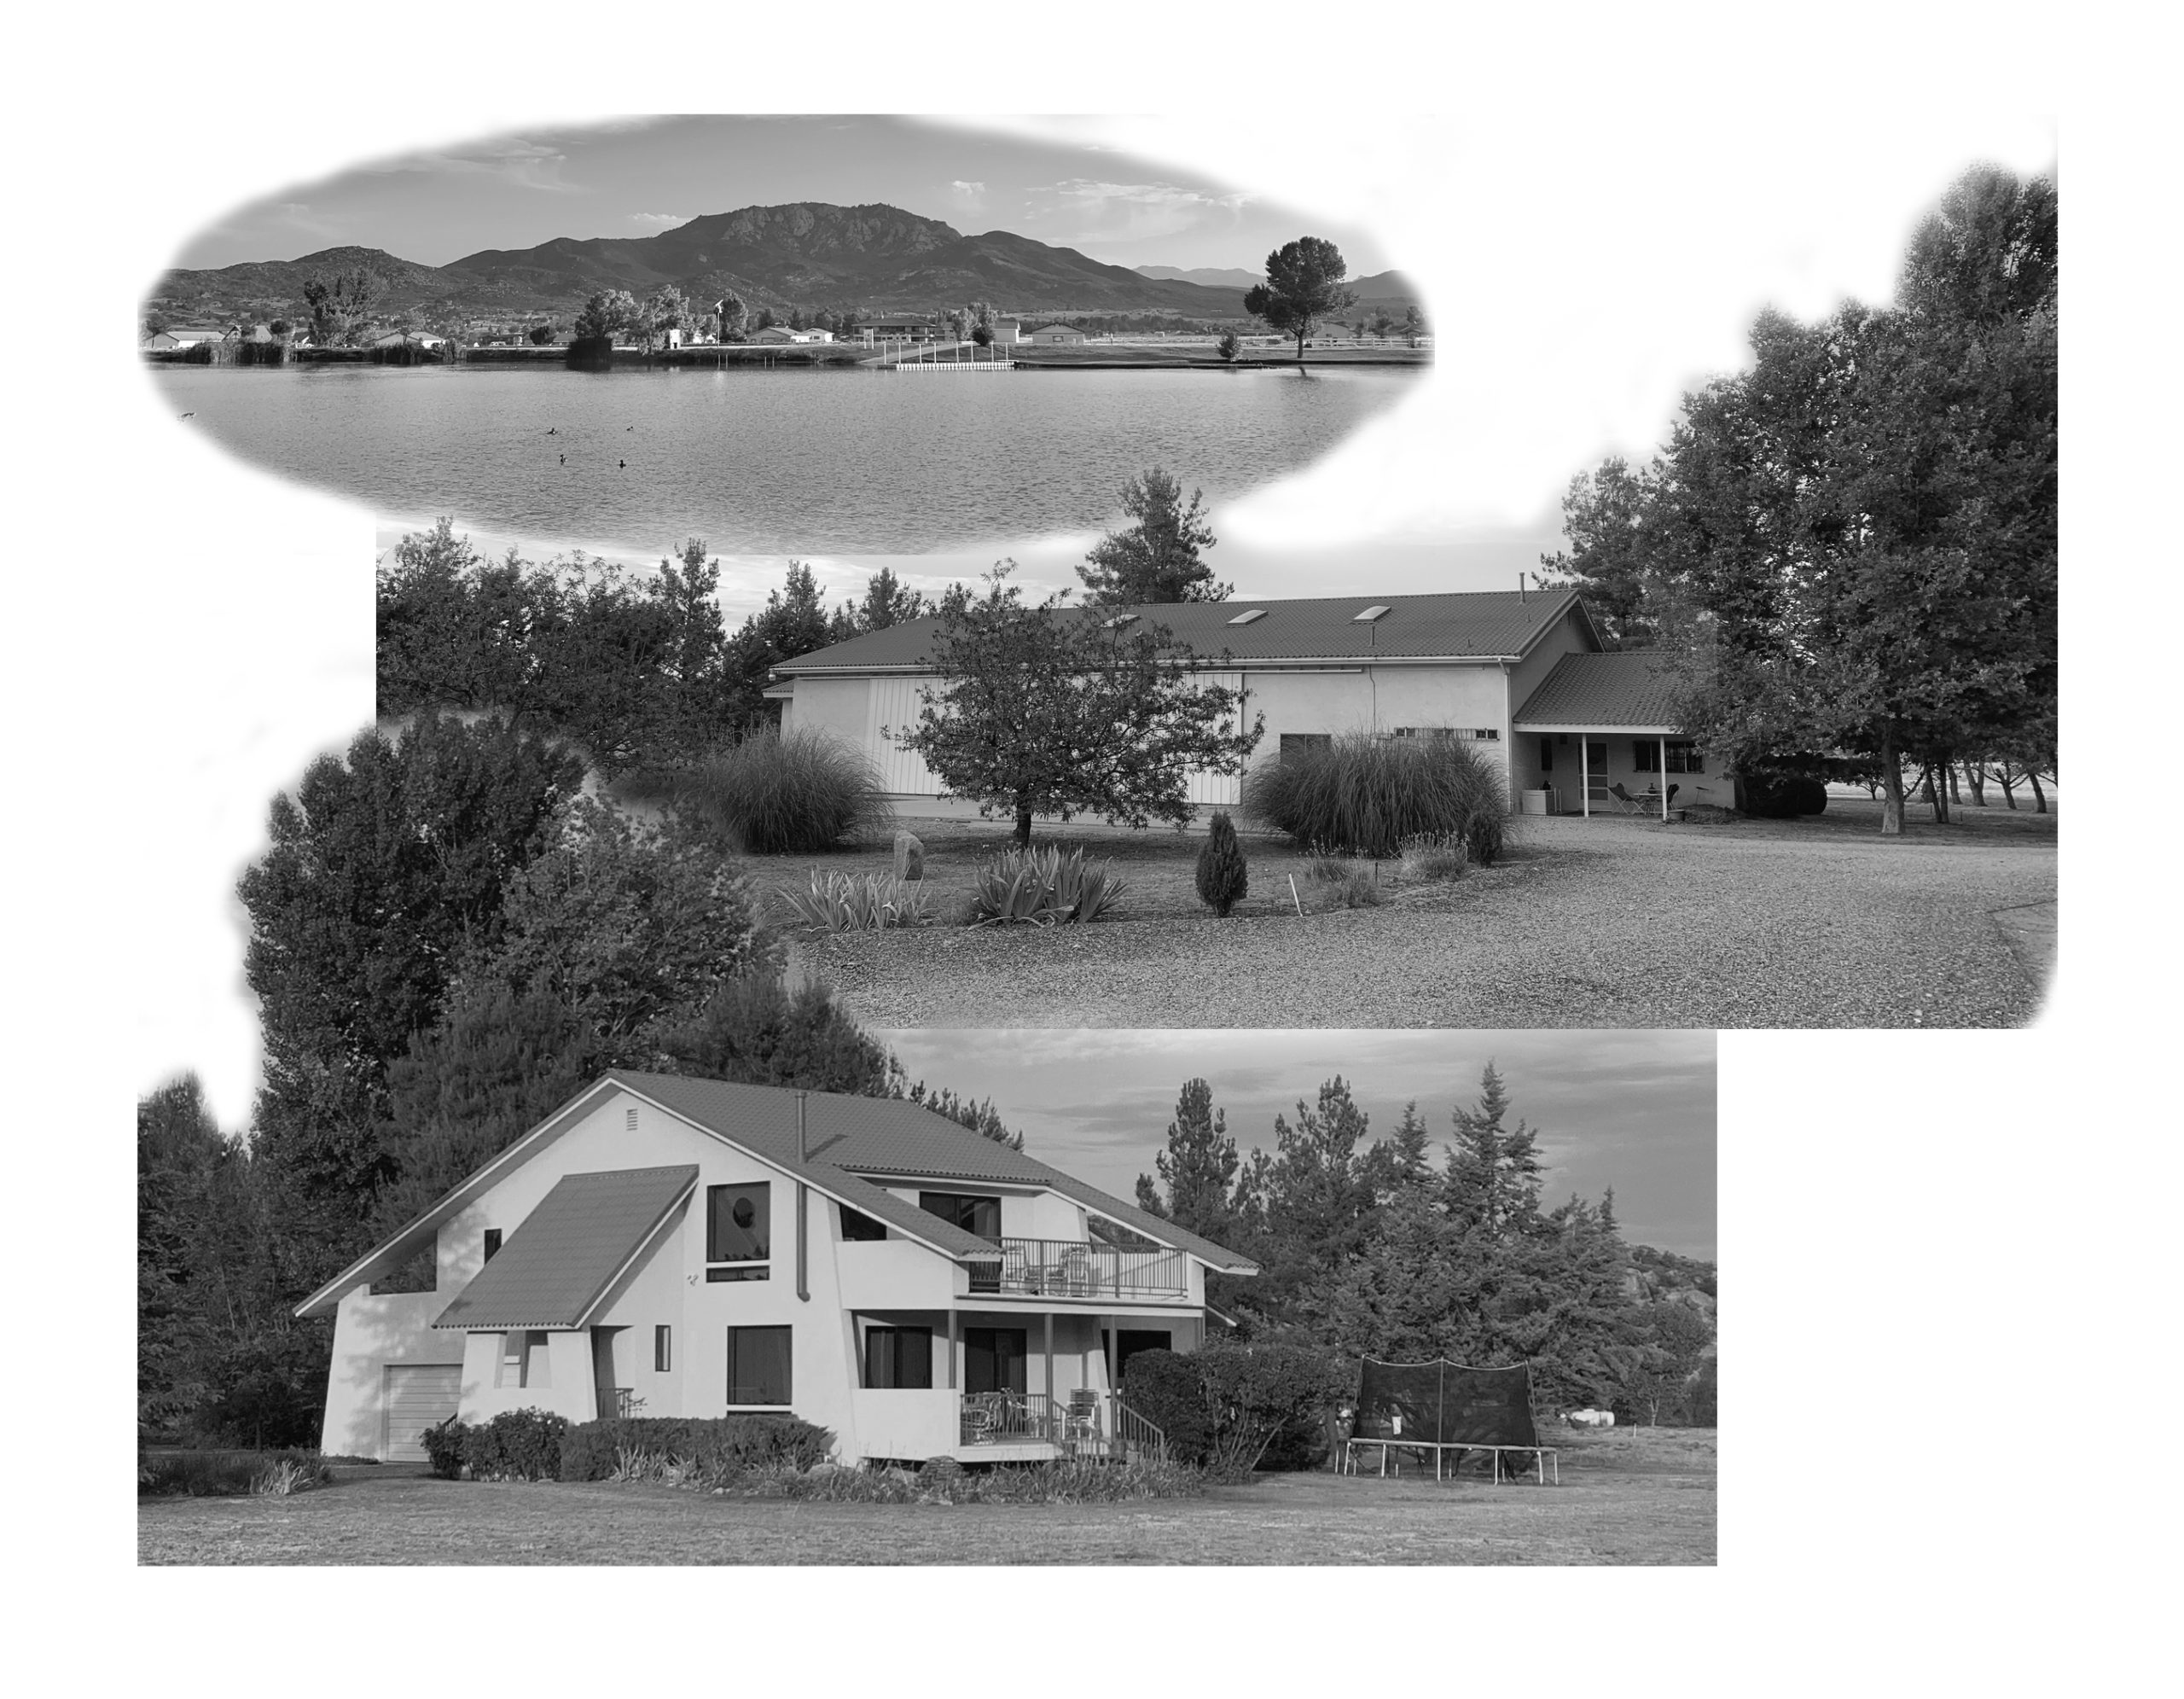
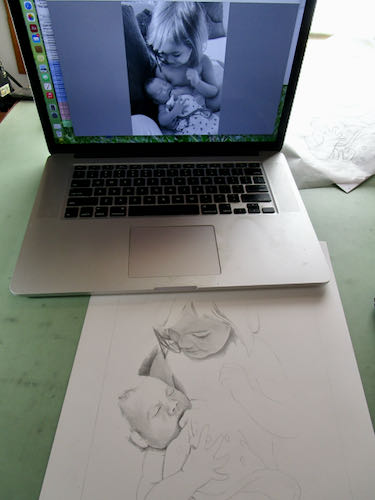
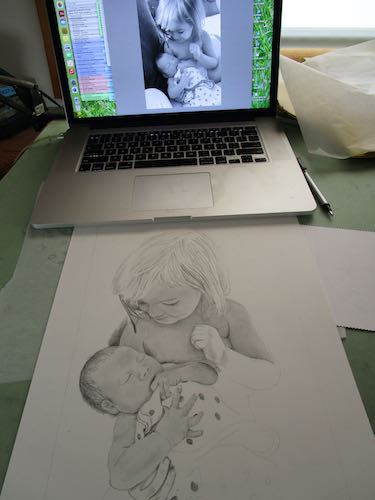
After finishing the 3 small custom pencil drawings of 3 small houses from 3 small photos, my confidence returned to begin the big custom drawing of the big old country house, working from about a dozen big photos, enlarged on my laptop screen in order to see the details clearly, drawing while looking under my big magnifying glass.

Big job. Good thing I love to draw.

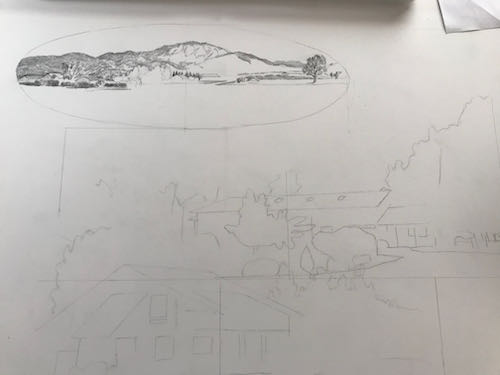
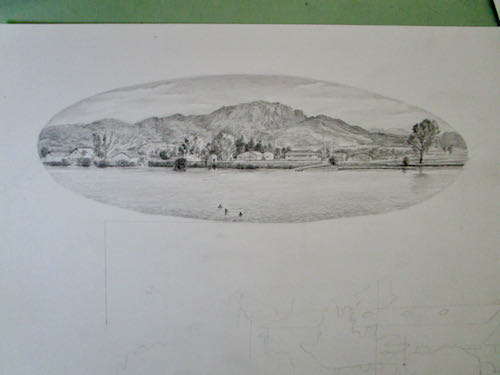
These photos represent 2 days of working on the picture. 

You can see in the last photo that I pruned the bushes back on the left in order to show more of the structure. It was a little tricky to figure out the size and placement of the window on that segment of newly exposed wall. Working from multiple photos is full of challenges, because I leave behind the security of being able to measure directly from a photo. Instead, I look at one that shows a particular item, put it in the drawing, and realize that I don’t know where it truly belongs in relation to the things that don’t appear in the photo where I got it.

See? Can’t even explain it simply. Guess you’d have to be there.

The goal is believability AND with a piece of custom art, recognizability.


Involved

Success breeds success. After finishing the two custom pencil drawings, it seemed easy to just finish the third. 

Yeppers. Still procrastinating on the giant pencil commission of the big old country house. Productively procrastinating, because I really do like to finish things.

I started out taking photos so I could show you the steps, but then I got so involved that I forgot to stop and take more pictures.

It would have been easier if the tree in the foreground was pruned before the photographer took the shot, but alas, no one was thinking about the fact that someday, some pencil artist might want to know what was behind the branch. I decided it must have been hiding a dormer window.

There are quite a few erasing tools showing up in those 2 progress photos. I used to think that erasing meant I was just an incompetent artist; eventually I have learned to accept it as part of drawing.

Nothing left to procrastinate with, so it is time to become involved with the giant pencil drawing of the big old country house. 

Inspired

The custom pencil drawing of a big old country house was intimidating, so I quickly completed a smaller commissioned pencil drawing. It went so well that I was inspired, even eager*, to begin the second piece in the series of three.

That big window on the left (a sun room?), the shadow cast by the door overhang, the slightly opened window on the right, a hint of stepping stones leading from the drive to the front door, and of course the car in the carport are the details that add charm to this little house. The only change I made was to straighten out the sidewalk.

This was a very satisfying job. Two down, two to go.

*Have you noticed how many people use the word “anxious” when they mean eager? 

Using pencils, oil paint, and murals, I make art that people can understand of places and things they love, for prices that won’t scare them.