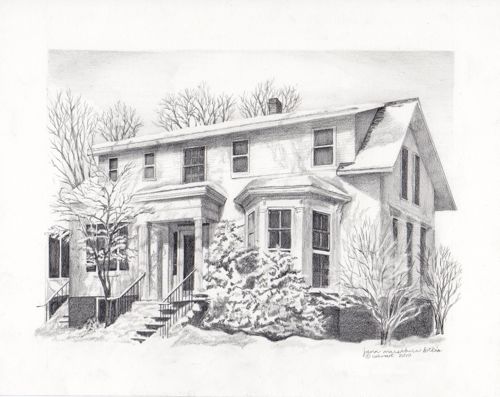
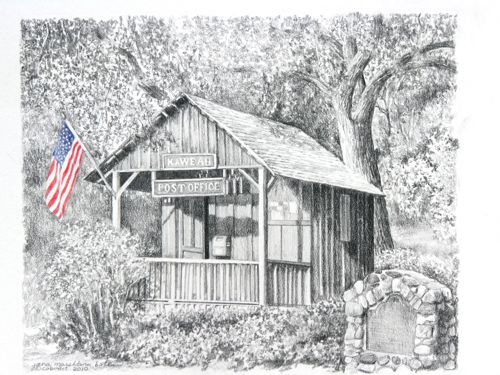
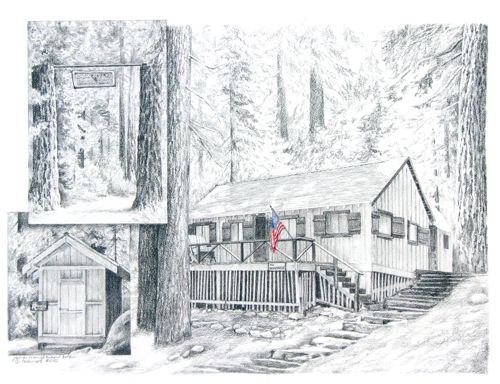
First Saturday, September 4, “Harvest”

Ever heard of The Cort Gallery? It is at 41881 Sierra Drive (river side of the highway) in Three Rivers. It is a little hard to see because the trees obscure the building, but it is worth the time to find. Gary Cort designed this building with rotating walls that swing open to the outside. He is a talented architect and artist with whimsical ink drawings. He invited me and one of my drawing students, Char Prazak, to show our pencil artwork with him on Saturday – a black, white, and shades of gray kind of event! You may remember Char’s work from a previous blog entry; here it is again:char.jpgTo preview some of the participants in First Saturday September, go here: 1st Saturday in Three Rivers

Gaposis

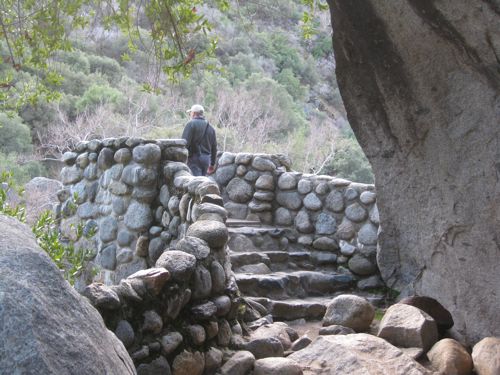
Back in the day when I used a real camera, a complicated drawing might take 2 rolls of film. Now that the restraint of “wasting film” has been obliterated, I take as many photos as I want! It is such a nice thing to never stop to change rolls. Despite the abundance of images, there are always more needed. That is why there is a large gap in the middle of this drawing.

gaposis.jpg

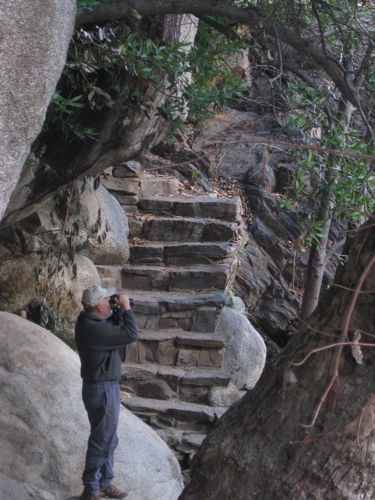
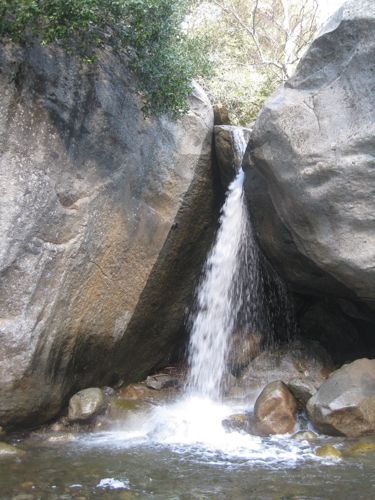
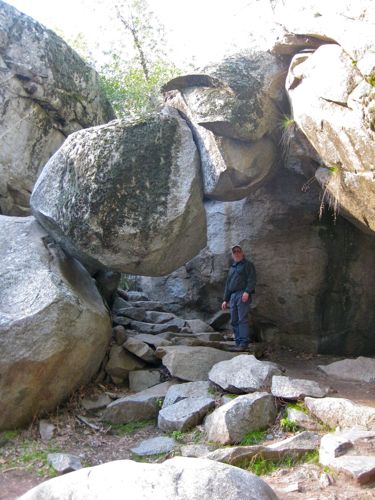
Here is the right side so you can see a bit more detail. The stone steps are so beautiful that I forget to admire the (unfinished) river!

drawing.jpg


Drawing again!

One more week in the studio due to technical difficulties with the mural. The Mural Team will sort it out, and I should be back on the wall next week. Meanwhile, back at the studio, I am working on this large drawing of a beautiful back yard on the river.

img_4365.jpg

It is taking a pile of reference photos, and a list of more needed is growing daily.

img_4363.jpg

This is the upper left corner. I started there, and now am jumping all over the drawing because I am missing so much visual information. No matter how many photos I take, I always seem to need more. This is because people hire me for accuracy, not just my “impression”. My art is called “realism” for a reason!

Learning to draw, Chapter Twenty

Could you draw like this when you were in 7th grade? I couldn’t!

img_3547.jpg

Maleah can, and she did! The center of the flower was a bit worrisome, so we handled it the way I do the more difficult parts. When working on a difficult texture, practice different techniques on another piece of paper until it looks right.

Learning to draw, Chapter Nineteen

char.jpg


A black and white copy helps see the values; a color photo has better detail.  The order of difficulty in drawing from easiest to hardest is this:  1. other people’s drawings 2. black and white photos 3. color photos 4. real life. When using other people’s drawings, all the decisions about texture and value have been made. A black and white photo has all the value decisions right there for you. A color photo requires decisions about texture and value, but it is still a 2-dimensional image. Real life won’t hold still, doesn’t have any boundaries, is full color and changes each time you slouch a little lower!

Learning to draw, Chapter Eighteen

lynne.jpg

When drawing a portrait, the most important part is the eyes. If the person isn’t recognizable from the eyes, there is more work to be done. John Singer Sargent was probably the best portrait artist from the USA (turn of the last century). He said “A portrait is a painting with something wrong with the mouth”.  Apparently, one can have the mouth a little bit off, but my experience is that the eyes must be accurate. Then, if your subject is eating watermelon, the rest is a cake walk! (sorry – i think it is dinnertime at the time of this writing)

Learning to draw, Chapter Seventeen

ricky.jpg


Ricky is new to drawing lessons, but not to drawing. He listens very carefully and then follows instructions as if he has been waiting for this information his entire life. I can teach anyone who can listen! It usually takes about 3 months of lessons (one hour a week) for the new student to start “getting it”.  The only people who don’t learn to draw from me were the ones who quit too soon.

Learning to draw, Chapter Sixteen

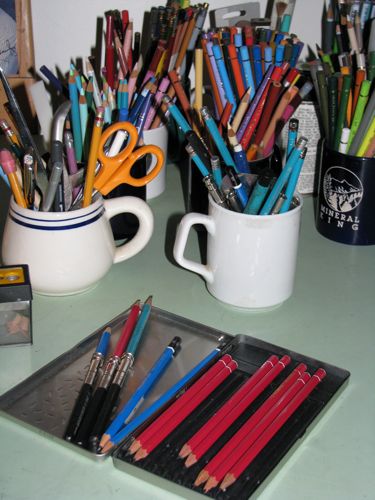
tools.jpg

If you have been following my blog entries on Learning to Draw, you may have noticed a few tools in the photos. When I was a student of architectural drafting, I discovered 2 indispensable tools – a drafting brush and an erasing shield. When you erase, crumbs are created. (duh!) If you brush them away with your hand, you WILL smear the drawing. If you blow, you might spit. (As we say in Drawing Lessons, “Spit happens!”) Only has to happen once to your drawing to teach you an unforgettable lesson about using the drafting brush.  The erasing shield looks like a tiny thin metal template. It is, sort of, but instead of tracing the shapes, it allows you to isolate the parts that you don’t want and erase them. When the corners are worn off of your eraser, the erasing shield prevents wiping out large areas by accident. Tools – we all need them!  p.s. See a corner of the triangle? OF COURSE I use a straight edge! How else can I draw perfectly straight lines??  Cheating? Not!

Learning to draw, Chapter Fifteen

olivia.jpg

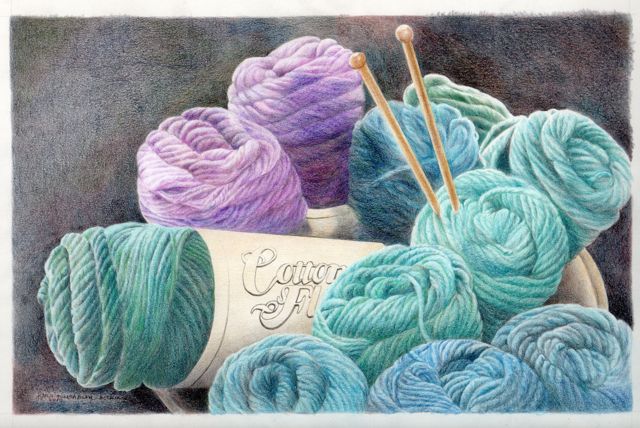
Ever think about drawing a bird’s nest? Olivia found a nest full of eggs and took multiple photos. Did you know that blue jays lay bluish-green eggs? I learn so much from my students! Her plan is graphite on the nest and colored pencil on the eggs. When drawing a complicated and repetitive subject, block out all but the section on which you are working. Post-it notes are perfect for this.

Learning to draw, Chapter Fourteen

wendy-2.jpg

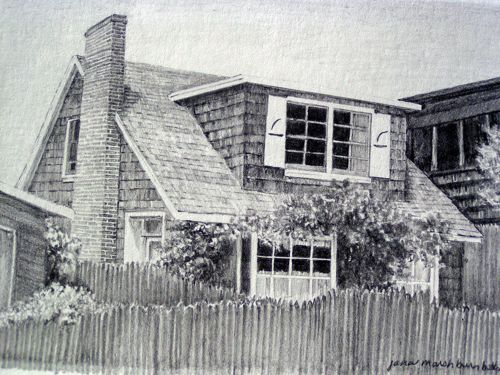
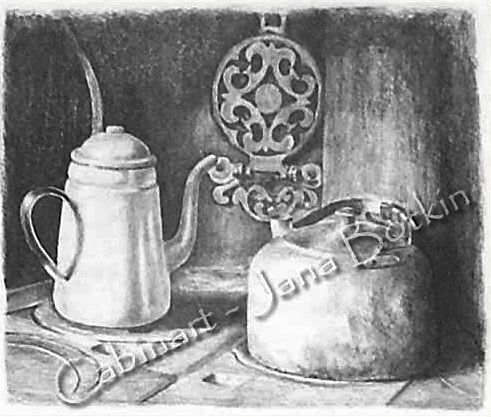
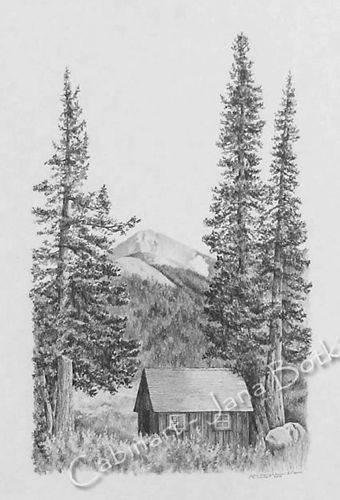
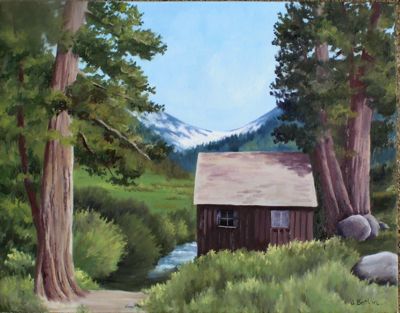
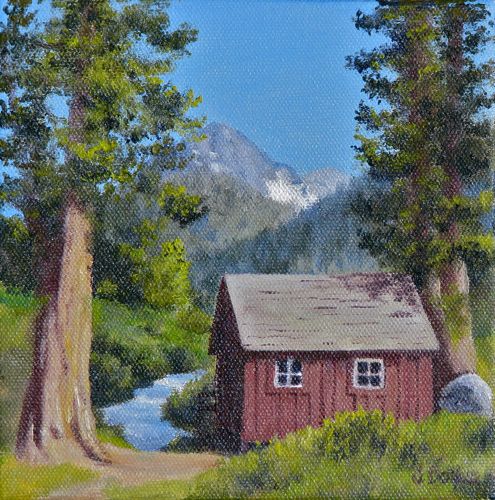
Drawing buildings is the first thing I did in my career. Cabins, specifically. (“cabinart”, anyone?) These are not difficult for me, but many of my students would rather do anything else, even faces! Wendy is up for any challenge on a piece of paper – here is her beginnings of the Presbyterian Church in Three Rivers, a beautiful structure in a beautiful setting. The most important things to know in rendering buildings accurately are these: 1. vertical is ALWAYS vertical – it is the horizontal lines that do the slant tricks and 2.  it is okay to use a straight edge to make straight edge.