Love to Draw!
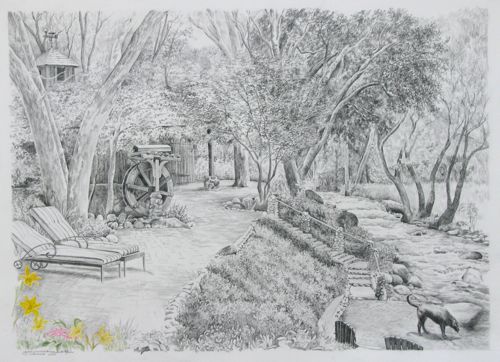
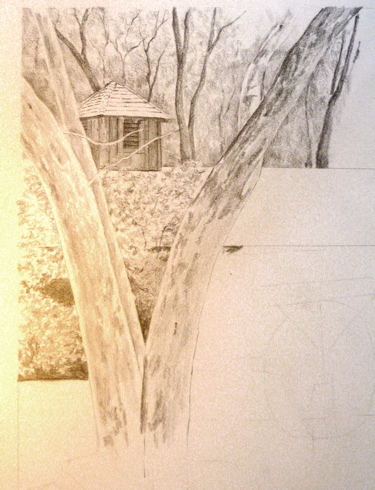
All summer I have been in conversation and planning for a drawing of a cabin. It has grown from a simple drawing to a collage, and the very trusting and polite customers have given me freedom to do it anyway I want. Often, the customers like to participate in the planning and be given a few choices and have a little input. These folks have taken a different approach, and it is a tad bit nervous-making, and quite a bit of fun! Here is what is completed as of today:
It just takes me back to my roots of pencil, commissioned work, and, well, cabinart!
A large drawing in progress
This is the picture that has required 3 photo sessions so far. Yesterday I returned around noon, the time I initially photographed the scene. However, I forgot to take into account the changing season and new location of the sun. So, I now have the new photos with more visual information but the shadows are in the wrong places! That’s a workable problem – the other photos are showing me how to handle the light. I just may finish this next week after all!
Learning to draw, Chapter Twenty-One
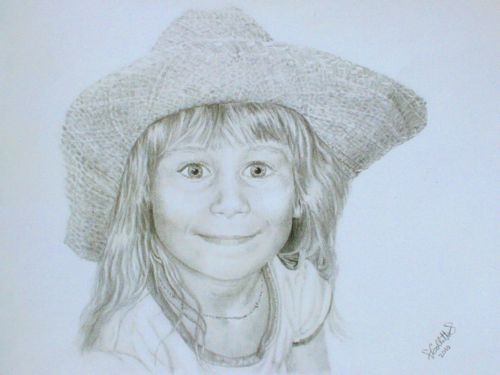
I have a drawing student who has been very diligently working at her skills for perhaps 10 years. When we first met, my classes were full and the waiting list had 70 or 80 names on it. Her desire to learn was so strong that she asked me to recommend a book to her. As always, Betty Edwards’ Drawing on the Right Side of the Brain was my only and best idea. She bought it, worked through the exercises, and when space in my classes became available, it was apparent she really didn’t need drawing lessons from me! She disagrees with that analysis, but have a look at her work:
First Saturday, September 4, “Harvest”
Ever heard of The Cort Gallery? It is at 41881 Sierra Drive (river side of the highway) in Three Rivers. It is a little hard to see because the trees obscure the building, but it is worth the time to find. Gary Cort designed this building with rotating walls that swing open to the outside. He is a talented architect and artist with whimsical ink drawings. He invited me and one of my drawing students, Char Prazak, to show our pencil artwork with him on Saturday – a black, white, and shades of gray kind of event! You may remember Char’s work from a previous blog entry; here it is again: To preview some of the participants in First Saturday September, go here: 1st Saturday in Three Rivers
Gaposis
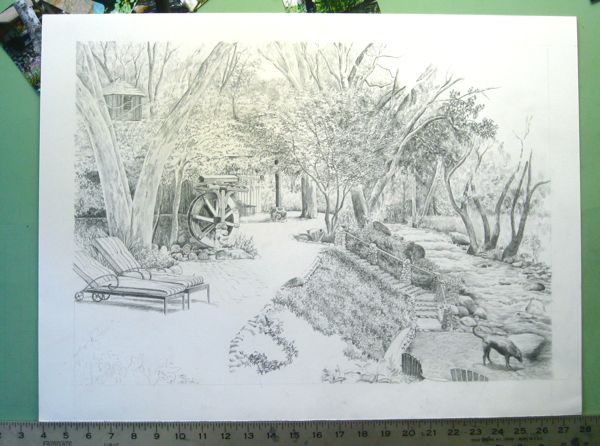
Back in the day when I used a real camera, a complicated drawing might take 2 rolls of film. Now that the restraint of “wasting film” has been obliterated, I take as many photos as I want! It is such a nice thing to never stop to change rolls. Despite the abundance of images, there are always more needed. That is why there is a large gap in the middle of this drawing.
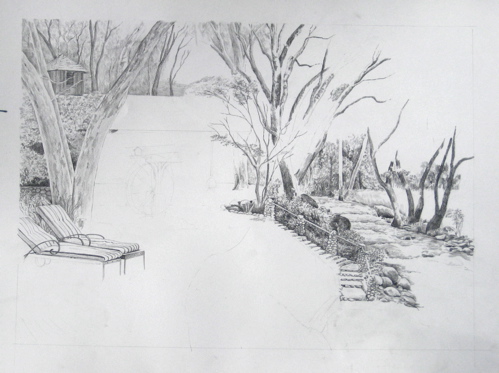
Here is the right side so you can see a bit more detail. The stone steps are so beautiful that I forget to admire the (unfinished) river!
Drawing again!
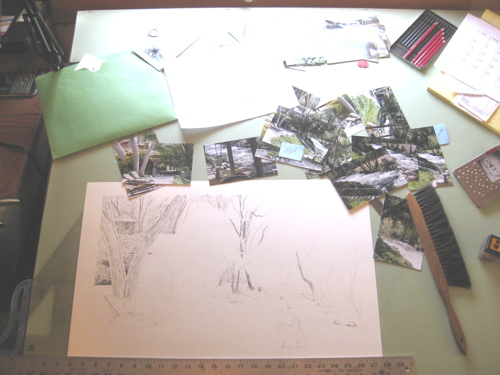
One more week in the studio due to technical difficulties with the mural. The Mural Team will sort it out, and I should be back on the wall next week. Meanwhile, back at the studio, I am working on this large drawing of a beautiful back yard on the river.
It is taking a pile of reference photos, and a list of more needed is growing daily.
This is the upper left corner. I started there, and now am jumping all over the drawing because I am missing so much visual information. No matter how many photos I take, I always seem to need more. This is because people hire me for accuracy, not just my “impression”. My art is called “realism” for a reason!
Learning to draw, Chapter Twenty
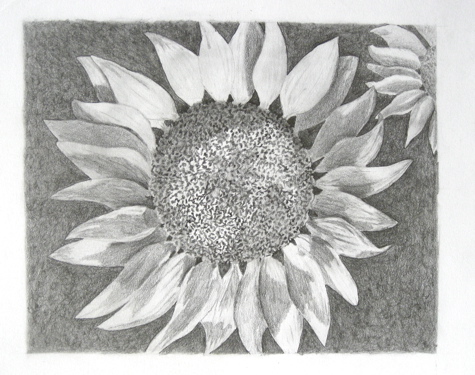
Could you draw like this when you were in 7th grade? I couldn’t!
Maleah can, and she did! The center of the flower was a bit worrisome, so we handled it the way I do the more difficult parts. When working on a difficult texture, practice different techniques on another piece of paper until it looks right.
Learning to draw, Chapter Nineteen
A black and white copy helps see the values; a color photo has better detail. The order of difficulty in drawing from easiest to hardest is this: 1. other people’s drawings 2. black and white photos 3. color photos 4. real life. When using other people’s drawings, all the decisions about texture and value have been made. A black and white photo has all the value decisions right there for you. A color photo requires decisions about texture and value, but it is still a 2-dimensional image. Real life won’t hold still, doesn’t have any boundaries, is full color and changes each time you slouch a little lower!
Learning to draw, Chapter Eighteen
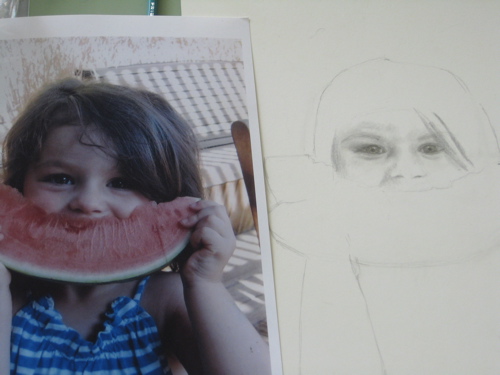
When drawing a portrait, the most important part is the eyes. If the person isn’t recognizable from the eyes, there is more work to be done. John Singer Sargent was probably the best portrait artist from the USA (turn of the last century). He said “A portrait is a painting with something wrong with the mouth”. Apparently, one can have the mouth a little bit off, but my experience is that the eyes must be accurate. Then, if your subject is eating watermelon, the rest is a cake walk! (sorry – i think it is dinnertime at the time of this writing)
