And the Ornament Saga Continues

The conversation between Mr. Communicator (aka The Customer) and The Artist (aka The California Artist) continues: (Please excuse the size jumps – can’t figure that out!)

Mr. Communicator:

I tend to over-communicate, but only to ensure it all gets said.

The Artist:

Quick, tell me if the back is okay! If it isn’t, I can wipe it off with turp before it begins to dry. I abbreviated. My printing looks childish, so it won’t bother me if you nix the back.

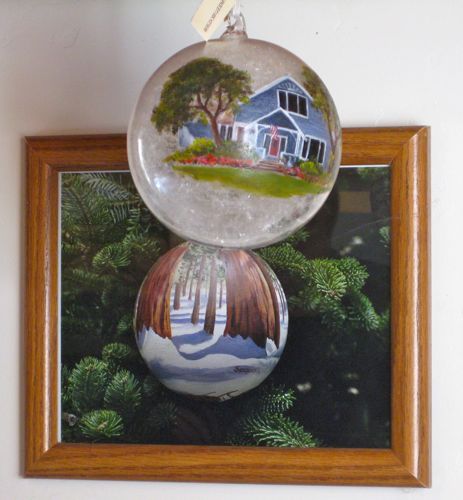
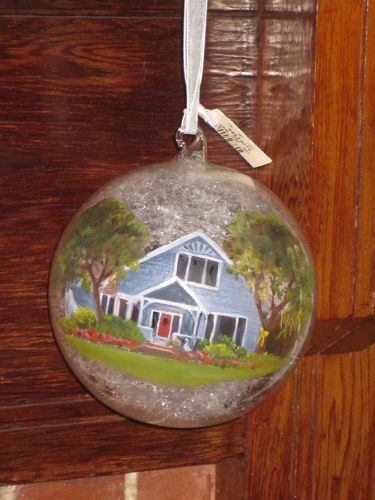
And the front has been repaired with the yellow ribbon, pedestal and goose added (and a plant, sort of rough right now). After this layer dries (and it doesn’t seem to need to dry completely as the first layer needed) I can add the American flag. And, I hope to tighten up things a bit more.

Mr. C:

I think the back is fine. It’s definitely needed to complete the ornament.
On the front of the porch, can you add the oval window on the front door?
And can you also add in the 2 white pillars that flank the front steps? I think they need to stand out a bit along with the supporting arches.
Also the sun burst above the top window is actually white. Can you just lighten that up on the next pass?
Artist:
Good, yes, yes and yes.

Mr. C:

One last thing. It appears there’s no roof on the top of the extension to the left. Not sure how to do that because it’s behind the tree, but it does have a brown shingles roof.

Artist:

Yes, I saw that and tried to coast. . . 😎
Artist:
I answered the “good, yes yes and yes” too soon – here is a bit of disclaiming and whining and self-excusing just in case I can’t deliver on all of yesterday’s optimism.

The goose and pedestal look dumb because they are too small for my brushes. Will try again but may have to eliminate.
Didn’t see oval window on front door – hidden behind wreath! I’ll try the oval – if it doesn’t work, I’ll put the wreath.
That sunburst – I didn’t see it as white – only saw the dark spaces between the slats! Will lighten the slats around the dark spaces.
Will work on the porch posts to get them to appear better along with the “arch supports”.
All of this tiny stuff is really too small for my smallest brush, but I will go to Visalia tomorrow and see if I can locate a one-hair-brush. (You’re killing me!!)
Mr. C:

I know it’s a challenge and I’d apologize but I think you’ve already risen to the challenge!
I’ll let you decide about the goose and pedestal since you have the best view. It doesn’t need to be perfect, but you tell me.
This project is basically the antithesis of the big mural you just did!

Antithesis defined

Mr. Communicator aptly pointed out that the ornament is the antithesis of the mural I just finished. Oh so spot on! The word means “opposite” or “in stark contrast to”.

I’ve tightened things up even more. First, the photo. Second, the list of thoughts.
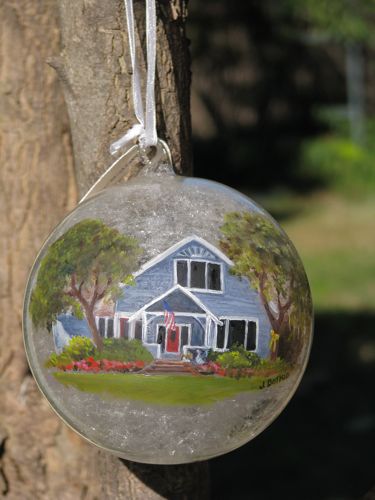
  1. This thing is almost impossible to photograph. Can’t hold it in the light because both sides are wet; the flash is too reflective and wipes out some of the detail. But, I rose to the challenge, time and time again, both for you and for Mr. Communicator.
  2. It is wet on the back because it has the family name, address and years of living in this house. You don’t get to see that part. Remember, this is a secret operation!
  3. I found a smaller brush!  Must have been saving it for this very project.
  4. I may not have charged enough. On the other hand, I may have overcharged, because Mr. Communicator has had to listen to a fair amount of whining.
  5. Can you see the goose?
  6. Some of the fuzzy/wobbly looking lines are because the paint thickness varies and the light reflects off of it unevenly.
  7. It looks better in person.
  8. Isn’t my fireplace mantel/surround pretty? It is one of the 4 things I liked about this house when we bought it 13 years ago this very month.
  9. Notice the yellow ribbon.

Show Summary

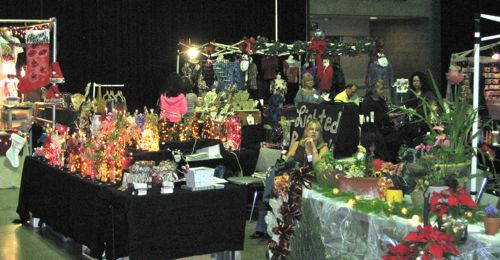
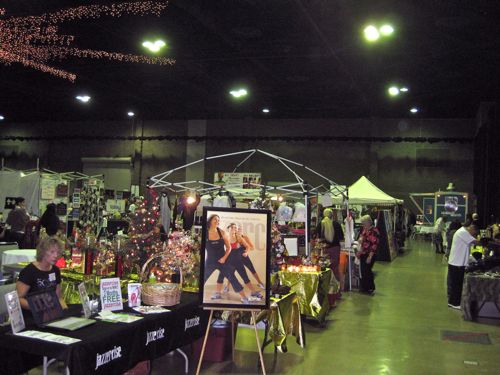
In the interest of following up on Friday’s post, here is the summary of the weekend show in 8 points.
1. My booth looked great.
2. My booth neighbors were delightful, as were the show organizers and all the visitors too!

3. I saw many old friends and made some new ones.

4. This wasn’t really the right place for my art work.

5. Stuff sold anyway.

6. Not as much as I hoped.

7. That’s okay – I have another show next weekend (Three Rivers Senior League Bazaar), and the one after that too!

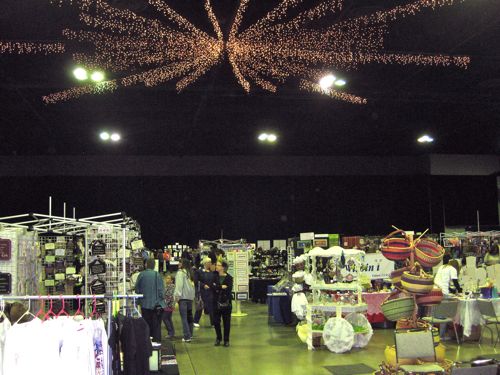
8. There was a neato star thingie on the ceiling of the convention center.

Paintings In Situ

“In situ” is Latin for “in position”. My brain is full of these helpful pieces of information, and I have no earthly idea how they got there.

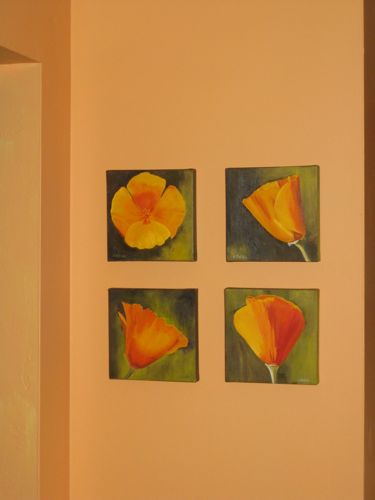
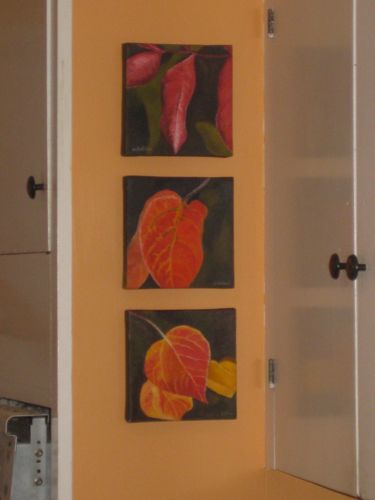
These paintings, however, got to their location with great intentionality. My good friend and neighbor wanted to repaint her kitchen. She wasn’t sure how to pick the color, so I suggested that she show me some colors she was considering, and I would mix a small sample for her to try.

One Sunday afternoon I took my paints over, and together we put patches of various shades all over her kitchen walls. When she saw a certain orange that just made her feel happy, with great laughter we dubbed the color “Orange Blossom Special”.

Once her kitchen was all painted, I came over to see it. (Just call me “The Blister”  because I showed up after all the hard work was done.) The kitchen was looking happy, but it lacked some art.

We hustled back to my studio, loaded up a box with paintings that might work and tried multiple combinations until we found the right blend (just like mixing the paint!) Of course, she is only graciously storing them for me until the next show (and the next and the next, ad infinitum, which is Latin for “to infinity” or until they find another happy home).

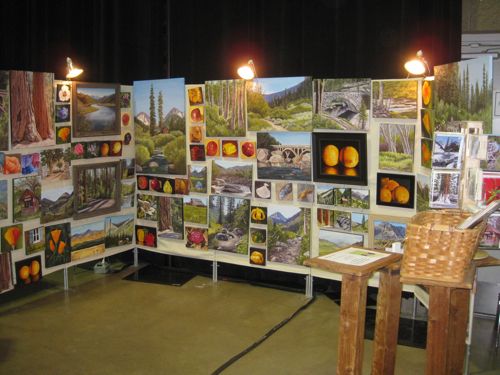
Spring and fall, both represented here. ( California poppies by a California artist, Mr. Google!)

P.S. You are welcome for the Latin lessons.

P.P.S. It was great fun to mix paint colors and help her choose! Should I add this to my list of art services provided? (Stop thinking I should just lend out my art! She is doing me a favor by modeling the paintings AND storing them!)

P.P.P.S She said “Not to be mean, but I hope they don’t sell!”

What If I Gave A Party. . .

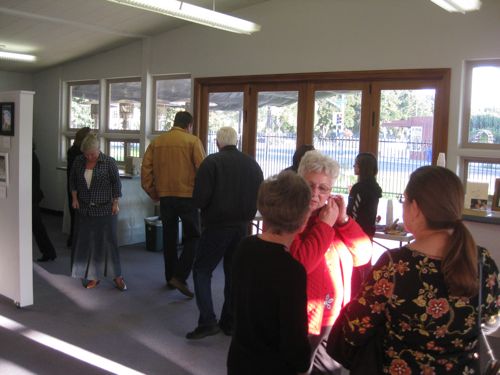
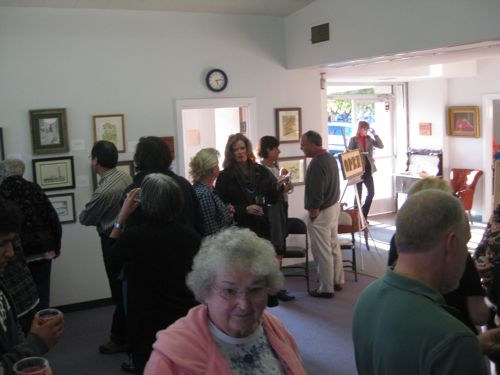
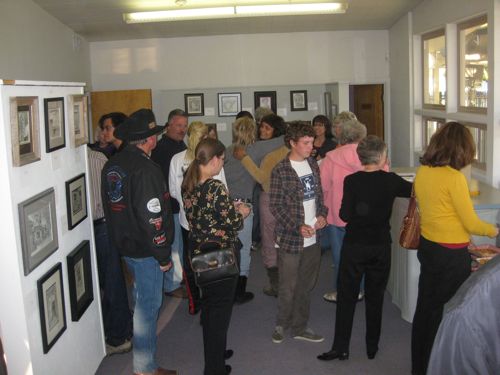
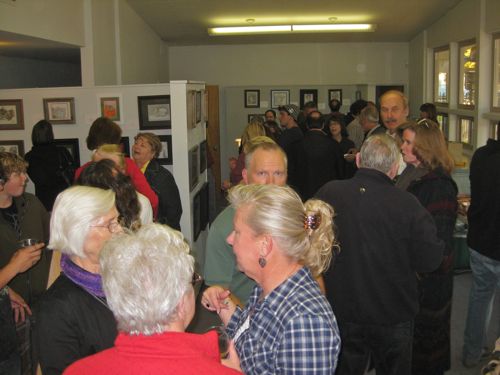
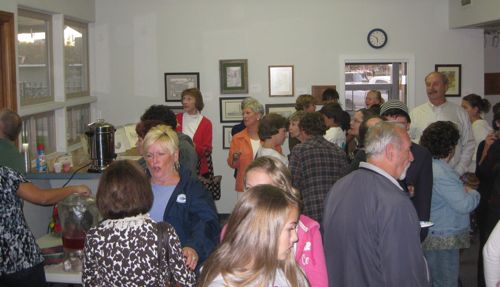
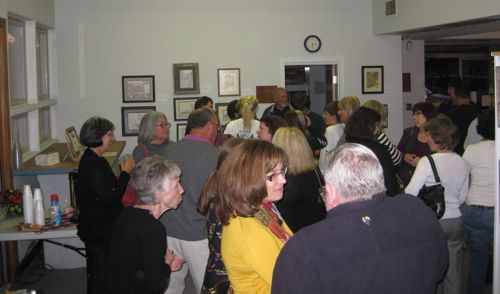
. . . and EVERYONE came! The art show for my students was a HUGE success. It was elbow to elbow for almost the entire 2 hours. The work looked stunning, and if I had been any prouder of my students, lightning might have struck us all.

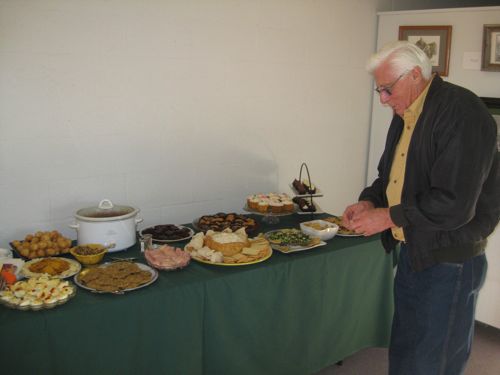
First, HUGE THANK YOU to Michael, Robin and Sylvia for taking charge of the food and beverages so that no one else got stuck in the kitchen and could just enjoy the show. THANK YOU!

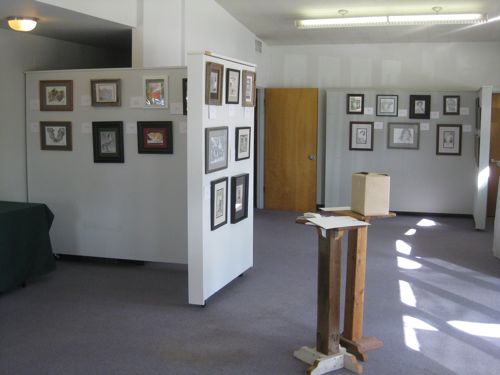
One of my long term students, Jackie, helped me hang the show. I think she has been taking drawing lessons for around 6 years. We grouped the pieces by subject – portraits, florals, landscapes, animals. Then, I just enjoyed it by myself for awhile in the afternoon. (There is more art than appears in this photo, of course. Just didn’t want to antagonize you by showing you all 52 pieces so far away that you can’t really see them.)

The brown box is where you put your ballot after you vote for your 3 favorite pieces. The artist whose piece has the most votes will get a month of free drawing lessons!

This is Jerry – he is the husband of one of my drawing students. He bravely volunteered to be the first at the food table, and to let me photograph him “for scale”. 😎

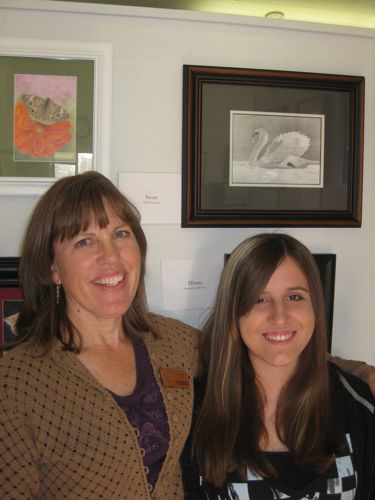
Kirby and me – 2 different people want to buy her swan drawing! (I couldn’t get the silly happy grin off my face for the entire evening, and my hair did look better in the morning, thanks for asking.)

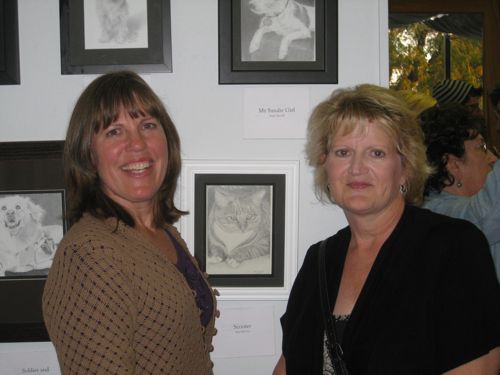
Kim and me – between us is her first pencil drawing, her cat Scooter. And isn’t it cool that Kim and I are birthday twins, although I am about 1 hour older which means I get to boss her around.

The show will be on display at the Courthouse Gallery of the Arts in Exeter until the Tuesday after Thanksgiving (because that is the last day of drawing lessons for the year and everyone will take their pieces home then.) The hours are Tuesdays 12:30-5:30, and Saturdays and Sundays 10-4.

Mineral King Bridge, Part 15

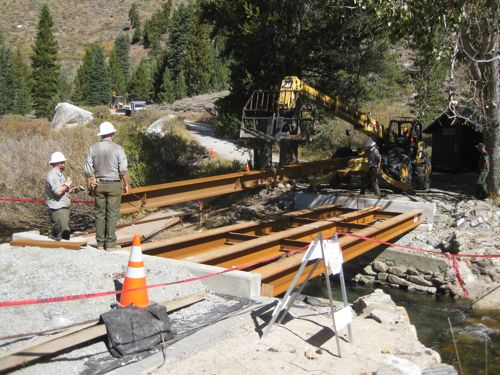
You may recall that the estimated date to have the bridge be passable is October 20. That’s today! When we last left our Marshmallow Heads, they had successfully placed all 4 stringers. So, what is going on in this photo??

Give up? The pre-drilled holes on the stringers did not line up with the holes on the horizontal cross pieces. Oh man, I hate it when that happens.

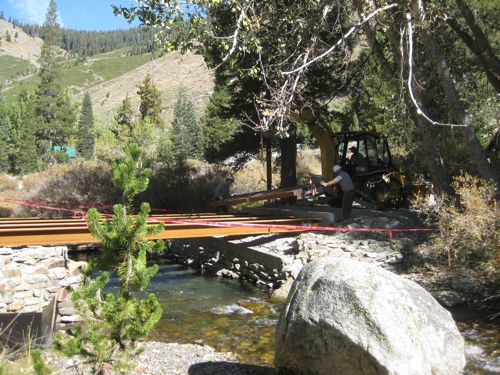
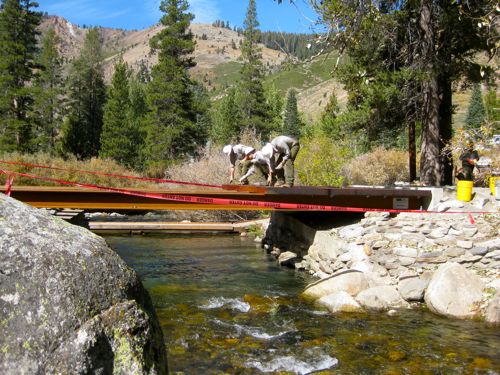
This is just a scenery shot. I am a California artist, and I appreciate the scenery of my mountains. (Just sayin’, in case Mr. Google has started to forget me.)

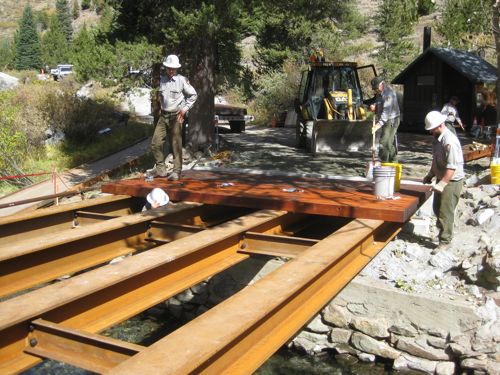
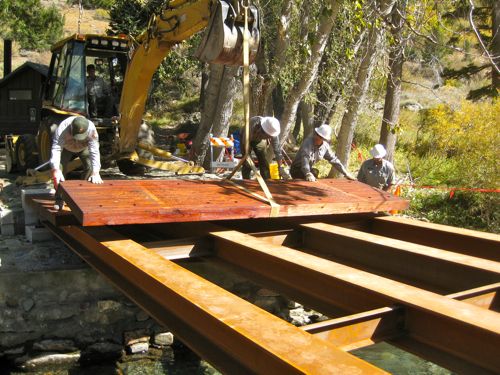
Lookie! The first deck slab is in place! (See the floating Marshmallow??)

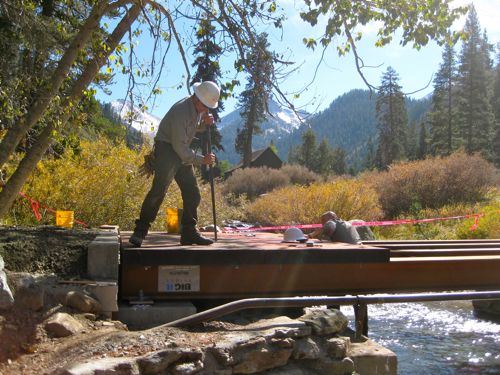
This hardworking Marshmallow Head is using a rock bar to set the carriage bolt into the slab.

Here comes another one. These units weigh “several hundred pounds”, so a Big Yellow Machine places it with the help of a few good men and one who isn’t wearing proper head garb.

More scenery, because it is just so beautiful.

Guess this will have to be continued tomorrow, because I like the power of keeping you all hanging. Sometimes I am just mean like that. Not only am I mean, sometimes I can’t count either. This problem shows up from time to time in my knitting, and occasionally in my checkbook. In this blog, you may have noticed, as Craig did, that there is no Part 10 in this series.

Mineral King Bridge, Part 12

My favorite marshmallow head arrived just in time to take this beautiful photo of the last third of the bridge. (Lest you think he was lollygagging around, he was hauling up a load of stuff.) These marshmallow heads are rigging the last section to the telehandler (not to be confused with a teleprompter).

See that big yellow machine? It is the telehandler, a forklift on a telescoping arm with a 45′ reach. (Oh yeah, call me Mrs. Marshmallow Head – I get this stuff!)

Cool, hunh?

Those stringers don’t look half bad from this angle. I refer you back to Mineral King Bridge, Part 7. If the really crumbly parts are sawed off, the rest of the stringers will probably find a second life somewhere else in The Park. And, oops, did we drop an I-beam?

The pieces are stacking up. My favorite marshmallow head will haul them down the hill on a trailer. That isn’t really a load I want to meet on the Mineral King Road.

There goes the I-beam. That was just kind of stuffed underneath the bridge when Federal Highways came through in 2009 and had a cow. Those concrete pads are part of that era, and have to be cleaned out. My favorite marshmallow head donned his waders and spent some time in the stream arranging chains around them. Since he was the photographer and it is my camera and I don’t really want it to get wet, you don’t get to see that part. Besides, he is sort of modest and doesn’t want to show off too much.

Mineral King Bridge, Part 11

Have you just been dying to know what is going on with the bridge? There were 2 snow/rain days, a fake holiday, and then Michael took these photos for us on Tuesday, October 11. Since I wasn’t actually present, my comments will have to be taken with a grain of salt or two.

Abutments completed, bridge still fairly intact, marshmallow heads making plans for bridge removal. (If you are squeamish about the thought of this bridge getting hauled away, you might want to change channels now.)

ARE YOU KIDDING ME???!! That man is using a chainsaw on the deck boards!

He really is! See the swept off portions? See the cut marks running the length of the bridge? Holy cow! So much for the deck boards getting salvaged and removed. . . there must have been at least ten different requests for them. They really weren’t in that good of shape.

Bye-bye, railing that has known countless butts.

Sniff.

The chainsaw massacre continues. Sometimes a man’s gotta do what he’s gotta do.

Now what are they going to do with the pieces?

‘Scuse me, please. This California artists needs to go lie down for a bit.