What You Really See

As we learn to put on paper what we really see instead of our symbols, it is shocking to learn how much is really there and how it is really shaped or sized. Drawing upside down is one tool; tracing the basic elements and only looking at the tracing instead of the photo is another tool. Another way to simplify what is in front of our eyes is to squint, and the detail fades.

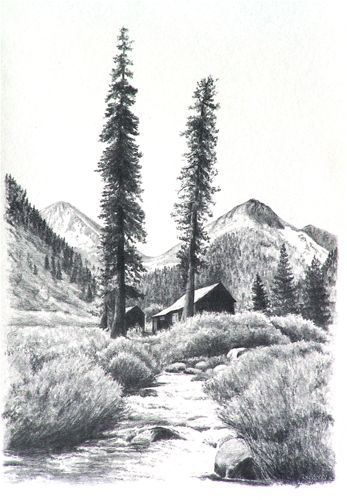
You saw an example of Farewell Gap as it was interpreted by someone who didn’t see or chose to ignore reality. Here is a drawing I did of Farewell Gap a long time ago when I was still bound to photos. It was such a thrill to put on paper exactly what I saw that I didn’t have any interest in editing or creating. I was lost in the joy of “I CAN DO THIS!”

This is not the actual photo from which I worked – 1994 is too long ago for me to be able to put my hands on that exact piece of paper! However, here is the photo of Farewell Gap for comparison purposes:

What we think we see

When we are beginning to make art, we depend on symbols more than visual information. The symbols come from our memory, from what we know. The visual information comes from what is in front of our eyes, regardless of what we know. You may know that a table has a round top, but what your eyes are telling you is that it looks like an oval. How can this be?? What do I trust? It takes a leap of faith to ignore what is in your mind and draw what is in front of your eyes. The first time someone tries this and it looks “real! it looks like a photo! I can draw!”, it is a thrill!

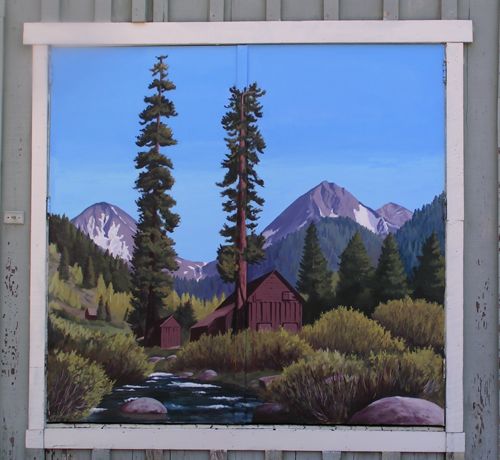
At the risk of annoying or offending (always a risk – why are folks so spring-loaded these days??), I want you to see a mural in downtown Visalia. I don’t know who painted it and I don’t know their instructions. I also don’t know their intentions. What I do know is it appears to sort of be Farewell Gap, sort of, maybe, kind of. This is an example of someone looking at a photo and painting from symbols in their heads. Those of you who are spring-loaded in the defensive position may be thinking that the artist(s) were being creative, not bound to the photo, and simply expressing themselves with a derivative work, using the photo for reference, et cetera. That’s fine, but I am trying to show examples here, and this fits, so just take a deep breath and try to follow along.

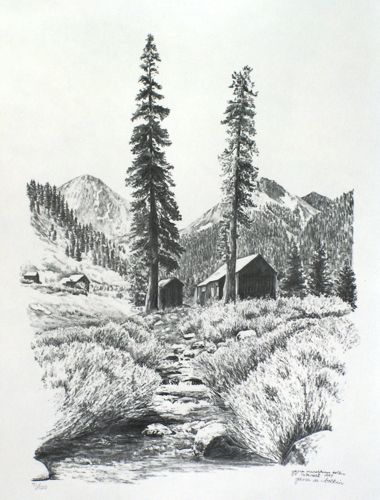
For comparison, here again is the photograph of Farewell Gap:

Workshop in Porterville

What a strikingly beautiful weekend! This type of day is why February is my favorite month. This is the depot where the workshop was held:

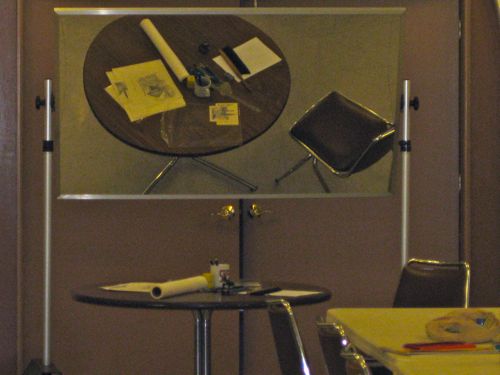
This is the mirror so I could show the massive crowds my work and they could watch me produce it. Nice idea, but there were about 9 folks who braved the storm Friday night, so I was able to pass around my examples and let each person examine them closely.

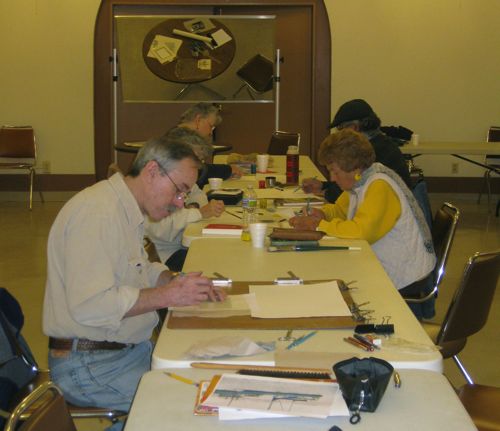
These are the folks who decided to return on Saturday for the hands-on workshop. There could have been a crowd of 30, so this small group was almost just like my regular drawing lessons. It was a real  treat to get to know each person a little bit and spend more time helping each one.

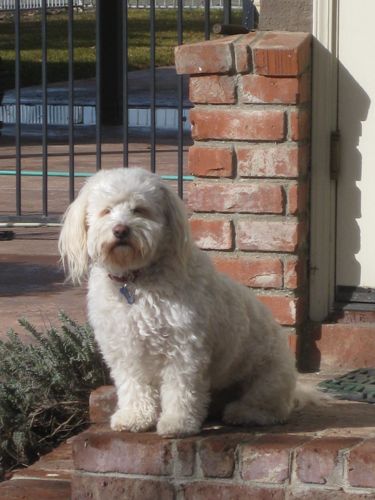
Baxter was my host on Friday night. Terrific dog!

Words Mean Things

Sixth in the series “Thoughtful Thursdays”

When teaching people how to draw, sometimes it is difficult to articulate my thoughts. A picture is worth a thousand words, and sometimes a thousand words still can’t explain the picture. Often, I can’t find the right word, so I will make one up. The funny part is that my students understand the meaning!

A woman was working on some boulders but something wasn’t looking believable. The problem was that she had inadvertently drawn potatoes and an oversized pinto bean! We figured out how to turn them in to rocks, and then she asked how to draw some grass behind the boulders. I was trying to keep her from making a lot of little lines all in a perfect row. Remember the bird “Woodstock” in the comic strip Snoopy? His word bubble had a lot of little vertical lines. To help her not make Woodstock word marks, the instructions came out, “You need to sort of bounce your clumpage along – that’s it, just horizontalize it a bit more”. She got it.

Some folks have taken lessons so long that I have become a habit to them. I tell them they don’t need lessons because they know how to draw. They tell me that unless they pay their monthly fee, they will not carve out time in their lives to draw. While they draw, we talk about art, drawing and life.

Truthfully, I love my students – we become friends, comrades, buddies in the artworld. I show them my art and give them the freedom to tell me anything they think about it, good or bad. We speak truth to one another and try to use known English words.  It is helpful and refreshing and sometimes, it can be hilarious!

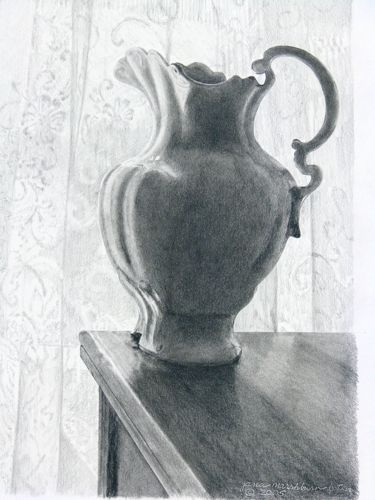
Swirls – 11×14″ – pencil

Professor 6B

Diane commented on my post “The Rules” about Professor 6B and it was funny. Made me realize I had lapsed into a bit of jargon, so here is some clarity for you all. And here is a weird thing – not a single art teacher taught me any of these basics. I learned about them from digging around on my own. Sure, a person can draw without knowing all this stuff, but it is better to know about one’s tools than to just bumble along, particularly if one calls herself a professional!

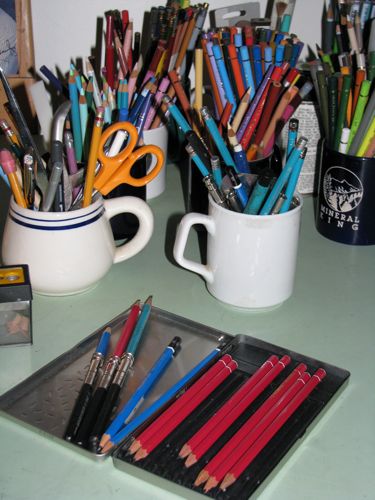
First, I no longer have all those mugs of pencils on my desk. The colored pencils are in a basket on a shelf overhead. Every so often I have a Clutter Attack, and stuff starts flying out the door. Having unused things, no space, too much stuff in general just bugs me. I’ve mentioned before that I may have whatever is the opposite of that Hoarding problem.

Pencils are not made of lead but the writing part is still called a “lead”. They are made of a combination of graphite and clay: the more graphite, the blacker and softer the lead; the more clay, the lighter in color and the harder the lead. Differing manufacturers combine these things in different percentages, but they all use the same rating system. B = black, H = hard. The higher the number with the letter, the stronger that particular quality is. So, a 6B is blacker than a 4B. A 5H is harder than a 2H. HB is dead center – I’m guessing 50% graphite and 50% clay. If it has only H on it, that is the equivalent of 1H. They assume we will figure that out. (Ditto for B.)

Pretty straightforward, but then some of those manufacturers have to throw a monkey wrench in the simplicity of the system with a pencil called “F”. Excuse me?? I used to think it stood for “funky” because it didn’t fit into the rating system. Turns out it stands for “fine” because it can be sharpened to a fine point. So can every other pencil, so I fail to see the point. Oops, a pun. It seems to be about the same hardness as an H.

The softer/blacker pencils get used up much more quickly than the harder ones. I still have my original 6H from a college art class, although the lettering is worn off the casing. If you drop one of the softer pencils on concrete, you might as well put it in the trash, because it will be broken all the way through and the lead will fall out in little pieces every time you sharpen it. I can hear the collective “aha” as you all realize you have experienced this annoying phenomenon.

One last piece of trivia – those #2 pencils required by test givers to fill in the bubbles are the same as HB. If you look closely at the words on the casing you might even find “HB” written there. It remains a mystery to me why there are 2 rating systems for pencils.

Perhaps next time I will write about erasers (and the lack of them on drawing pencils).

Learning to draw, Chapter Twenty

Could you draw like this when you were in 7th grade? I couldn’t!

img_3547.jpg

Maleah can, and she did! The center of the flower was a bit worrisome, so we handled it the way I do the more difficult parts. When working on a difficult texture, practice different techniques on another piece of paper until it looks right.

Learning to draw, Chapter Nineteen

char.jpg


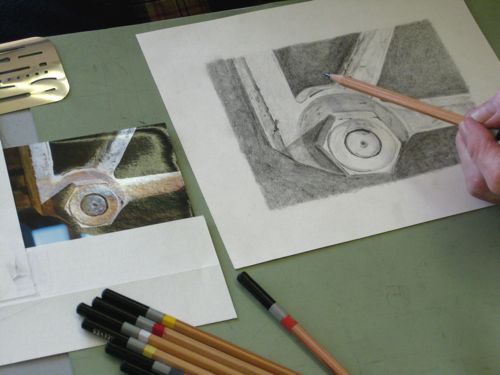
A black and white copy helps see the values; a color photo has better detail.  The order of difficulty in drawing from easiest to hardest is this:  1. other people’s drawings 2. black and white photos 3. color photos 4. real life. When using other people’s drawings, all the decisions about texture and value have been made. A black and white photo has all the value decisions right there for you. A color photo requires decisions about texture and value, but it is still a 2-dimensional image. Real life won’t hold still, doesn’t have any boundaries, is full color and changes each time you slouch a little lower!

Learning to draw, Chapter Eighteen

lynne.jpg

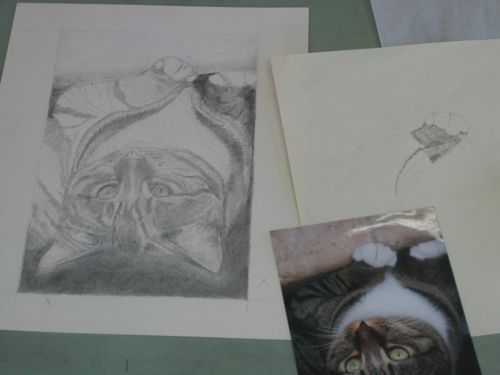
When drawing a portrait, the most important part is the eyes. If the person isn’t recognizable from the eyes, there is more work to be done. John Singer Sargent was probably the best portrait artist from the USA (turn of the last century). He said “A portrait is a painting with something wrong with the mouth”.  Apparently, one can have the mouth a little bit off, but my experience is that the eyes must be accurate. Then, if your subject is eating watermelon, the rest is a cake walk! (sorry – i think it is dinnertime at the time of this writing)

Learning to draw, Chapter Seventeen

ricky.jpg


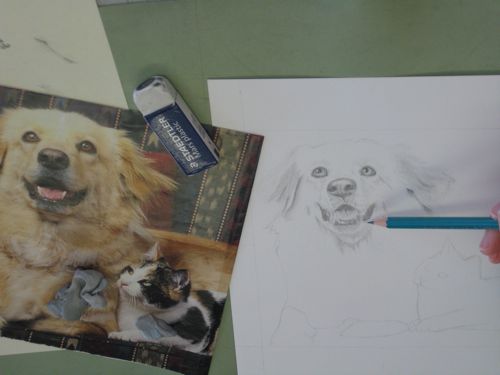
Ricky is new to drawing lessons, but not to drawing. He listens very carefully and then follows instructions as if he has been waiting for this information his entire life. I can teach anyone who can listen! It usually takes about 3 months of lessons (one hour a week) for the new student to start “getting it”.  The only people who don’t learn to draw from me were the ones who quit too soon.

Learning to draw, Chapter Sixteen

tools.jpg

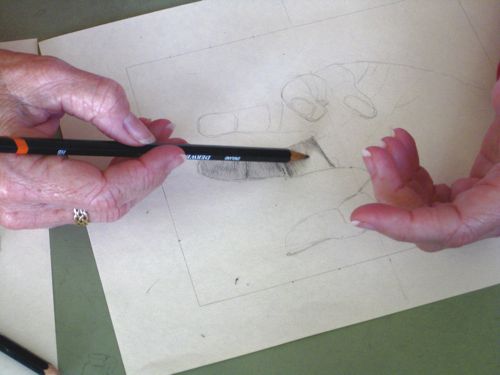
If you have been following my blog entries on Learning to Draw, you may have noticed a few tools in the photos. When I was a student of architectural drafting, I discovered 2 indispensable tools – a drafting brush and an erasing shield. When you erase, crumbs are created. (duh!) If you brush them away with your hand, you WILL smear the drawing. If you blow, you might spit. (As we say in Drawing Lessons, “Spit happens!”) Only has to happen once to your drawing to teach you an unforgettable lesson about using the drafting brush.  The erasing shield looks like a tiny thin metal template. It is, sort of, but instead of tracing the shapes, it allows you to isolate the parts that you don’t want and erase them. When the corners are worn off of your eraser, the erasing shield prevents wiping out large areas by accident. Tools – we all need them!  p.s. See a corner of the triangle? OF COURSE I use a straight edge! How else can I draw perfectly straight lines??  Cheating? Not!