Learning to draw, Chapter Sixteen

tools.jpg

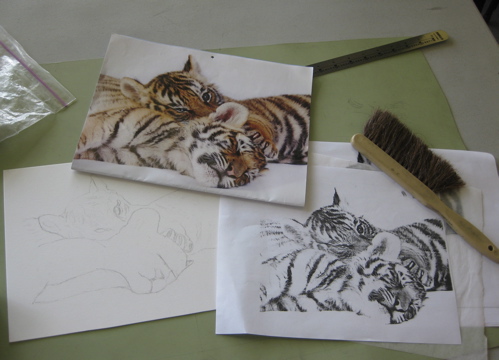
If you have been following my blog entries on Learning to Draw, you may have noticed a few tools in the photos. When I was a student of architectural drafting, I discovered 2 indispensable tools – a drafting brush and an erasing shield. When you erase, crumbs are created. (duh!) If you brush them away with your hand, you WILL smear the drawing. If you blow, you might spit. (As we say in Drawing Lessons, “Spit happens!”) Only has to happen once to your drawing to teach you an unforgettable lesson about using the drafting brush.  The erasing shield looks like a tiny thin metal template. It is, sort of, but instead of tracing the shapes, it allows you to isolate the parts that you don’t want and erase them. When the corners are worn off of your eraser, the erasing shield prevents wiping out large areas by accident. Tools – we all need them!  p.s. See a corner of the triangle? OF COURSE I use a straight edge! How else can I draw perfectly straight lines??  Cheating? Not!
Learning to draw, Chapter Fifteen

olivia.jpg

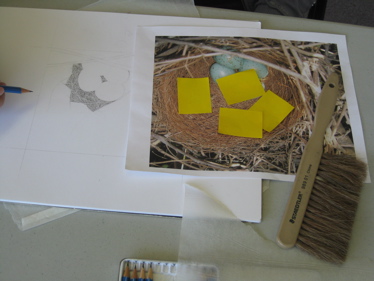
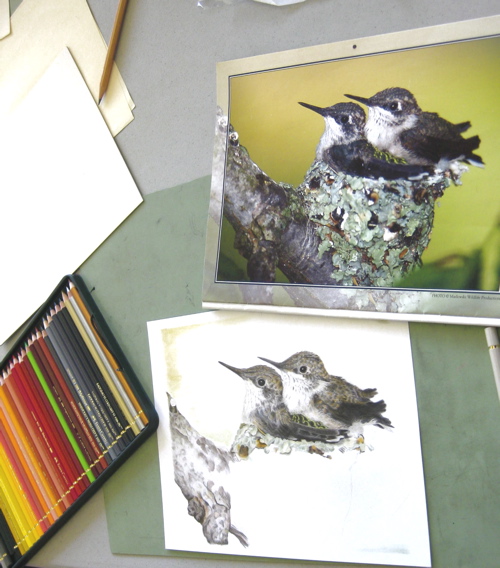
Ever think about drawing a bird’s nest? Olivia found a nest full of eggs and took multiple photos. Did you know that blue jays lay bluish-green eggs? I learn so much from my students! Her plan is graphite on the nest and colored pencil on the eggs. When drawing a complicated and repetitive subject, block out all but the section on which you are working. Post-it notes are perfect for this.

Learning to draw, Chapter Fourteen

wendy-2.jpg

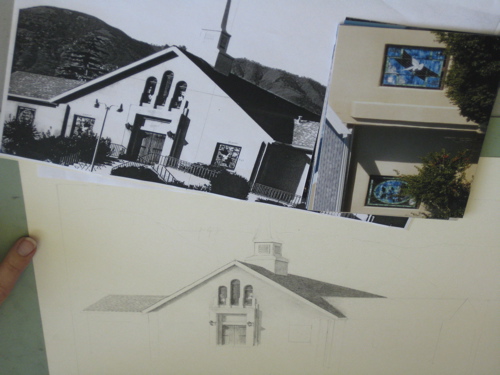
Drawing buildings is the first thing I did in my career. Cabins, specifically. (“cabinart”, anyone?) These are not difficult for me, but many of my students would rather do anything else, even faces! Wendy is up for any challenge on a piece of paper – here is her beginnings of the Presbyterian Church in Three Rivers, a beautiful structure in a beautiful setting. The most important things to know in rendering buildings accurately are these: 1. vertical is ALWAYS vertical – it is the horizontal lines that do the slant tricks and 2.  it is okay to use a straight edge to make straight edge. 


Learning to draw, Chapter Thirteen


maggie.jpg

Collages are some of the most difficult pictures to plan. One begins with a selection of photos. There are so many decisions to make! Horizontal? Vertical? How many parts? Images touching each other, overlapping or with spaces in between? Which one should be The Big Deal? Use circles or ovals within the space? The best way to start is with sketches, called “thumbnails” because of their small size. I hated doing those in college because I usually only had one good idea, and it was such a waste of time to try to conjure up a page full of second and third best substitutes. Maggie had this idea for months, letting it develop in her mind’s eye and gathering the photos. It is turning out beautifully!

Learning to draw, Chapter Twelve

pam.jpg


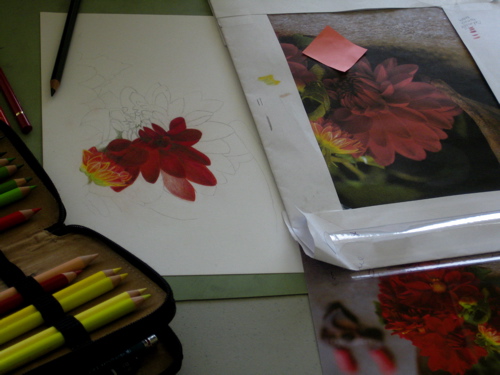
This comes from a borrowed photo but it is cropped beyond recognition. Cropping is a great way to focus in on the part of a subject that causes your heart to sing! Pam is creating a piece for her dining room. She is learning that many of the principles of graphite apply to colored pencil. She is also learning this:  really good colored pencil pieces take 3-4 times as long to produce as graphite! 

Learning to draw, Chapter Eleven

jackie.jpg

Jackie is very experienced in  graphite and may be one of the most careful of all my students. She has been known to erase and redo entire areas over and over. Because she has a light touch, this doesn’t destroy the tooth of the paper. She works from her own photos, and occasionally from borrowed photos but generally redesigns them (wish you could see her rocks/leaves/water drawing!). In this drawing, she has changed the colors,  and edited out weird parts that don’t make sense. Weird things are believable in photos, but in drawings they look as if the artist messed up.

Learning to draw, Chapter Ten

adalaide.jpg

Adalaide shows an usual ability to design art rather than just copy photographs. She works from her own photos, but occasionally uses images from other sources. This shows the flags as she designed them, and then she got the idea of adding the insignia from her brother’s Air Force patch in the background. After some thought and experimentation on tissue paper over the top, she decided to draw the patch as a separate piece. Planning on tissue paper over the top is a great method of designing changes to an existing piece of art.

Learning to draw, Chapter Nine

wendy.jpg

Before anyone graduates to colored pencil, they need to have skill with graphite. If one doesn’t understand the steps of drawing accurately, adding color to the mix is not going to improve one’s skill or one’s finished pieces. Wendy is very very good with graphite and has a wonderfully light touch that makes her colored pencil drawings both have depth and a glow. She has begun this picture with a gray scale underneath in gray colored pencils, not graphite. This method is called “grisaille” – pronounced “greeze eye”.

Learning to draw, Chapter Eight

mae.jpg


This is the beginning of a colored pencil portrait. It looks like a heavy graphite outline, but this will go away as each color is applied. Mae is another traveler who works from her own photos. She looks very very carefully at each subject and crops and rearranges to make the best compositions possible. Being the proud owner of a new set of high-end colored pencils, she is also learning how to combine the colors to depict all the skin tones. Mae is a water-color painter who wanted to be more accurate in her shapes, and after 3 or 4 years with me, she is very accurate. Her paintings are reflecting her growing skill; this brings up the point that drawing is the basis of all art.

Learning to draw, Chapter Seven

mary.jpg


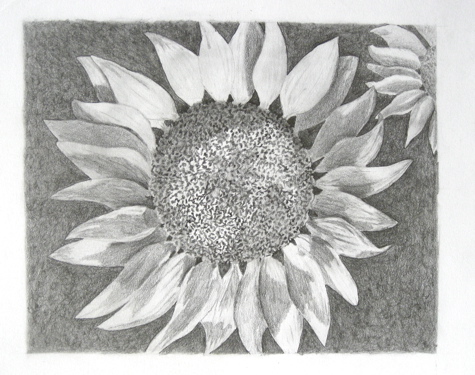
This is in graphite and has been spray-fixed so it won’t smear. Next, the giant pot/vase thing will be done in colored pencil. Mary works from the photos she takes on her travels all over the world.  Working from one’s own photos is best: no copyright problems and great familiarity with the subject are the advantages.