Random Collection of Unrelated Thoughts in a Saturday Bonus Post

One week ago we climbed on the hill behind our house and saw this above our roof.
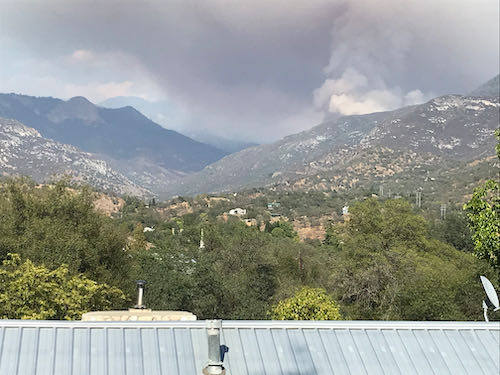
The smoke from fires makes it look like a foggy day. The differences are an orange tint, warm temperatures, and falling giant dandruff instead of a gray tint, cold temperatures and falling water.

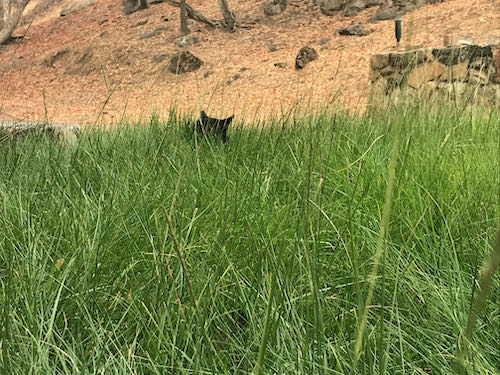
This week Tucker and I had a little fun in the grass. He likes to stay just outside of arm’s reach, and jumps ahead whenever I crawl toward him. This is the second year of no mowing in hopes that the lawn would thicken up either by roots or by seeds. The cats love it long, and it seems thicker. Of course, transplanting chunks from another area may have contributed.
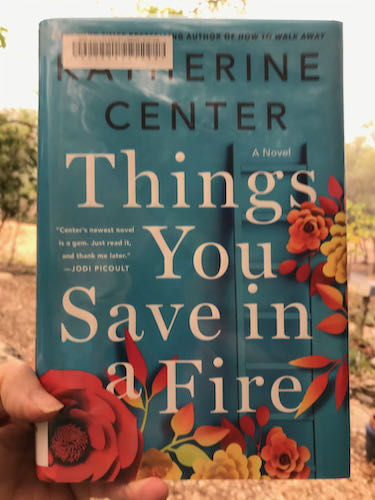
I just checked this book out from the library (Woodlake, because Three Rivers is closed due to the fires). It is fluffy, and fluffy is most welcome right now. The weird orangish tint is because of the fire.
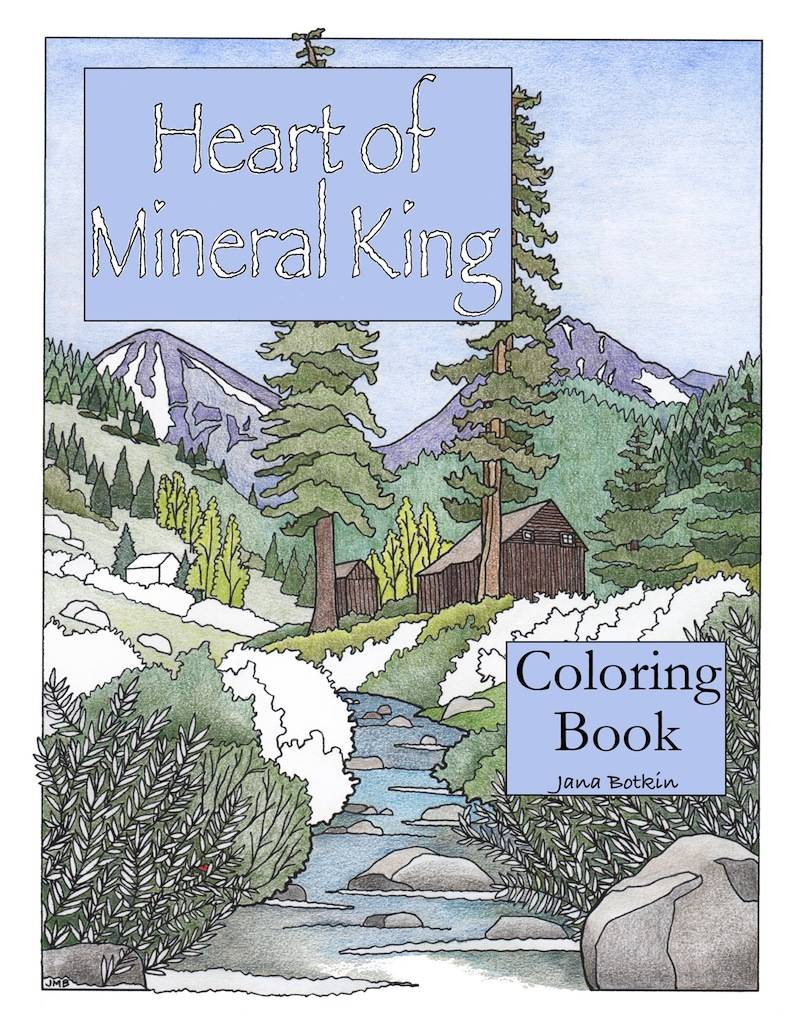
This week I learned that the company who printed my coloring books has not saved the files. This means that reprinting any of the coloring books will involve a massive amount of computer work, again. The fad has passed along with demand, so I am unsure about proceeding. I am considering compiling a new one, combining pictures from the previous five. The Heart of Rural Tulare County is a long title, but it describes it well. This is an old post about designing #5. All the coloring books are sold out, but perhaps one of my retail outlets still has a copy or two. Here is the cover of the second one:
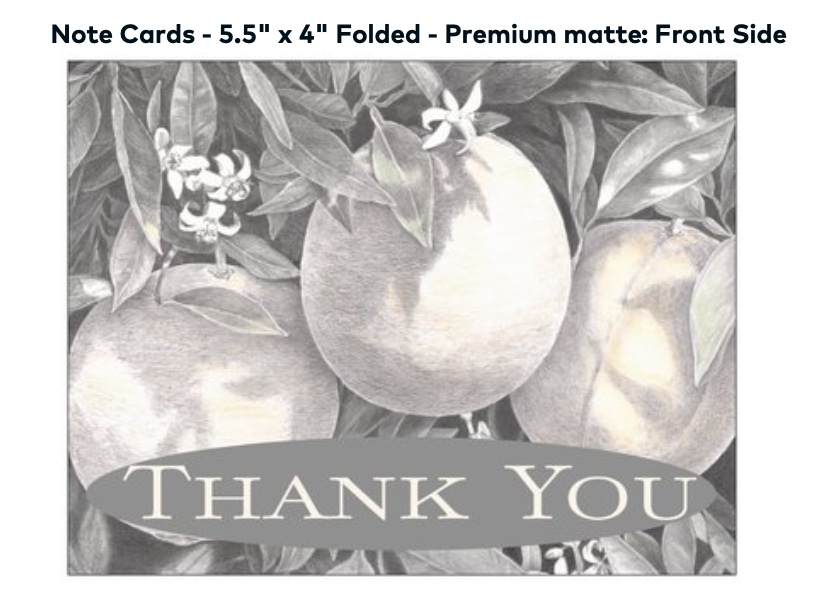
This week several places asked about reordering notecards. The prices have gone up considerably, and I am in sticker shock. When I started making notecard sets in 1987, they sold in stores for $5 for 10 cards. (You can read about that here, here, here, and here; there may be more old posts about them, but I am tired of looking for them and you are probably tired of reading all those links). Now they will have to sell at $10 for 4 cards. I made a new design, and will restock only a few of the most popular cards. People just don’t write that much any more to justify my keeping a large inventory. This is the upcoming Thank You card (no, it won’t say “Note Cards – 5.5″ x 4″ Folded – Premium matt: Front Side)
Because of the fires, drawing lessons did not restart the day after Labor Day. I have postponed them until the first week of October. I miss my students (a dear one died yesterday morning – if you are in drawing lessons and want to know more, email me). But, with the fire restriction of voluntary evacuation, I am reluctant to leave home; if it suddenly became mandatory to evacuate, then I wouldn’t be able to return home and get all my sweaters stuff.
 

Another Emailed Drawing Lesson

Remember Buck, AKA Mr. Curly? C and I are continuing to work on him via email. She is a remarkably clear communicator, so this is working out well for us. She had specific questions, which always makes it easier to offer instructions.

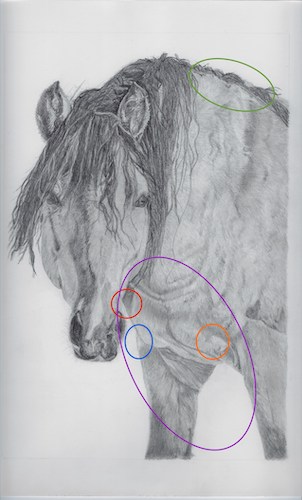
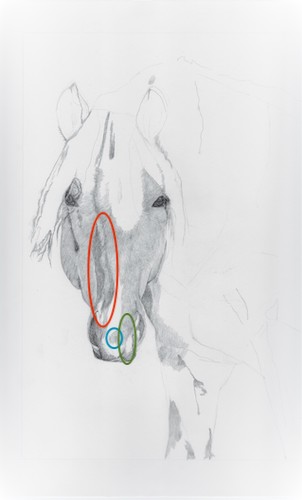
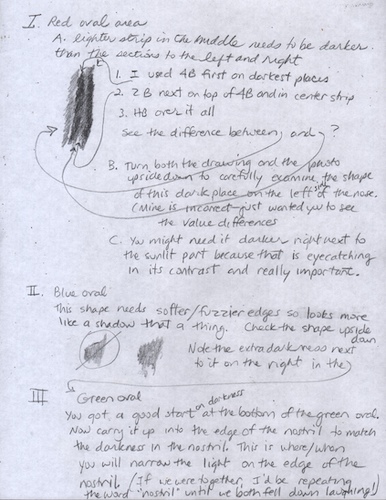
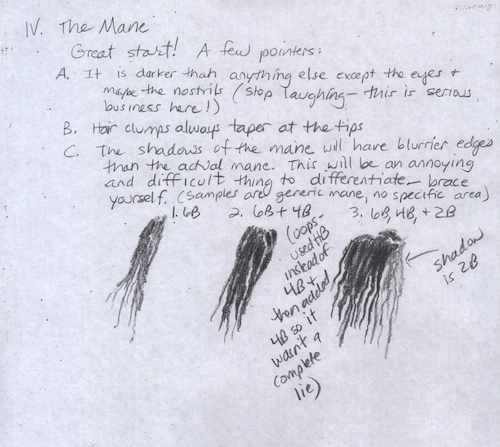
This is how he looked when we last saw him. I sent her written instructions that corresponded to each colored oval.

This is the most recent iteration of Buck, complete with more colored ovals.

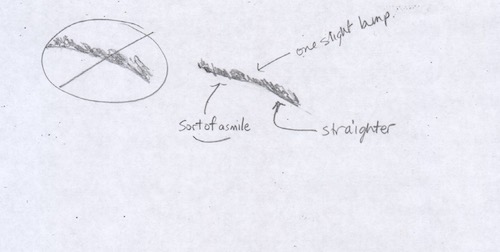
1. The upper neck/mane: You were right about this area. (She had circled it, said it looked wrong and asked about a particular fix.) If you study this area on the drawing versus the photo (I recommend upside down), you will see that the mane sort of curves downward into the neck. Hmmm, words aren’t working. Let me show you.
2. My blue circle: At the intersection of the leg and chest, that slight corner needs to be higher. Look at the photo to see EXACTLY where it lines up with the nostril. Essentially, you will be lengthening the leg by making that intersection a bit higher. Look at it all upside down to re-examine the shape between the face and chest. (A tiny thing that might not matter, but I am scratching around, looking for answers).
 
3. Red circle: study the photo to see where the nostril/cheek indentation and the neck intersect. (Another tiny thing that might not matter but try it just in case. . . )
 
4. Purple circle: All of this area needs to be much darker with the segments less defined because they are in shadow. The exception – keep this little bump light.
 
Does this all sound like gobbledygook to you? Good thing C and I have been working together for a couple of years, because it does make sense to her. 

Electronic Drawing Lesson with Buck

Remember my drawing student, C? She and I have been doing drawing lessons through email since last year. I haven’t updated you on her pencil drawing of a horse named Buck, whom I referred to for awhile as Mr. Curly.  I have been posting about other things, while C has been working diligently.

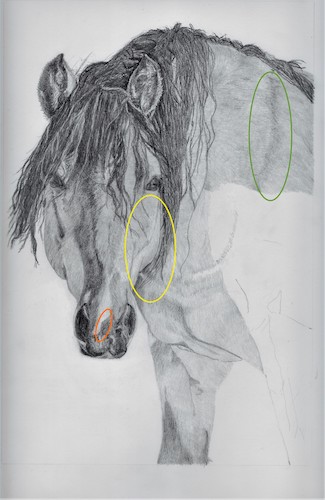
The last time I showed you:


The mane is looking great. She has now begun “undercoating”, just laying down pencil for a base coat while she waits for me to tell her something helpful. I actually had very little to say because she is doing a great job on her own.

This is what I told her:

1. Yellow: the cheek sticks out a bit too far. I noticed because his face seems noticeably curvy in your drawing. This made me check the photo, and when I put a box around the area on the drawing and one around it on the photo, I could see the drawing had a wider box. Just carve off a little of the cheek by widening the mane on the right side of the cheek. A fraction ought to do the trick.
 
2. Orange: blur the edge between the dark and the light of this area so it looks like something is changing color instead of being 2 separate pieces ofnthe face/nose.
 
3.  Green: Obviously you aren’t finished with this yet so this is just a heads-up to be sure to have the dark parts of the coat much darker than the bright-light parts. There is a ton of contrast in the photo, which is part of the appeal.
 
GOLD STAR FOR YOU!! 
 
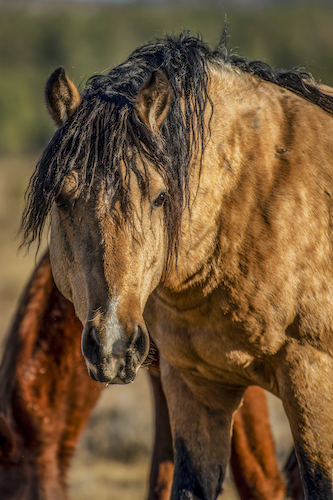
Here is her original photo so you can see what I am referring to:

And if you would like to see the previous posts about virtual drawing lessons with C, here is the list. (Each link will open in a separate tab so you don’t lose this page.)

Previous Lessons

The beginning

Lesson 2

Mr. Curly Becomes Buck (lesson 3)

Lessons via email (lesson 4)

Soldiering on (lesson 5)

It is possible I missed a link to a post; it is more possible that I just didn’t keep you all current.

More On Drawing Lessons

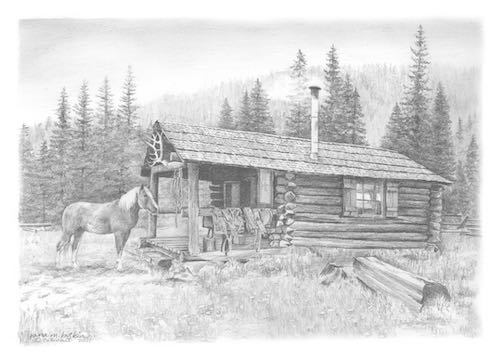
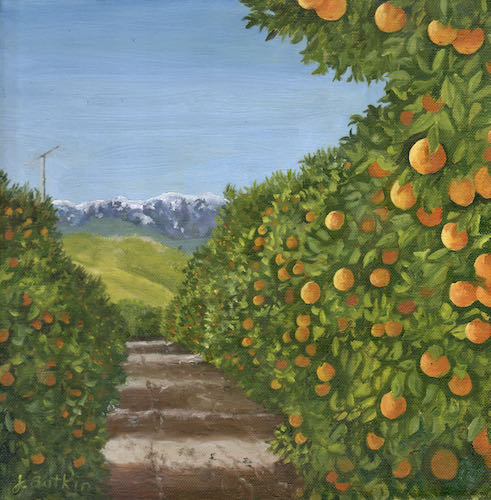
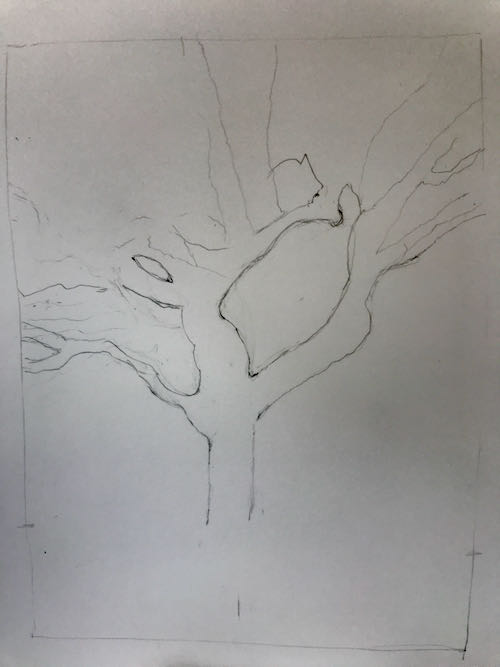
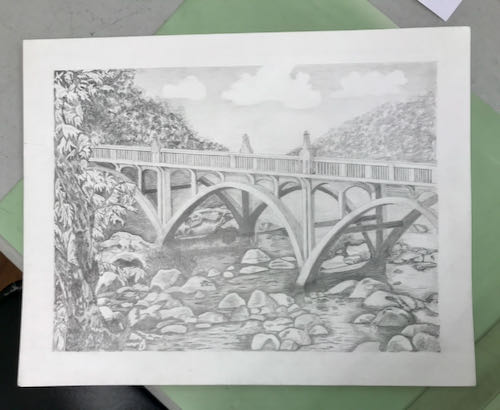
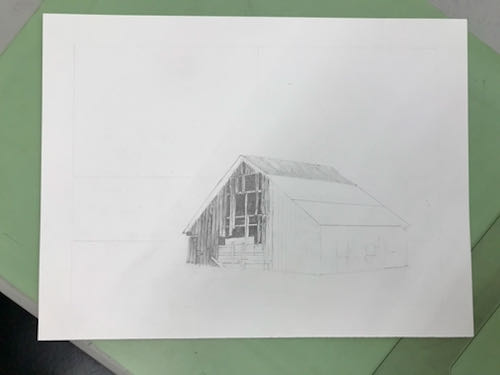
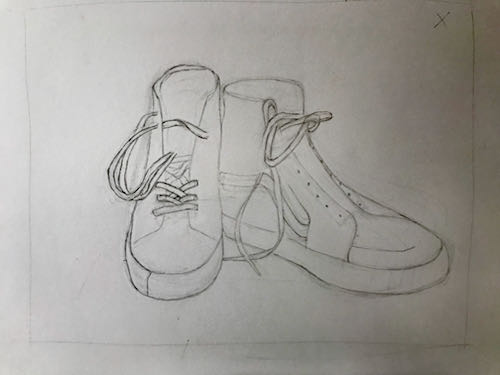
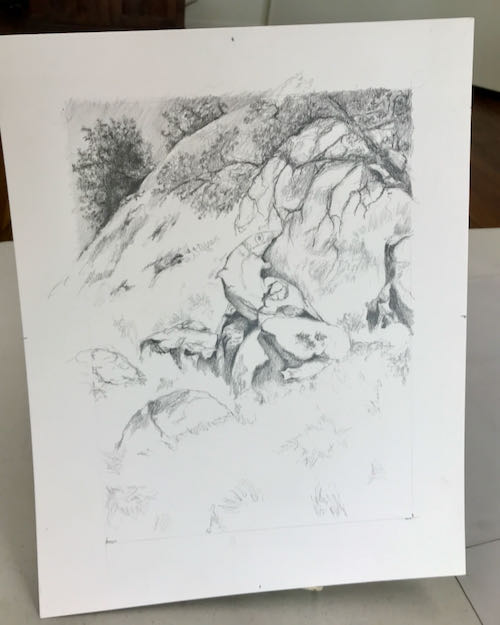
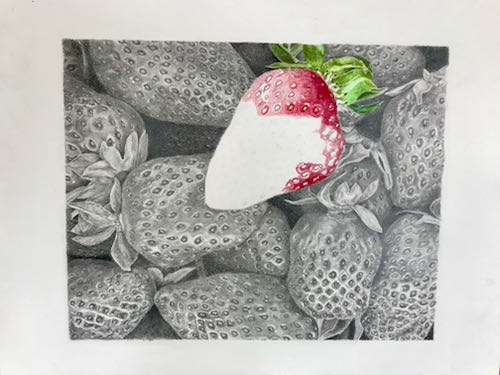
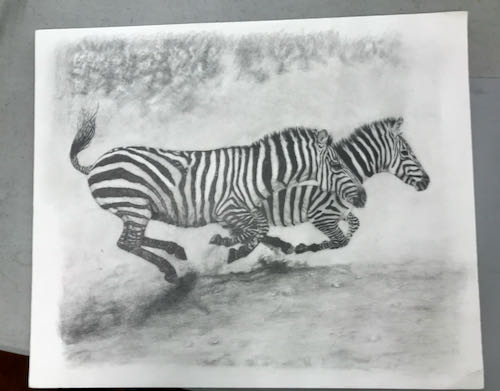
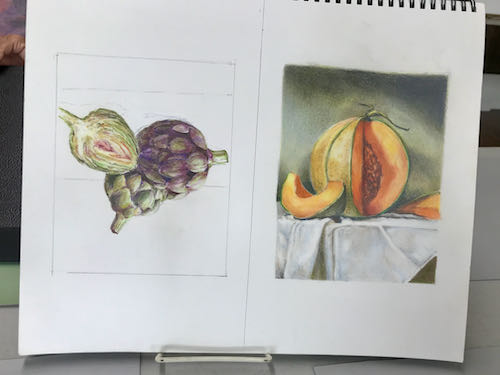
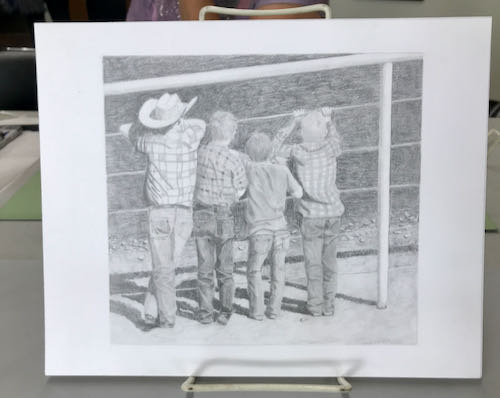
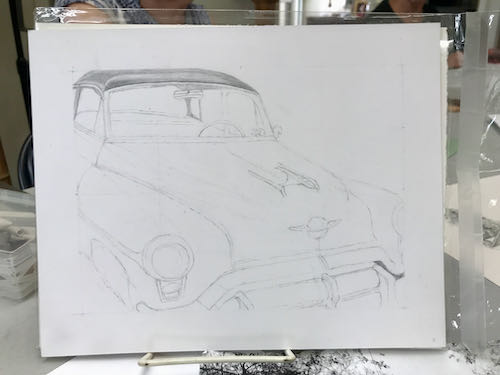
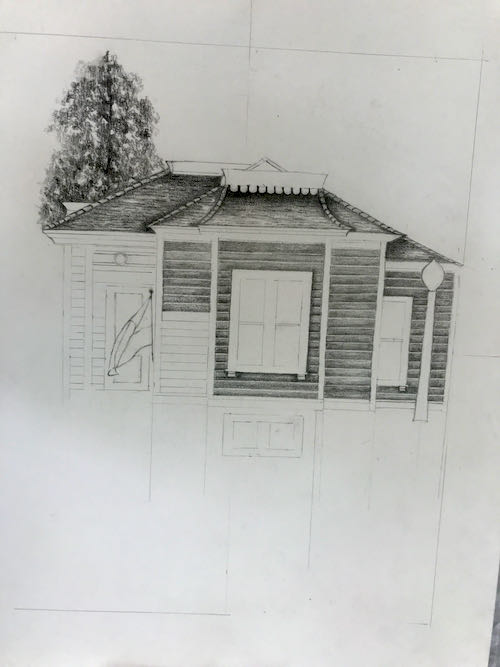
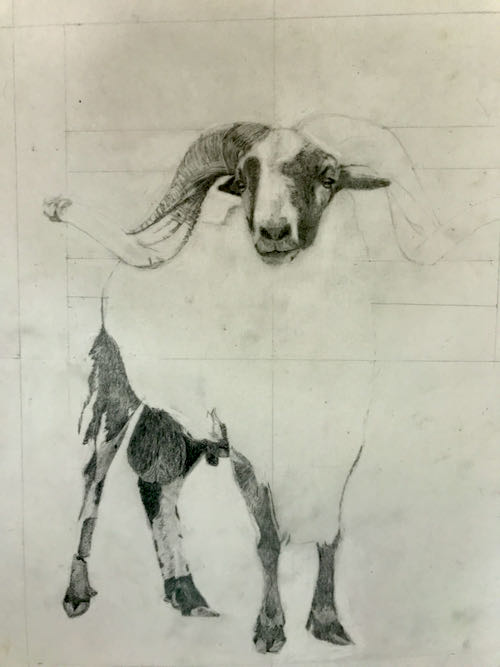
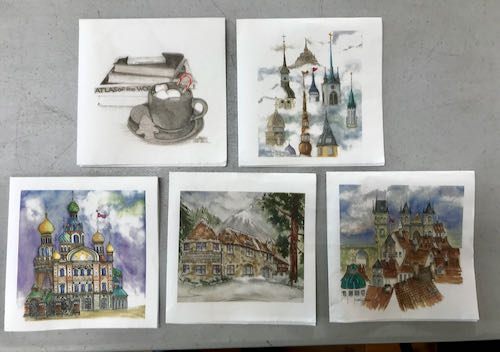
These drawings are all by my drawing students, in progress, quickly photographed by my inadequate phone.

Different levels of experience, different levels of completion, but all work at their own speeds on subjects they choose.

Some of the things I tell them: “You can try this if you really want to, but it might even be too hard for me”; “You draw better than I do so I’m not sure why you are here but I will try to help you”; “That looks really fun!”; “Oh wow, that is going to take a long long time”; “I drew something like that once and ended up hating the subject”; “That is a great photo and will make a great drawing”; “Good thing you know your subject matter because it is really difficult to tell what is happening in that little area”.

I also help with step by step instructions. Lessons last 1 hour with 4 students per class. $55/month plus supplies, no lessons in July, August, or December. If you would like to know more, email me (cabinart at cabinart dot net, spelled out because it is supposed to discourage robots from contacting me) or use the contact button here on the website.

Drawing Lessons

Drawing is not a talent; it is a skill, and if you can listen and be patient with the process, you can learn.

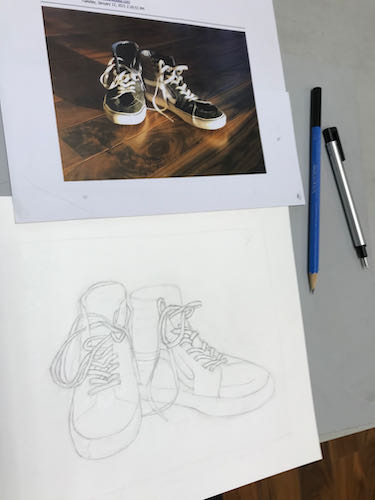
Look what is in progress right now with my drawing students of all levels (I took the photos quickly with my phone so OF COURSE they look better in person):

Some are almost finished, some have weeks or even months to go. Each student works at her own pace on the subject of her choosing. Some work from their own photos; others find photos from other sources. Some are doing the drawings as gifts; some turn them into cards; some have reproduction prints made from their originals to share with people; some are drawing commissioned work.

Everyone has fun (including me). 

More later.

Soldiering on with Drawing Lessons via Email

C sent me this, requesting help with some specific areas.Oh how I wish we were together in person! But my o-so-wise dad taught me this: “If you put a wish in one hand and spit in the other, which hand actually contains something?” So we shall soldier on.

First, I did this:

Then I wrote up these notes:

P.S. It costs a fortune to have a transplant, and while insurance covers much, there is much more that it does not cover. If you feel generous and inclined to help my friend, Rachelle, this is the best way to do so: HelpHopeLive.Org

Drawing Lessons Via Email

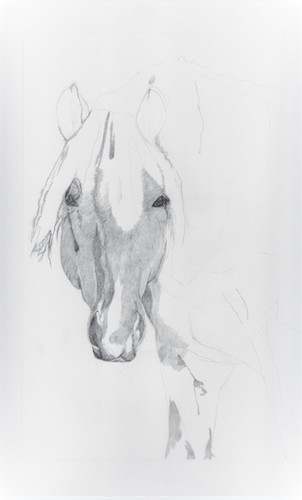
My drawing student, C, and I continue working together on the horse named Buck, who I called Mr. Curly. 

She scanned her drawing instead of taking a picture with her phone this time.

C also asked me about the eyes, and after doing a bit of measuring, I could see that the one on our right is a bit low. I wrote up some instructions for her:

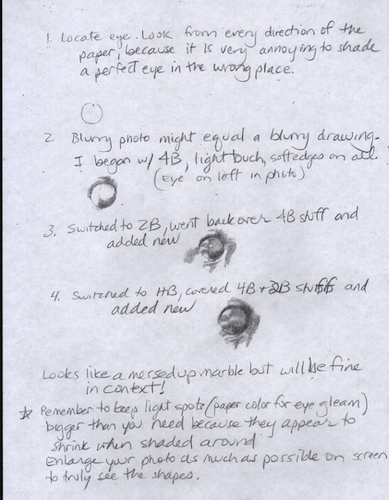
Then I decided that drawing various parts of Buck, showing the layering differences using 3 pencils of varying hardness (4B, 2B, and HB) might be helpful.

My show “Still Here” is still there, at Arts Visalia, that is. The phone # to make an appointment to see it is 559-739-0905. Gallery hours are Wednesday through Saturday, noon-5:30 (5 on Friday). I will be there on Friday, April 30, the last day; the work will be removed at 5 p.m.


Drawing Buck

My drawing student C and I continue to work on her pencil drawing of the horse, Buck. This last time she took a photo of the drawing instead of scanning it. I tried to help and was able to show her how to put a lock of hair across the eye. She also asked me about her hair shading techniques, and after staring at it a bit, I finally concluded that it was all too squarified for me to tell what was pencil and what was pixel.

Here is what I told her in the email (because I think my writing is a little bit too sloppy):

“About the hair crossing over the eye: The question to be answered is always: Which is darker? sometimes the only way to tell is to squint at the photo so the detail and color blur. Another way is to turn your photo to black and white, but this sort of feels like cheating. Well, not cheating, but bypassing the ability to learn to see values by letting the computer do the work. Often the black and white method backfires, because the 2 things are the same value (darkness). This means you get to decide (you are the boss of your picture.)
 
“The hair is darker in some places and lighter in others. Just make the adjustments to whatever is behind the little clumps so that it shows up. It is okay for the clumps to look broken or disconnected.
 
“Hair always tapers at the tips.
 
“I can’t help you on the shading; because of the pixelation, it is too hard to tell what you have actually done and what is getting squarified. 8-( 
 
“You can either keep going and then scan it, or you can rescan this and I can keep going here!”
 
So, this lesson is on hold for a bit.
My show “Still Here” is still there, at Arts Visalia, that is. The phone # to make an appointment to see it is 559-739-0905. Gallery hours are Wednesday through Saturday, noon-5:30. The last day to see my work there is Friday, April 30.


New Virtual Drawing Lesson #2

Last week we saw the beginnings of C’s new horse drawing.

The eyes are the best place to start when drawing a living being. The eyes on Mr. Curly were too dark to see on the photo, so I used the computer to lighten and enlarge. (If you can’t see a thing, it’s almost impossible to draw the thing. Duh. You are welcome.)

Eye on the left after enlarging and lightening:

Eye on the right, after lightening and enlarging:

My demonstrations and notes, scanned a little darker than accurate in order for C to be able to read my handwriting, which makes the drawing parts a little too dark. There are many drawbacks to this virtual stuff, but C is a very committed drawing student and an excellent communicator.

I wonder how many of you will unsubscribe to my blog because this type of post is making your eyes cross.

New Virtual Drawing Lesson

Look at this beautiful photo of a horse by my drawing student C. She wants to draw it and I will do my best to help her, through emails.

The first set of instructions was this:

  1. Trace the main parts to simplify the visual information
  2. Copy the tracing onto the drawing paper, rotating directions. Start upside down, then sideways, next other sideways, finally right side up. Each direction will show you different shapes and angles that need to be corrected.
  3. Trace a few more details onto the first tracing.
  4. Add those details to the drawing, remembering to rotate.

This is what C sent to me after finishing those actions.

She is drawing the same size as her printed photo. This means she can scoot the tracing over the top of her drawing to check her accuracy. 

When students draw the exact same size as their photo, they can do this sort of checking. Here are some thoughts about that:

  1. Always force yourself to draw first, BEFORE laying the tracing on top. We all need to exercise our “seeing muscles”, and practice is the only way to learn to see accurately.
  2. When you draw the same size as your photo, you aren’t learning to see proportionately as quickly as if you draw larger or smaller. Sure, you will still have to see how things relate to one another inside the drawing, but you aren’t looking at the whole to learn to think thoughts such as “half is always half” or “a third on my drawing needs to be the same as a third on the photo”.
  3. When you draw the same size as your photo, sometimes you get paralyzed by the thought of changing size.
  4. If you are dependent on drawing the same size as your photo, it is even harder to transition into drawing from real life. Drawing from real life is the hardest way to draw, because you are going from 3 dimensions to 2 dimensions, and every time you slouch a bit or accidentally lean to one side or the other, the image in front of you changes.

Stay tuned. The virtual drawing lesson will continue.