My colored pencil artist friend Carrie Lewis asked me to write a tutorial, showing the steps of completing a drawing with pencil and colored pencil.
I said, “How do I do that?”
She offered to type while I talk through the steps, but I realized we’d have to be on the phone for about 8 hours.
So, I chose a photo, started drawing, photographing the steps, and writing about it. Well, yes, sort of, sort of not.
The first session was confusing. I took notes, was sure I’d remember what they meant in order to transcribe them later.
I photographed a few things, and also scanned the drawing as I went along, but then it was tricky to figure out which order all the pictures went in. Then, I realized there is a lot of information that doesn’t fall in line with the steps.
I’ve decided to post the whole tutorial here on my blog, in 5 chapters. Maybe we can tighten it up together.
How to draw with pencils (and later, add some color)
The first four steps
Step one: Choose your photo. I chose this because the red chair is a good candidate to be drawn in colored pencil, with everything else in graphite. You can just tint things at the end of a drawing or you can choose a specific item to do in full color. I prefer the latter method. 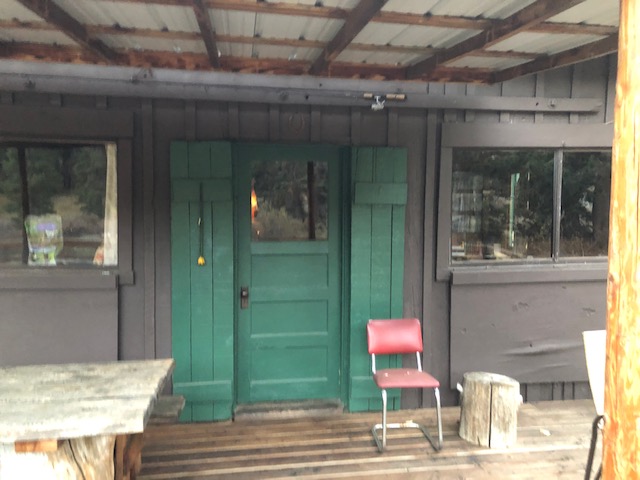
Step two: crop the photo. Beginners often feel chained to exactly what is in front of them. Over time and with experience, we learn what matters and what doesn’t, and eventually decide that we are the boss of our own artwork.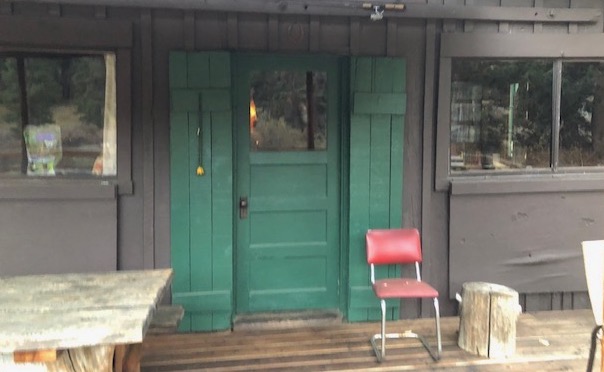
TOOLS: I use the items in the photo, working at a slanted drafting table. T-square, ruler (with picas so I don’t have to deal with fractions), drafting brush, erasing shield, calculator, pencil sharpener that catches its own crumbs, and Tombow pencils, from 4B to 2H, along with a couple of erasers that don’t show. I prefer the Mars white plastic, but seem to have lost mine. Because I began drawing so lightly, the kneadable eraser works, but it is too ugly to photograph. (It looks like gray chewed gum, gross.) 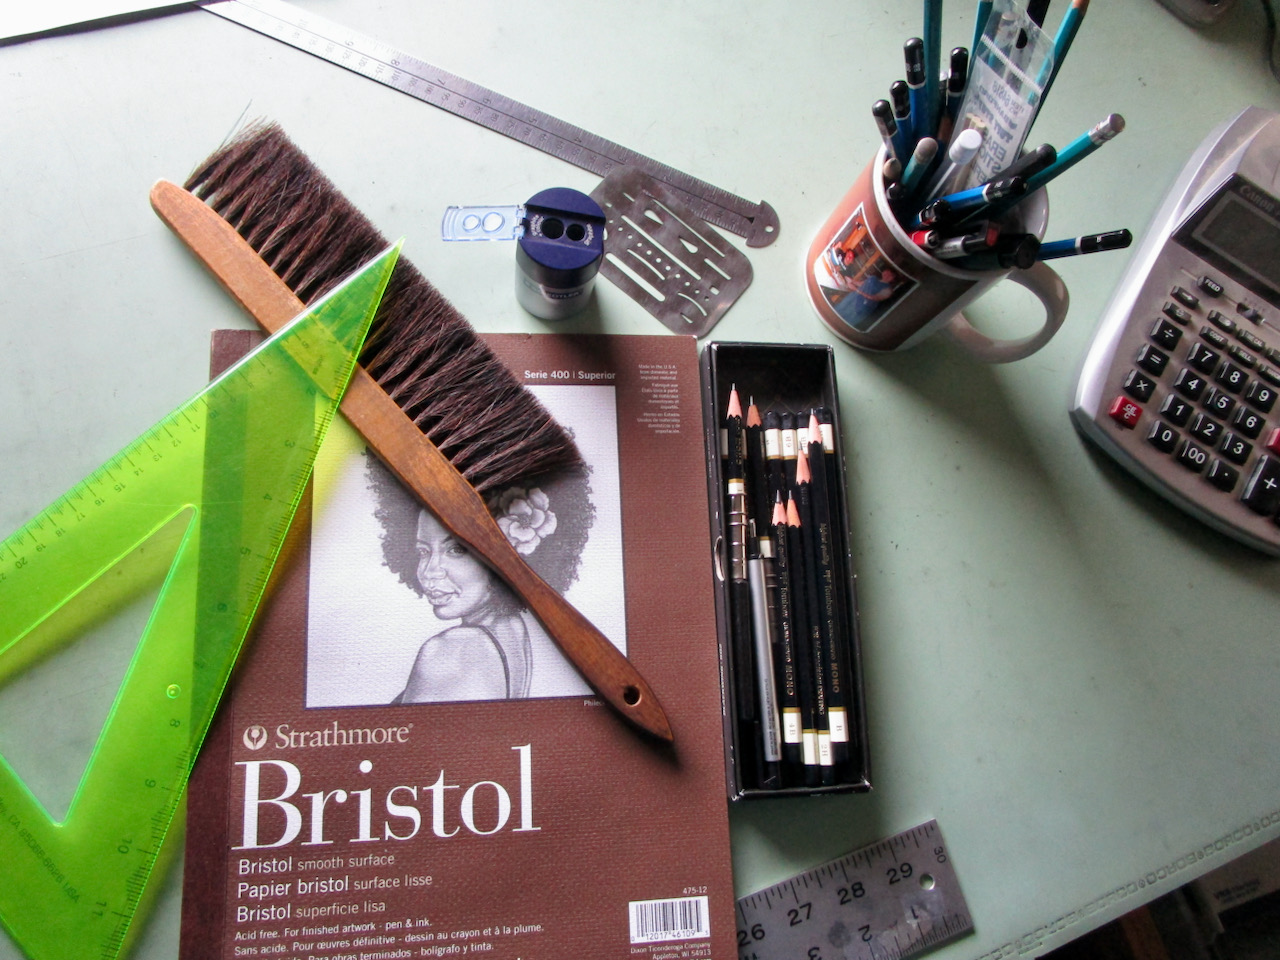
Step three: draw the borders, making a size that is proportional to the photo. Measure, use math, eyeball it—whatever works best for you. I measure and use tools. It is always best to have margins, so you don’t view the edge of your paper as the edge of your drawing. If you misjudge sizes while drawing, this will give your drawing room to grow. It also prevents a signing or framing problem, should you decide to get it framed. I draw the border with a sharp point on an HB, using a very light touch. I might want to move the border later, draw exactly up to it, or draw over it without it showing through. 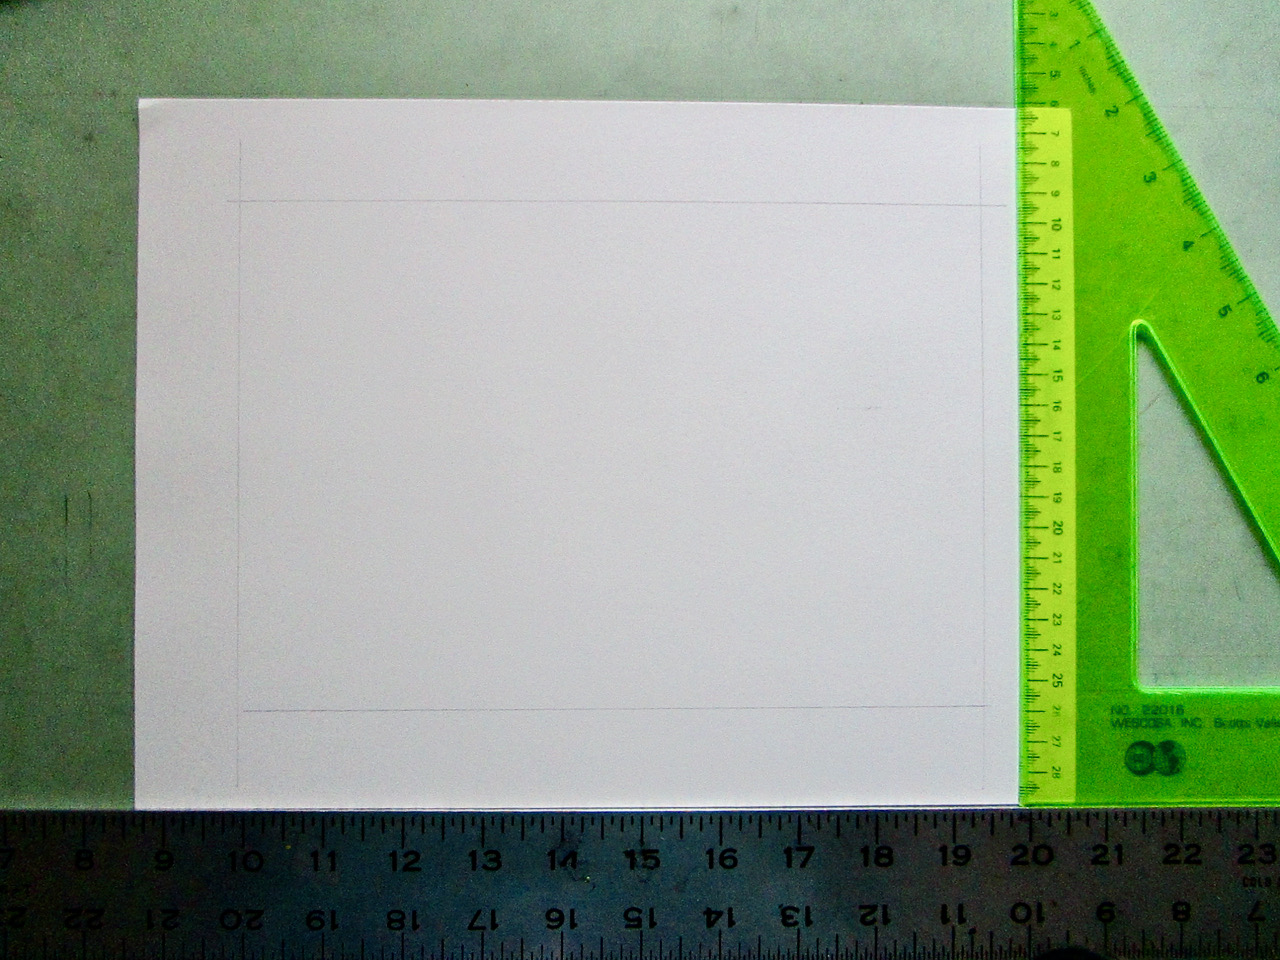
Step four: Start figuring out where things are going to go. Look for the main items, in this case, the door and the chair. Draw very very lightly. My lines barely show, so I darkened the lines (just on the photo using my scanner) in order for you to see them. 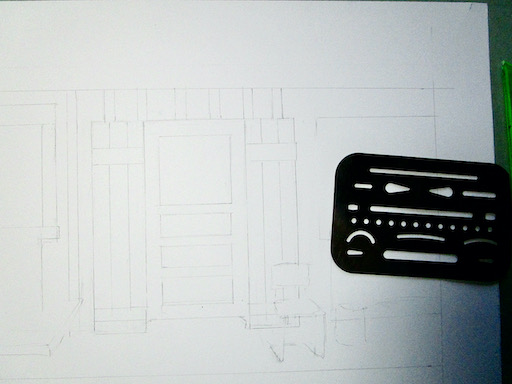
DISCLAIMER: I chose to alter the picture, to appear as if we are looking straight on the scene rather than from an angle. In most pictures, vertical is always vertical. It is the horizontal surfaces and lines and edges that disappear off toward vanishing points. However, I decided to keep the horizontals and verticals all true to a straight on view rather than slightly angled, as the photo shows. THIS IS REALLY HARD TO DO WHEN YOU ARE STARTING OUT, so you will have less trouble if you just stick to the photo.
Tomorrow: the next steps.