Learning to draw, Chapter Four

kirby.jpg


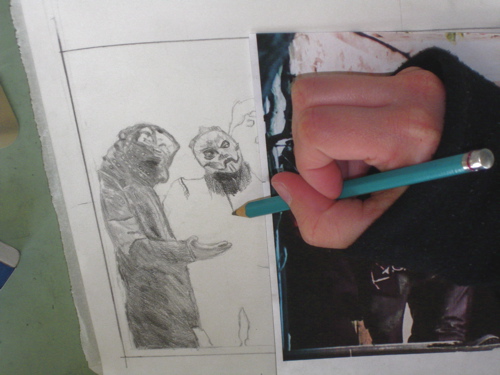
Remember I said, “Pick something you love, because you will be looking at it for a long time”?  Kirby loves this band called “Slipknot”. It is her fourth drawing with me. She is doing a very careful and thorough job. This is creepy to me, so I mostly help her from across the table, viewing the drawing upside-down. This is a very helpful technique when learning to draw, or even after one knows how to draw. It bypasses the part of your brain that names an item which prevents you from actually seeing, and forces you to see just the sizes, proportions, shapes, angles, etc.

Learning to draw, Chapter Three

maleah.jpg


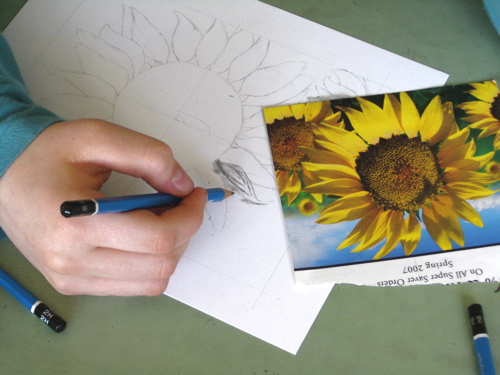
Here is another example of working from a photo. The first step is to decide size and placement; second step is laying out all the pieces with a very light outline. Figuring out how to space the flower petals took some organized thought. This is Maleah’s second drawing with me. Lots of people already draw some before taking lessons; some have never tried it but have always wanted to. People get a little nervous and say “I really don’t know how to draw”. My answer to that is “No need – that’s why you want lessons!” 😎

Learning to draw, Chapter Two

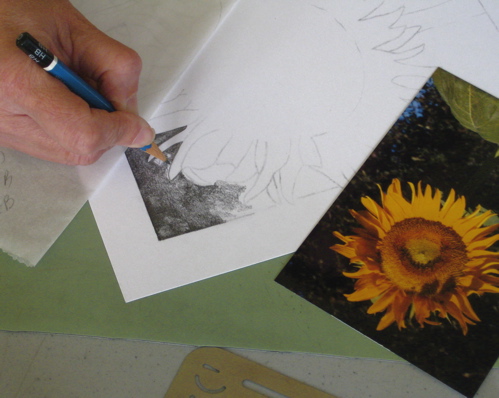
After drawing one’s hand, the next step is to work from a simple photograph. I ask students to bring in photos, preferably their own. This is because A. there aren’t copyright “issues” (why do I dislike that word so much??) and B. one is familiar with the subject and C. one apparently likes the subject if the trouble was taken to photograph it! I say over and over “Pick something you love, because you will be staring at it for a long time”.

rod.jpg


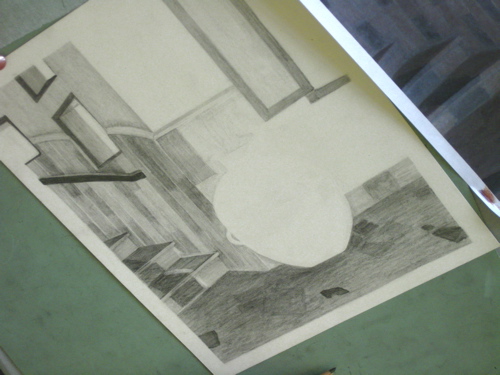
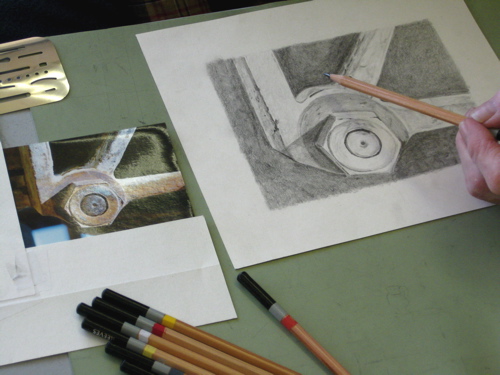
This is Rod’s first pencil drawing. Really! It is a step by step process, and break it down into as many steps as it takes for someone to be able to draw. This includes lots of demonstrating and explaining and practicing on scratch paper.

Learning to draw, Chapter One

Learning to draw is about learning to see accurately and learning to handle the tools to depict what is seen. The first lessons are copying exercises, and then we move to drawing one’s own hand. This is how it can look:

sarra.jpg


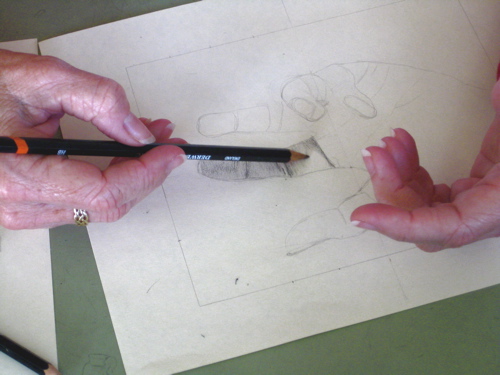
All drawings start with the outlining stage. Here, Sara has her outline in place, and has begun to shade. We use a plexiglass viewing window to transform the 3 dimensional hand into 2 dimensions for the outlining process. This makes it easier to see what is really there. (It doesn’t show in this photo.)