Day Two on the Mural

img_3894.jpg

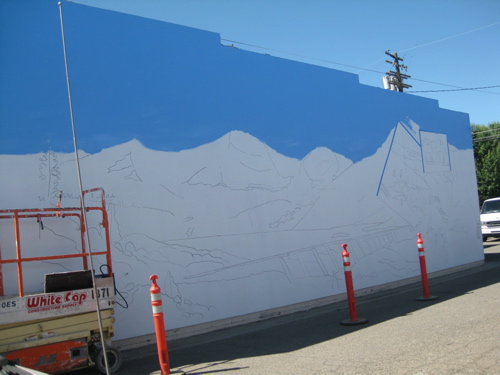
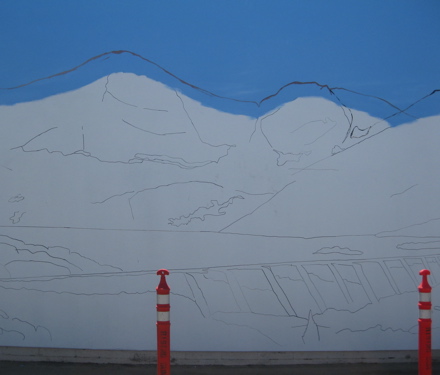
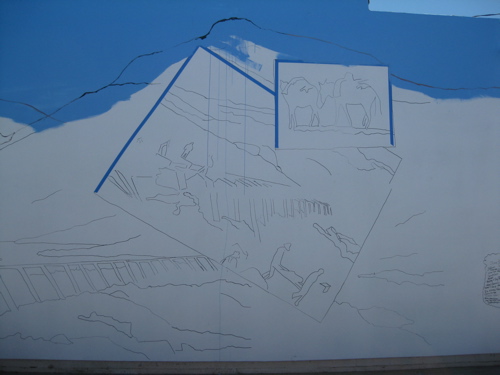
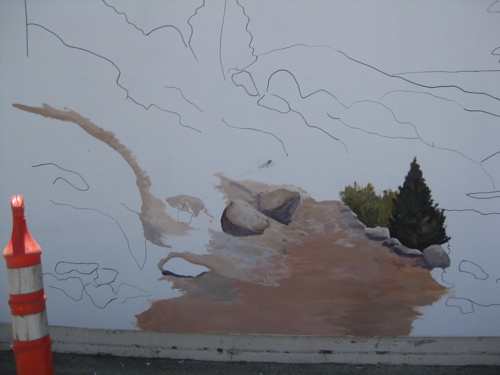
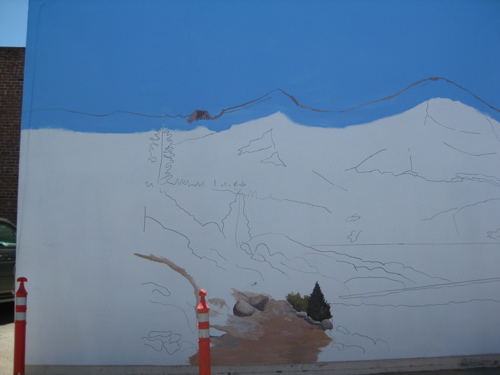
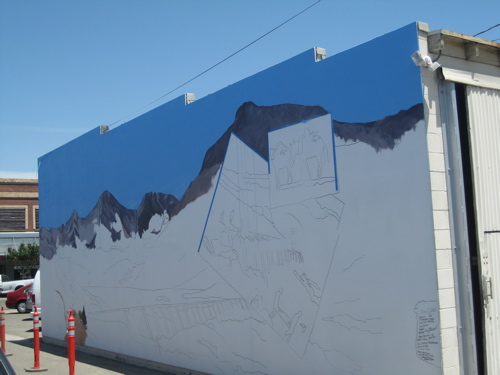
The mountains are being formed from the top to the bottom (which is the same as from the back to the front) and from left to right.  Notice the wall’s shadow – that is around 1:30 and it is too hot to paint the minute the sun hits that lift (and instantly dries my palette.) Love that handy little electric lift! Today Michael stopped by and showed me a few operating tricks; in addition, the lift owners removed the head-banger and extended the platform. Yea! Michael signed the projection list too:

img_3895.jpg


Day One on the Mural, continued

I loaded the most pertinent supplies onto the lift, remembered how to turn it on and drive it, got it into position and couldn’t figure out how to raise it up. I was so desperate that I actually referred to the useless manual. It should have had a simple sentence reading “Move the  yellow toggle switch to the left and use the same control that drives the machine to raise and lower it”. It didn’t say that. I called Keith and he talked me through. When I got as high as I needed to be, I began the sky. It took about 3 hours to cover it and here are the results:

img_3886.jpg

It needs to be a lighter color and the mountains need to be raised. So, I got the new mountain level drawn on:

 img_3889.jpgimg_3890.jpg 

After that, the lift stopped lifting, so I moved to a lower section and began scribbling. Since painting is supposed to happen from back to front, this is out of order and will have to simply serve as a base coat.

img_3887.jpg

img_3888.jpg Next, I went home to mix some colors – new sky, 2 shades of mountain and dirt.

Day One on the Mural

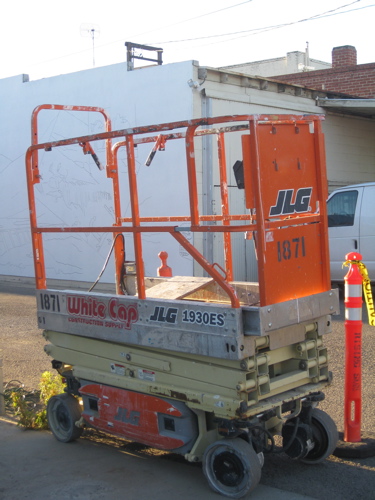
In life, I am pretty good at about 2 things (drawing and teaching drawing), pretty average at most things, and really bad at 2 things for sure: team sports and morning. Today, I got up at 5, left at 6, and was at the mural site at 6:30. 6:30 is a reasonable time; it is the preceding hour and 1/2 that really bite. When I got to the site I was greeted by this little guy:
img_3877.jpg

Back in the early ’80s, my friend Stacy got a new Taurus, and we used to joke about all the push-button devices being like an electric wheelchair. (At the time I had a stick shift with crank windows and without a/c.)  This electric lift is like the Taurus compared to the scaffolding I used last time!
img_3878.jpg

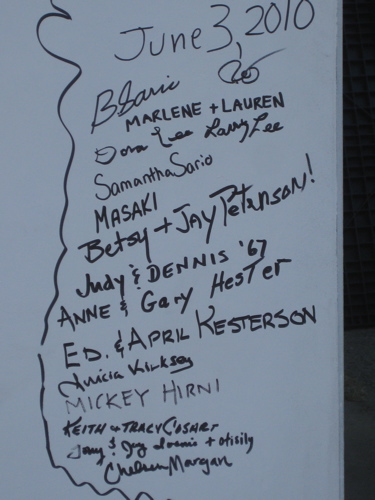
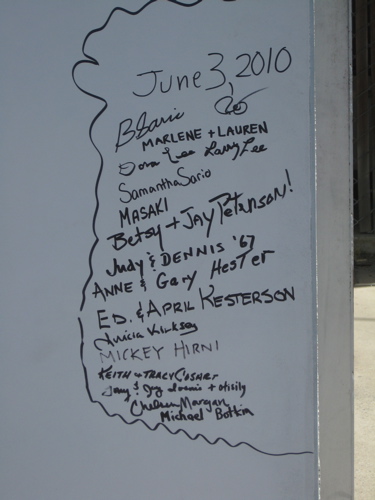
I was also greeted by this list of names, a happy reminder of all the help I had on Thursday night. (but Michael forgot to sign!)

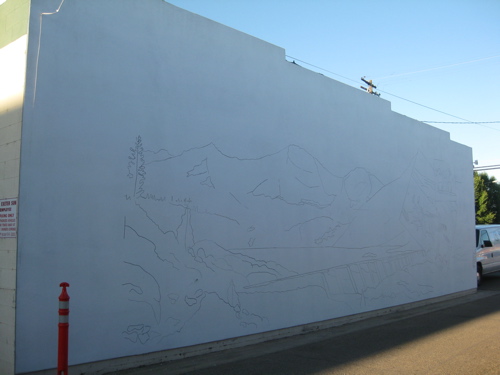
The wall looked like this with all the outlines:
img_3879.jpg

You can see it didn’t fit all that well – there is extra space on either end. (Maybe projecting murals should get added to my list of team sports and morning.)

outline.jpg

Okay, I am way too sleepy to continue this posting. Guess I’ll have to show you the morning’s work tomorrow. And no, I’m not going to take a nap because there is NO WAY I’m going to experience morning twice in one day!
 

Finishing up

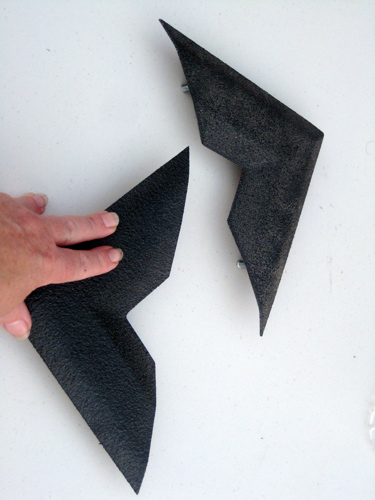
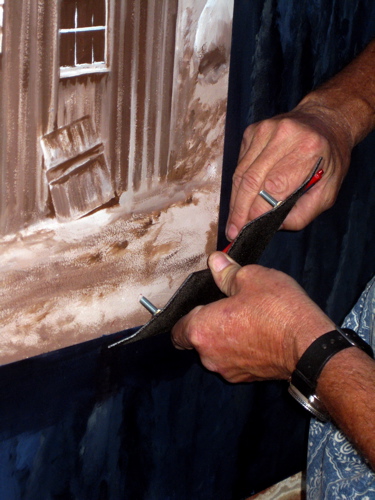
Exeter’s murals are really special, and it is due to a very dedicated team of volunteers. They do extra things that keep Exeter ahead of the pack. Last night the finishing touches were added to Mineral King: In Our Back Yard that really set it off. Look at these fabulous, over-sized, three-dimensional photo corners!

img_3792.jpg


Now, when visitors ask me, “How’dju git them pichers on there?” I will simply say “With them there corner thingies!” 😎

img_3793.jpg

Projecting the Project!

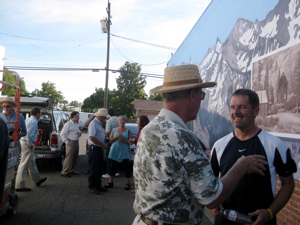
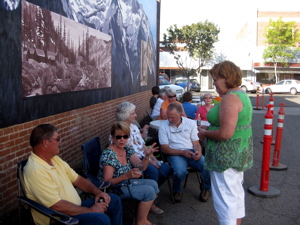
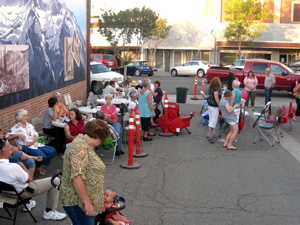
Thursday, June 3 was the date of projecting the latest Exeter mural onto the wall. Wow, was that ever a project! (Isn’t that an odd word in its various meanings?) There was a nice group of people there to celebrate Bill Sario’s birthday and that of his grandson. Bill fixed wonderful sandwiches for everyone, and Betsy baked a fabulous cake. There were a few local dignitaries and sponsors of the first Mineral King mural present, along with the mural team,  other friends and interested folks.

img_3786.jpgimg_3787.jpgimg_3788.jpgimg_3789.jpgimg_3790.jpgimg_3791.jpg


I had to have a brief lift-operating lesson, and then it was (wisely) decided that my personal practice time should happen later. Keith became the lift operator for the big job ahead, which was that of aligning and tracing 16 (yes, SIXTEEN) transparencies. There must be a better way to do this! Ed Kesterson suggested a method using a laptop that was way over my equipment and experience level. (If I get another opportunity to do a huge mural, I will call him for help!) There are so many variables using an overhead projector – it has to be centered vertically and horizontally and MUST be perfectly parallel to the wall. The math needs to be accurate so there isn’t either too much mural or too much wall. Since I knew there wasn’t much chance of the math being accurate, we began toward the center and worked outward. This allowed there to be minimal slop on either end instead of a spare 10 feet (last mural had about 20 extra feet to contend with!) Larry Lee (of Larry Lee Photography) was present with his years of wisdom and helped tremendously with the calculations. He directed the order of slide projection and told me the parts most crucial to accuracy and success. Then, the fun began! First we did the 8 top transparencies, measuring and marking critical points. This was mostly done from ladders, and there are so many photos that I will keep them small so you can enlarge them if you choose.


Paul of the Exeter Sun-Gazette placed the first mark. img_3794.jpgMickey is right-handed and Michael is left-handed  – a perfect team!img_3797.jpgMichael was awesome in his focus and bravery on a rickety antique ladder.img_3798.jpgSamantha, a brand new engineer, is one of my most cherished former drawing students. We bonded initially over our Cat Disorders.img_3800.jpgNice group of folks here, included the soon to be born Otis/Emily.img_3807.jpgBetsy was a real trooper as always, and stuck with us until the end at 10:15 p.m.img_3809.jpg 

Exeter’s Mural Project

When we began the mural project in 1996, our hope was to create a reason for people to come to Exeter. We wanted to WOW folks with our high quality outdoor art gallery, and now that is the reality. It still amazes me to contemplate the level of dedication and determination and perseverance that this project represents. A few months ago I met an adventuresome young couple who move every 3 months as she works in temporary positions and he finds jobs in the area. They were delightful, and here is their blog posting about Exeter’s murals:  http://tirello.wordpress.com/2010/05/27/exeter-california-gateway-to-the-sequoias-and-home-of-the-murals/  Makes me feel warm and fuzzy! Thanks, Chris and Teri, for sharing your mural experience!

Designing a mural, part 4

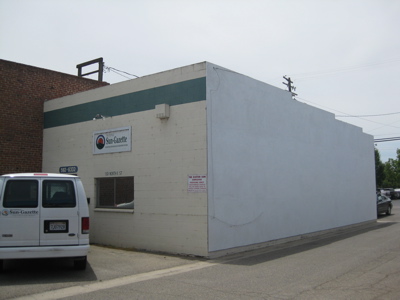
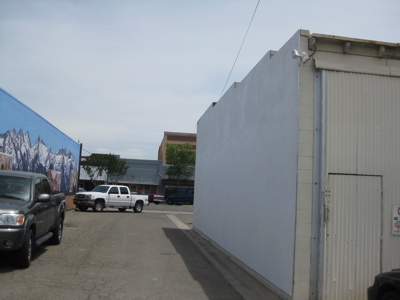
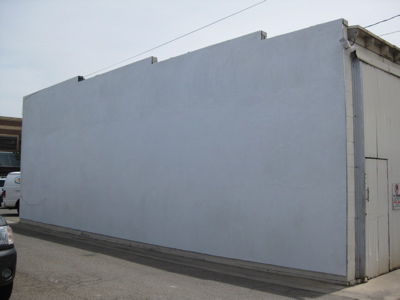
This isn’t exactly about designing the mural, but perhaps you’d like to see where the next mural will be. It is the 100 block of North E, but it is in an alley/parking lot and I don’t have an exact address. So, a picture or 3 might help:

img_3725.jpgimg_3723.jpgimg_3726.jpg 

It is on the north facing wall of the same alley where my previous mural is!

Designing a mural, part 3

The last time I did a large mural, I learned a boatload of information about the process, particularly about projecting it onto the wall. It was so exciting to be projecting, and it was overwhelming to have so much eager help, that last time I didn’t really think through.  This time, I thought I had it all figured out. My plan was to mark the wall in the same number of increments as I have transparencies.

img_3724.jpg

img_3722.jpg


Yesterday I visited the wall, which has been both plastered (very smoothly – wow, excellent!) and primed. Since I planned for a 40′ length of wall, it seemed right to just mark it off in 10′ sections. Then, my more cautious self decided to measure the length just to be sure. Good thing – it is 45′! I have 4 transparencies, so I divided 45 by 4 and marked the wall in 11′-3″ segments. Then, I thought I’d better check the height, since I planned for 14′. At its highest, it is 15′-6″! This brings me to my next big lesson – MEASURE IT YOURSELF NEXT TIME BEFORE DESIGNING AND BIDDING!  Today my plan is to test my overhead projector and to mess around with the math to see if my transparencies can be adjusted to fit the actual wall size.

Designing a mural, part 2

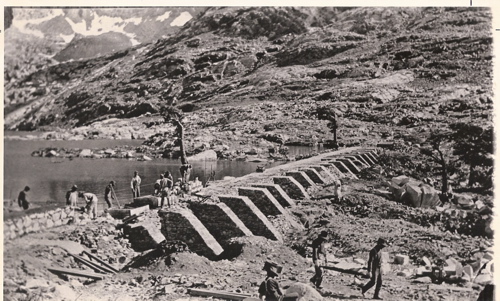
After I recovered from the enormous overload of photographic input, I sorted the photos by lake. Then, I realized the only historical photo of a dam that I had readily available (thanks, Louise!) was of Franklin. That caused the decision to be easy. The mural team requested the addition of mules, so I had to chase down an old photo from which to paint. I know many resourceful people with lots of history in Mineral King, so finding a photo wasn’t too hard. (thanks, Cathy!)

building-franklin-dam.jpg


Planning a mural

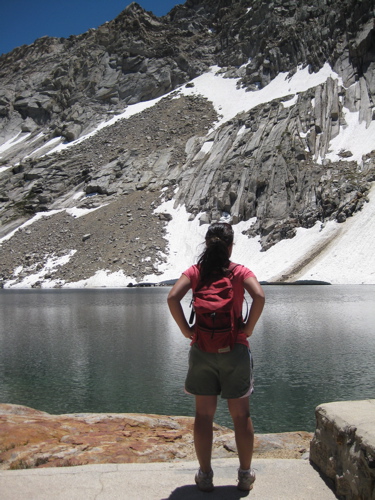
The new mural has been in the planning phase for over a year. It was requested that a mural be painted to the correct scale so that a person can stand in front of it and appear to be at the actual scene. To do that, I had to have people with me each time I visited a lake with a dam. There are 4 lakes with dams out of Mineral King. I knew that Eagle Lake most likely would not make a good candidate, so I only visited the other 3. My friends and family know that I am always working – thinking, planning and designing – so they have become accustomed to participating in rather unorthodox ways upon request. Here is Phoebe at Crystal Lake:

img_0824.jpg

It is a fabulously beautiful place, and it might have worked for a mural. The dam is on the lower of the 2 lakes, and we all (Michael, Phoebe and I) prefer upper Crystal.

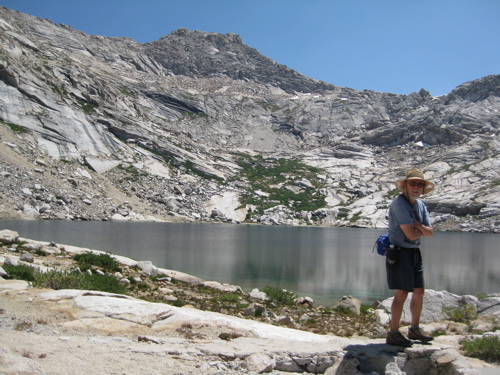
Here is Michael on upper Monarch Lake:

img_1338.jpg

This lake is sort of hard to get to since there isn’t an exact trail. It would be good to know how the mules carrying all those sacks of cement got there!

img_1548.jpg

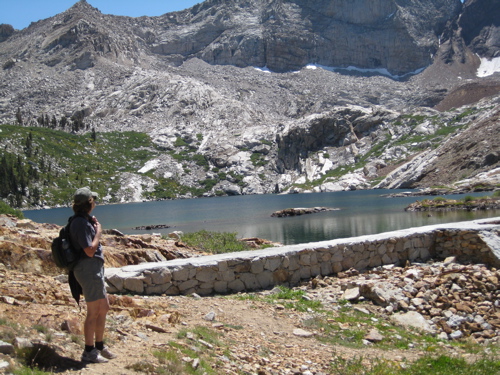
This is the other JB at Franklin Lake. We were there in late August, and by then, I knew this would probably be the best candidate for a mural that could meet the specifications. It has a trail leading directly to the dam and there was a great photo available of the building process in 1904.