How I Spent “Black Friday”

2025 CALENDARS AVAILABLE HERE.
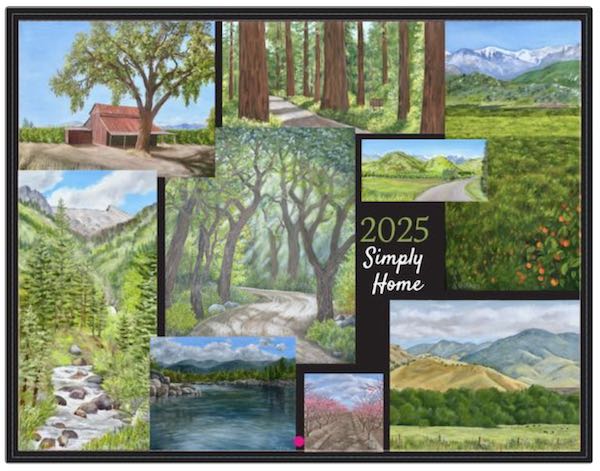
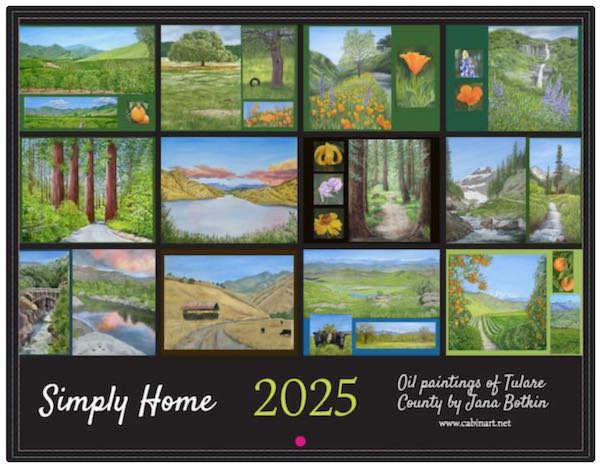
“Black Friday” kind of disgusts me. (I recognize the irony given the previous paragraph/ad). It overshadows Thanksgiving in the media, and it summarizes and epitomizes the commercialism and greed that taint Christmas. I have participated in Black Friday in the past by joining a group of artists for a boutique here in Three Rivers. It was fun for the visitors, most of whom were part-timers in town, staying at their second homes. I reached a point where the scuzzy state of the building where we held the boutique was no longer acceptable. (WHAT DO YOU MEAN THERE IS NO WATER??) We borrowed some other locations for a few years, and when they were no longer available, it was a relief to let that boutique fade away.

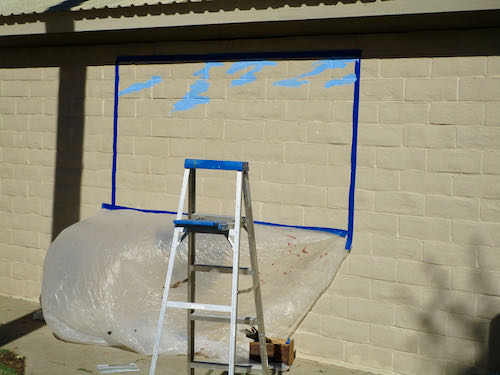
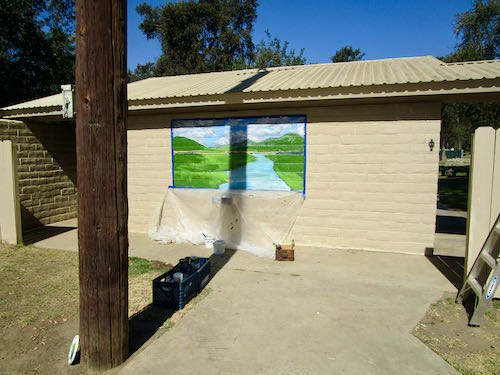
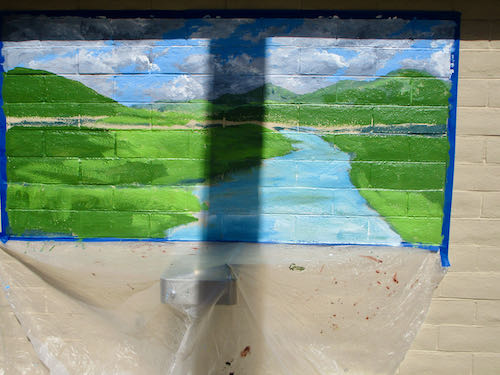
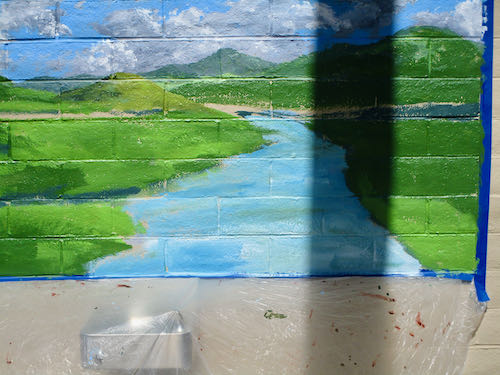
This year I spent half a day refreshing the mural on the water treatment plant in my neighborhood, an imminently more satisfying venture than heading down the hill into the fog and the crowds to spend time and money looking for things that no one in my life needs or wants. (Not judging you—just stating the facts of my simple life.)

Yellow is the quickest fading color, so many of the greens have turned blue in the past 5 years. Some of those greens may have been mixed using a yellow that lost its high-lightfast rating (which I learned about when I tried to reorder that yellow.)

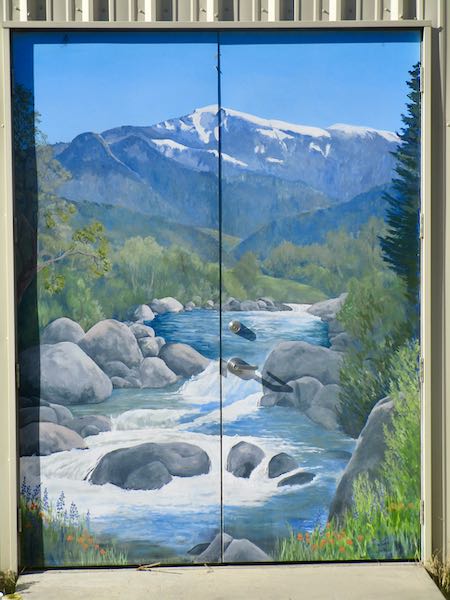
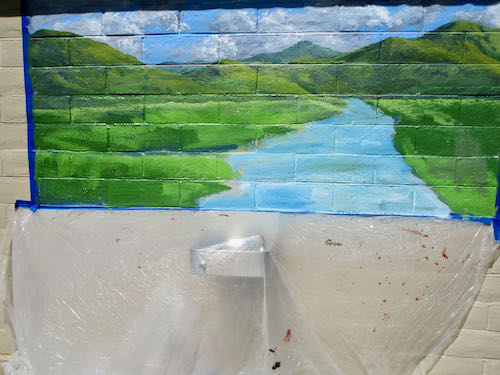
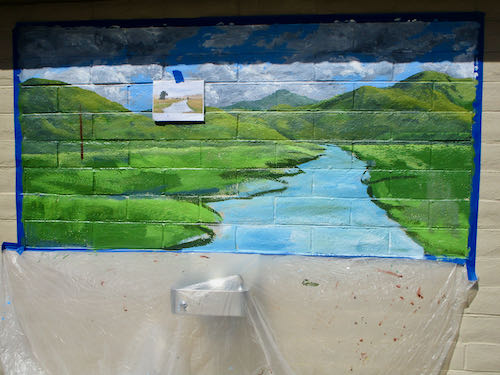
My before and after photos were terrible. It is almost impossible for me to take comparison photos when in sunlight because the camera screen is too invisible to be able to see and take the same angles. And even this last photo of the finished mural isn’t a good comparison because the light has changed.
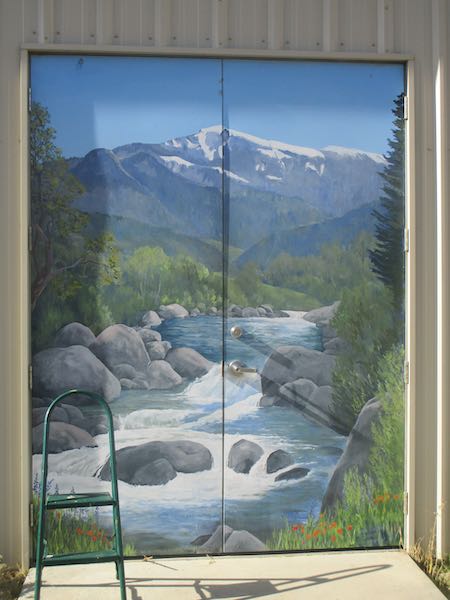
You’ll have to trust me that it has improved.

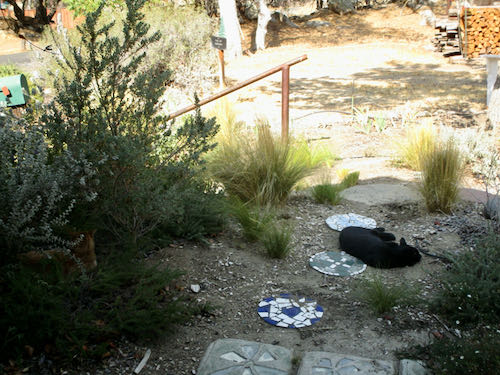
Have a look at Alta Peak. When I went out into the road to view the mural from a distance, this is what I saw behind me.
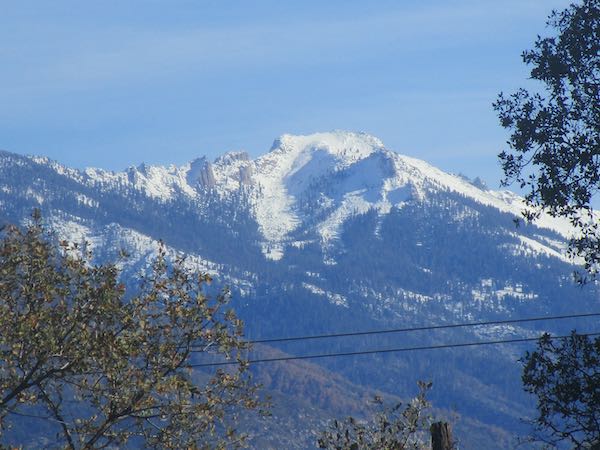
In spite of my lack of helpful before and after photos, this picture of Alta Peak lets you know that the mountain in the mural is accurate.

It was a much more satisfying way to spend the day after Thanksgiving.

WAIT! I WENT BACK THE NEXT DAY AT THE SAME TIME AND TOOK THIS PHOTO FOR YOU!
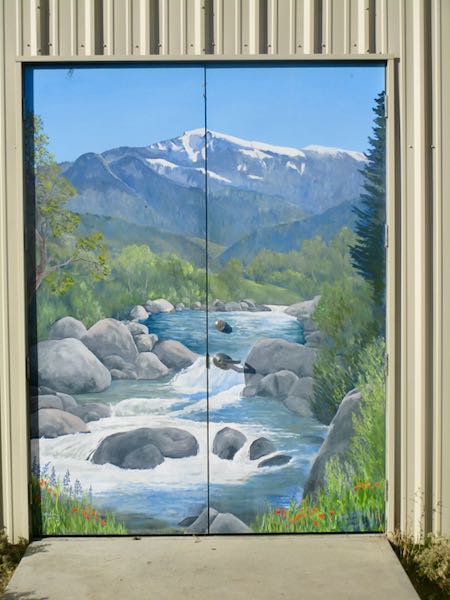
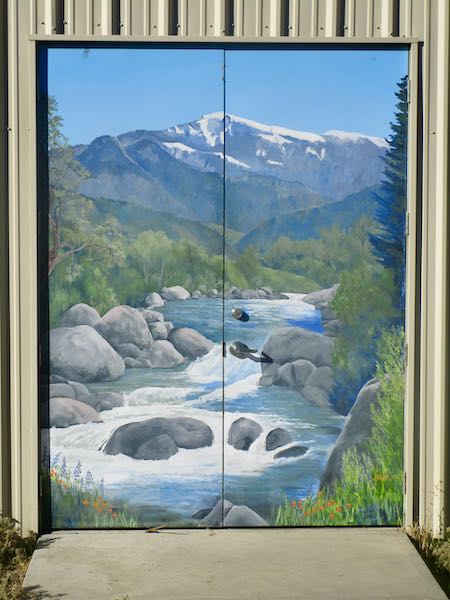
Now, let’s look at before and after, side-by-side (11/29/24 on the left, 11/30/24 on the right). The differences are subtle, but I like it better now.
SIMPLY HOME

*The show hangs until December 29 at CACHE in Exeter. Their hours are Friday 1:30-4, Saturday 10-4, Sunday noon-4. It includes about 50 paintings, 3 original pencil drawings, calendars, cards, coloring books, The Cabins of Wilsonia books, and a few pencil reproduction prints.
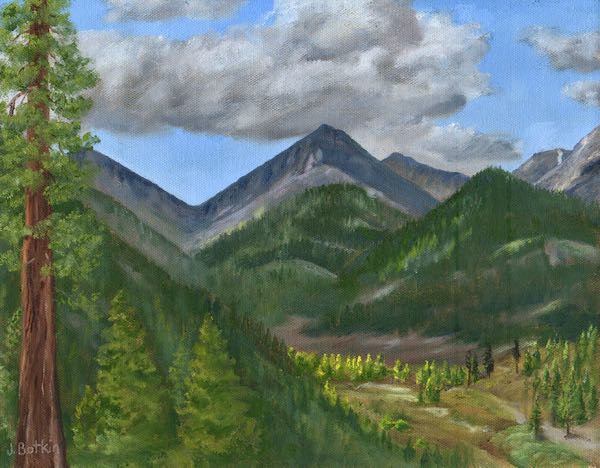
Mineral King Valley in September, 12×16, $375

Library of My Youth, Chapter 4

Today I will show you what I submitted for the 2nd mural on the Ivanhoe Library.

For review, here is what the selection committee provided.

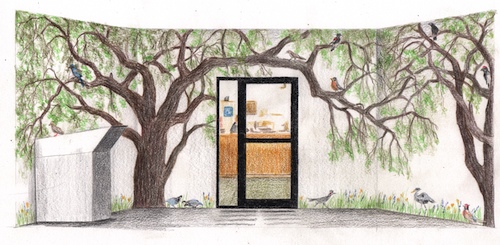
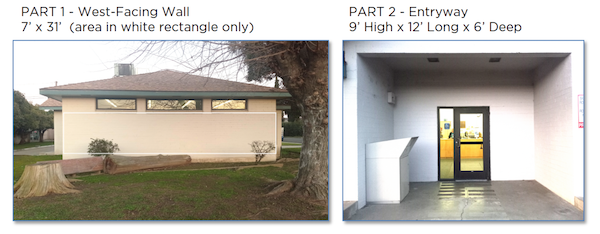
Here is what I submitted for this entry way.

Here is my explanation.

“Mural B shows 2 Valley Oaks, quercus lobata, which is the largest American oak, native to Tulare County. In and beneath the trees are local birds, all seen in and around Ivanhoe, along with a few wildflowers at the base. This could be used as a fun method for children to learn their local birds.

Now, we shall see if I actually get to paint these two murals.

P.S. The commenting part of the blog has been misbehaving but comments are coming through anyway. So to those of you who soldiered through, thank you!

Library of My Youth, Chapter 3

Okay, I’ll quit stalling now. This is what the Ivanhoe Library mural project gave to the potential artists.
First, I introduced myself with this.
“I am very pleased to be able to submit two designs for the library of my youth. I grew up outside of Ivanhoe, attending Ivanhoe Elementary School K-8. I credit my 6th grade teacher, Tom Stroben, with teaching me to draw, and much of my childhood was spent reading books from this library. It would be a huge honor to be selected as the muralist for this Tulare County treasure.”

And this is what I submitted for the long wall.

This is the explanation that accompanied the sample. The selection committee didn’t ask for this, but they got it anyway.

West Wall is an orange grove with the mountains in the distance and three insets. The mural shows a picker on a ladder (partially hidden), smudge pots, and a wind machine. In the distance are the Sierra Nevada as the peaks show on a clear day from Ivanhoe. The insets are (L to R) Twin Buttes (a geographical landmark north of Ivanhoe), an old citrus label from Klink Citrus (chosen because of the colorful rooster and the name “Venice Cove”, a nod to another geographical landmark, Venice Hills, east of Ivanhoe), and the old Ivanhoe School Auditorium, which housed the school library in the years I attended school there. (1964-1973).  

Okay, I’m going to drag this out for another day. Next post about this project will appear on Monday, November 27.

Three Rivers Museum Wall Painting, Completed!

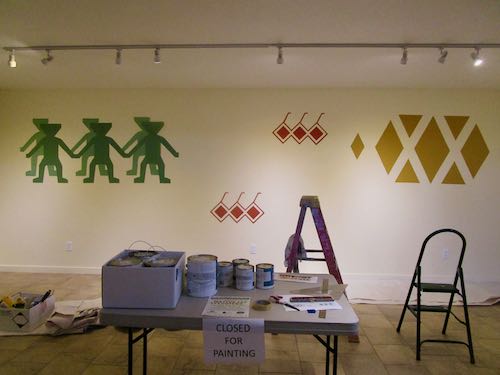
The painted designs on the wall for a new exhibit called Native Voices at the Three Rivers Historical Museum are finished!

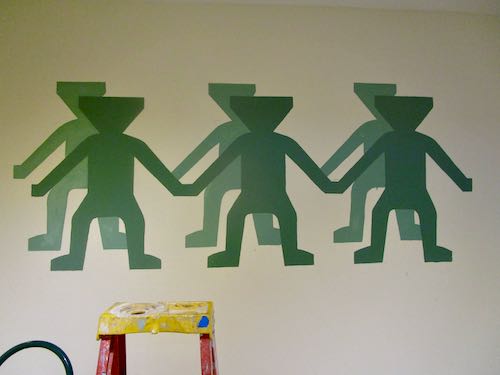
The last day began with little green men, called “The Gathering”. The lighter green was ready for a second coat, and the rest of the shadows had to be drawn in. That should have been very simple, but I struggled a bit on some of the placement. (There was plenty of touch-up base coat paint for erasures.)

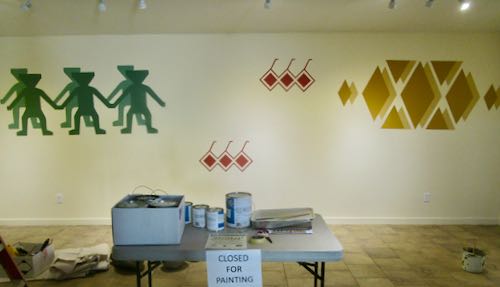
This is how the whole wall looked.

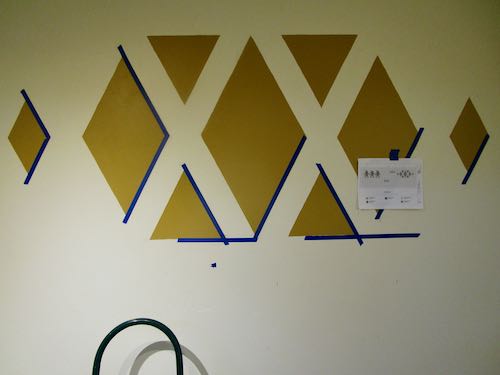
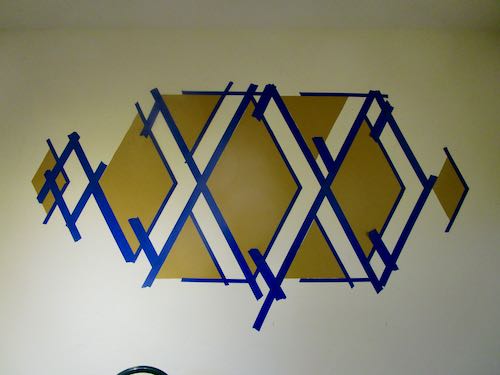
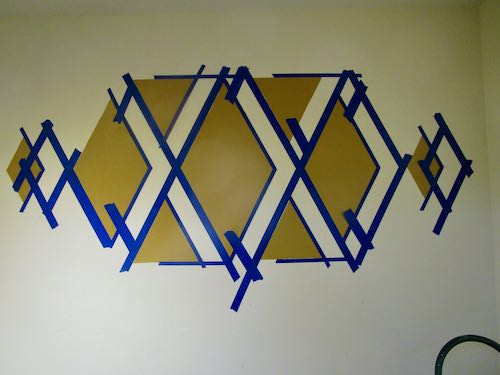
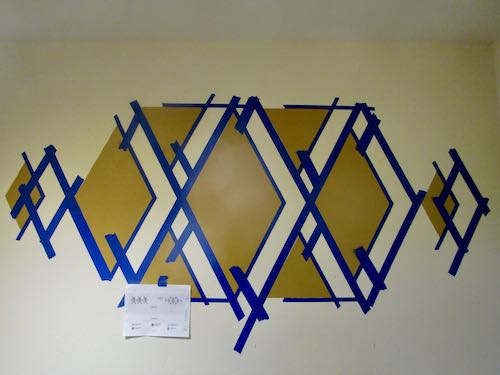
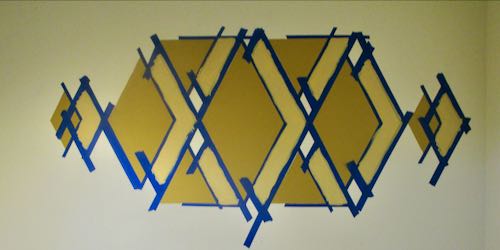
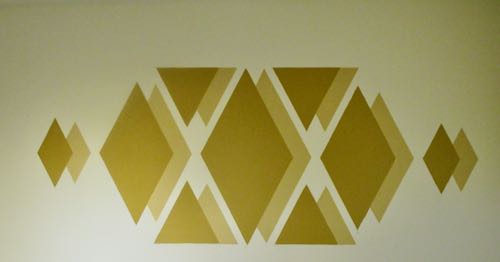
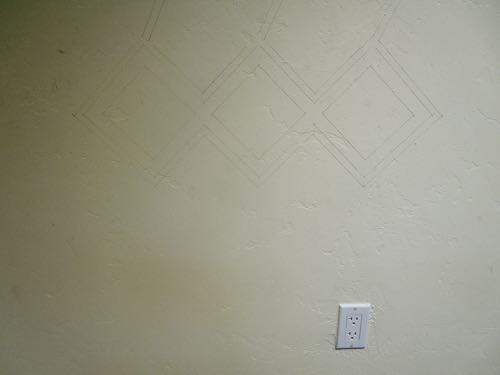
Next, I had to figure out how to put the shadows on the far right diamonds, called “Rattlesnake”. Instead of transferring the pattern a bit to the right of the existing diamonds or drawing it in pencil, I used masking tape to “draw” it. This took a lot of thought and measurement. I would think that it was ready to paint, stand back, and see yet another missing strip. Sometimes I was protecting the diamond edge, and sometimes I was shaping the shadows.

Everything took two coats of paint. I wasn’t sure the tape would peel cleanly, but it did fine. While looking here on my computer screen, it appears that some of my spacing is off. Some of those lines got eyeballed, so the entire thing is bound to look hand-painted rather than like applied vinyl. My customer, the Mineral King Preservation Society, looked into vinyl but chose paint instead, a choice which suits me very well.

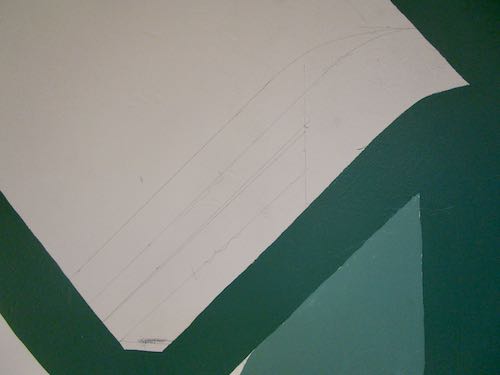
While the paint was drying, I started touching up the drips and wobbles, along with covering the visible pencil lines and smudges from the graphite transfer paper. The smaller red diamonds called “Quail” had no shadows. Thank goodness, because these were small and detailed. Maybe I should have taped them, but every job is a completely new challenge, and I just bumble through, wishing that sometimes I could have a couple of jobs the same so that the new knowlege wouldn’t be wasted.

Finally, I decided to peel off the tape, risking disaster. (That’s an exaggeration, because as long as there was paint remaining in the necessary colors, anything could be fixed.)

I peeled and only saw a few parts that needed retouching. Acrylic paint (or latex or whatever non-oil paint is) dries so fast, which is a real bonus on a job like this.

Finally, here is a look at the whole wall.

The display will have cabinets in matching colors placed strategically beneath the colorful wall designs.

A few more facts:

  1. The colors were chosen to not clash with the other 2/3 of the room. (The red is magical—sometimes it looks red, sometimes it looks rust, and sometimes it looks pink, and get this: the name is pumpkin spice!)
  2. The other 2/3 of the room is for the Mineral King exhibit, a thorough look at geology, mining, the Disney era, and cabin life in, of course, where else, Mineral King.
  3. The Native Voices exhibit is put together by the MKPS for the Three Rivers Historical Museum. That 1/3 of the room isn’t the responsibility of the MKPS, but the MKPS has paid employees who are real go-getters. They know how to find money, and they wanted the entire room to look cohesive.

This is going to be a great display, and I encourage you to visit the museum!

About That Museum Wall Design

The exhibit is on the north interior wall of the Mineral King Room in the Three Rivers Historical Museum. (Really, shouldn’t this be called a “history” museum rather than a “historical” museum? This bothers me. The museum isn’t historical; however, I didn’t name it and can read their sign and website and then call them what they call themselves.)

  • The exhibit is called Native Voices.
  • The designer chose the colors.
  • The designs are from Yokuts baskets.
  • I will freehand the design rather than tape.
  • It will take a lot of time to paint out the drips, wobbles, and graphite smudges, but less time than taping and then hoping everything stays in place when it dries and the tape is removed.
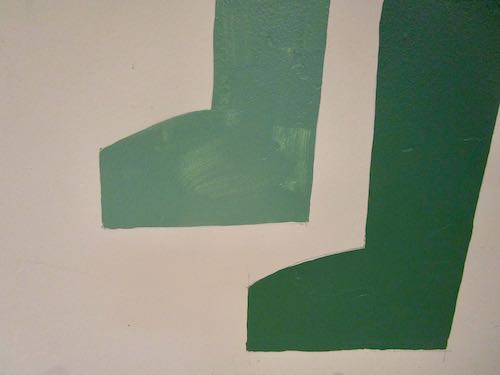
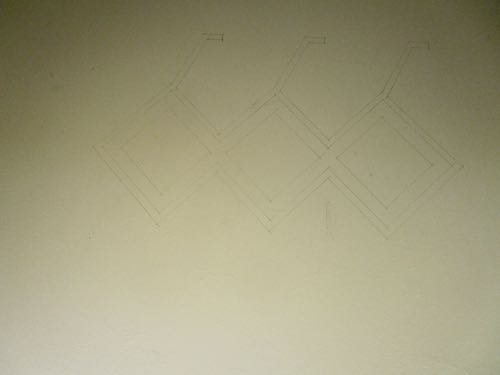
  • I only traced the main designs and will have to figure out how to do the “shadows”.
  • I would dearly love to know how the designer thought I’d get the designs onto the wall.

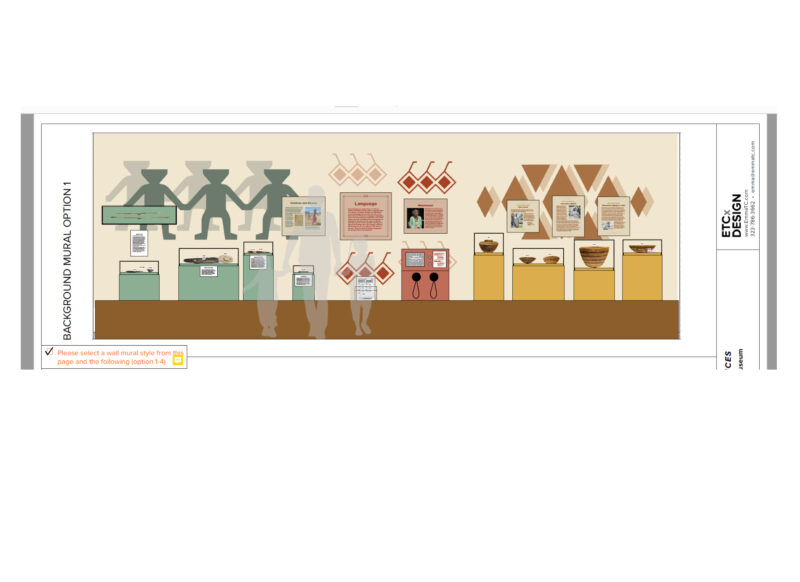
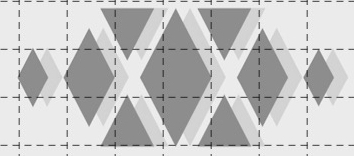
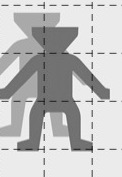
This last picture shows the design with its “shadows”, along with three of gray people-ish shapes to give an idea of how the finished wall will look. On the left is The Gathering, in the middle is Quail (but the lighter versions won’t be included), and on the right is Rattlesnake.

Transferring Designs to a Museum Wall

The quail design had to be repeated, this time higher and to the right. I was on a roll, had this thing figured out!

Trail Guy stopped by to see how things were going. His timing was excellent, and he helped me place this design higher on the wall, measuring and leveling.

It was too big for the kraft paper, so I only drew half of the design, thinking I’d just flip it over and finish it. However, I had to “scab” another piece of paper and finish the drawing, then trim it when we flipped it over. I was thankful that he was still outside, reading through the exhibit on the New England Tunnel and Smelter Company (a Mineral King exhibit).

After tracing that pattern, called “rattlesnake”, I went home for lunch. Tony’s Taverna has a food truck outside the museum, and I know the food is terrific, but I am too frugal to spend $20 for lunch when my kitchen is less than 2 miles away.

After lunch, I returned to finish the final design, which I called “little men” but learned is called “The Gathering”. This one had only one little man traced, and the plan was to keep moving the pattern over until all three were in place.

Oops. There was a mistake. I fixed it, repaired it on the wall and on the pattern, and then worked the little man across the wall. I didn’t tape the bottom of the pattern, because I had to keep lifting it up and crawling beneath it to place the graphite paper, three positions for each little man.

When I thought I was finished, I could see some problems with the little men’s feet not lining up. This is something I could fudge into place (what a weird use of the word “fudge”, but I bet you know what I mean).

Finally, here is a weird thought. As I was figuring out how to do this, I realized that I learned these skills from my mom. When?? Where?? When?? I don’t know, but I feel certain that I must have watched her create a pattern and transfer it somewhere, sometime.

Thanks, Mom!

Designs on a Museum Wall

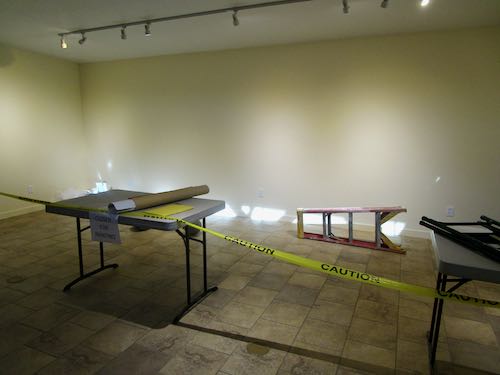
I enlarged these designs onto kraft paper, ordered some very large sheets of graphite transfer paper, gathered a few tools, and drove to the Three Rivers Historical Museum. My job bosses had prepped the wall for me, and they also blocked it off in a very serious manner, along with providing a ladder and a couple of tables. (They are TERRIFIC to work for!)

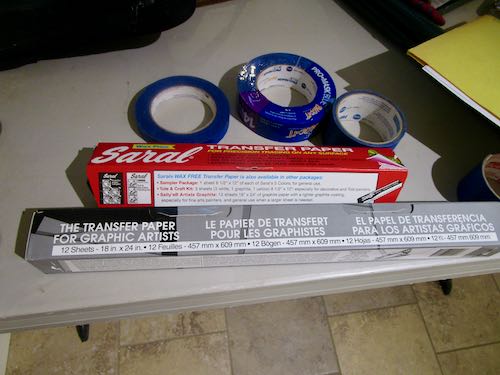
I had previously tested some carbon paper to see if I could transfer through the kraft paper, but had to go searching at Blick Art Materials for some large graphite sheets. There were two to choose from, and instead of accidentally ordering the wrong one, I bought both.

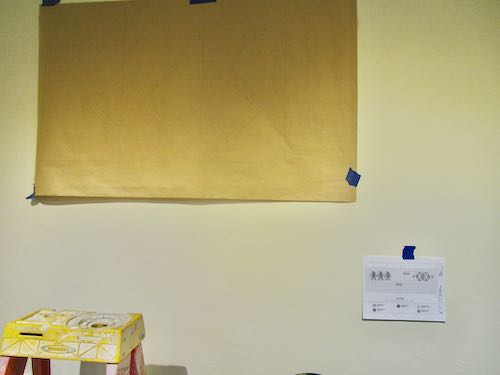
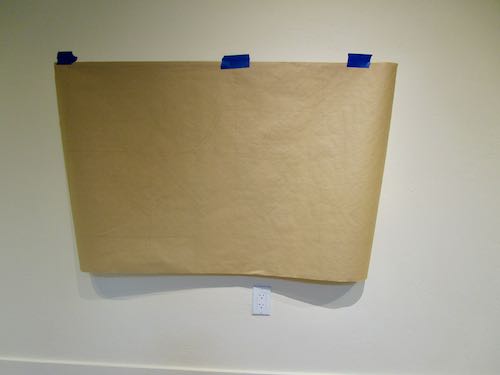
We measured the wall very carefully to mark the center and then figure out where the first design was to go. Then I taped the smallest design up, trying to see through the kraft paper to place it exactly on the mark I made, adjusting it until it was level.

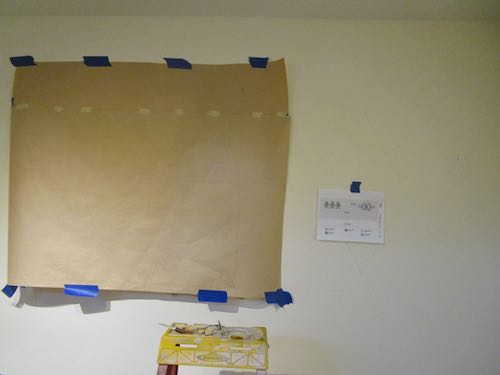
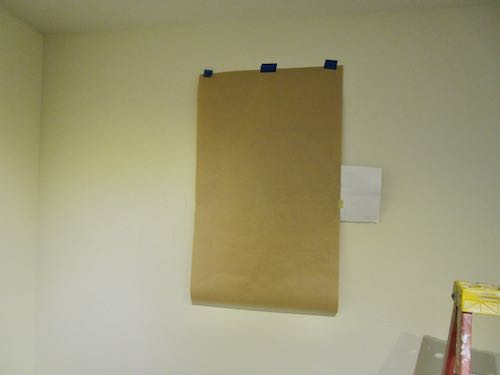
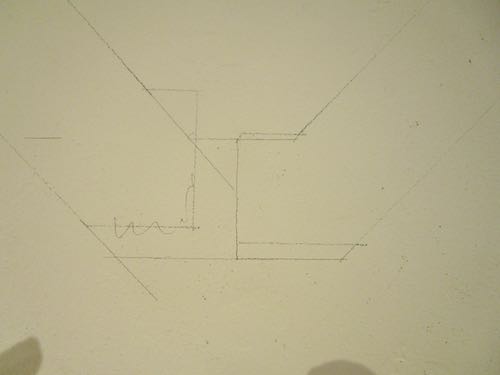
The design was drawn in pencil, so you can’t see it on this photo. I kept the bottom untaped so I could lift it up to place the graphite paper.

MASKING TAPE WOULDN’T STICK TO THE GRAPHITE PAPER!!

The museum came to the rescue with old-fashioned brown masking tape instead of the easy-removing blue type.

This design is called Quail, taken directly from a Yokuts basket design. I used a straight edge and traced over the pencil lines with an obsolete tool from the olden days of phototypesetting that my students and I refer to as a “spatula”. (Too hard to explain.)

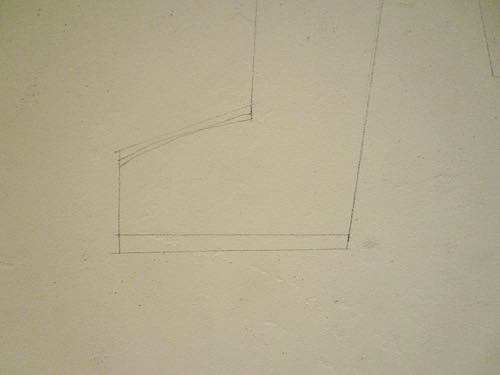
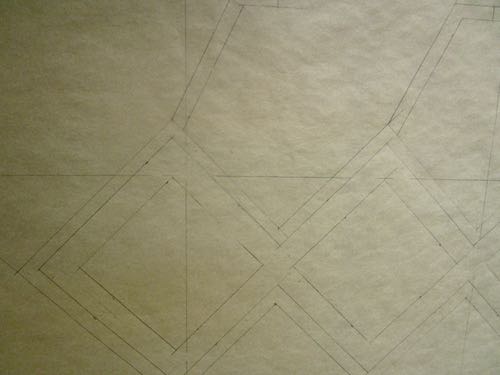
Squint hard, and you can see how it landed on the wall.

What next? I’ll show you in two days.

Are All Wall Paintings Murals?

Nope. Some are designs, created for museum displays, by exhibit designers. The Three Rivers History Museum hired a museum designer, an exhibit designer, whatever the title is, to create a Native American exhibit, and they (or is it the Tulare County Historical Society? Or the Mineral King Preservation Society? I should pay more attention!) to execute these designs.

Every new job I take on has an entirely new set of challenges. How does one take this little PDF and turn it into a wall design? These exhibit designers may not have completely thought through the execution phase of the display. However, maybe they do know how to do such a job and just didn’t tell the museum. Maybe it involves equipment and technology that I don’t own.

No problem. I figured it out.

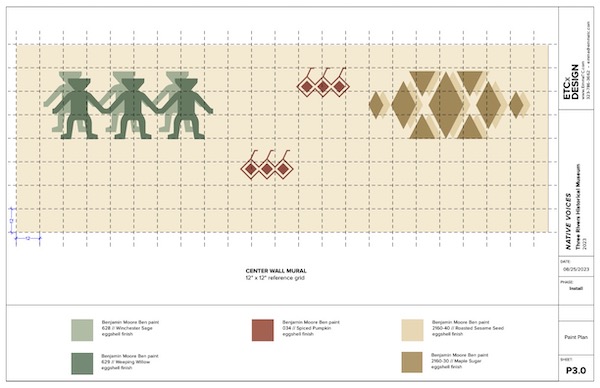
The designer sent it with a ?”=1′-0″ grid over the top.

I turned it to black and white, isolated each group, and printed it. (These samples don’t show the whole designs—just wanted to give you an idea.)

Next, I got some giant kraft paper (looks like brown butcher paper on a great big roll, and if you have ever received a wrapped gift from me, you know what I’m talking about) and laid it out on my drafting table. This was quite a big jump from my normal 11×14″ pencil drawings.

And then, I started measuring and drawing.

It took an entire day.

What next? I had to figure out how to get the patterns on the wall. I’ll show you next week, after our monthly Learned List.

Mural on a South-Facing Wall in September. . . Part One

This is not ideal for mural painting, particularly in contrast my last experience painting at Mooney Grove on a north-facing wall in February and March.

Realizing that the entire day would have strong hot sunshine on the wall, I determined to finish it in one day instead of the prescribed four. I knew it might possibly take 2 days, but I was focused, locked and loaded, ready to rock and roll, and whatever other cliché you can find.

This will be one day of painting and two days of posting.

First, let me be clear about something: I am Very Thankful to have been chosen to do this job and at the same time, I wished it could have been done at home in my studio with these creatures hanging around. (Pippin is barely visible in the bushes, and Jackson appeared after I took this poor photo).

Alas, sometimes an artist has to go out into the world, kill something, and drag it home to the cave. (Don’t get worked up—it is only a euphemism for doing work away from home.)

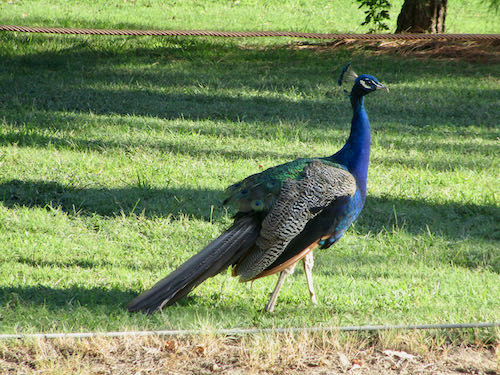
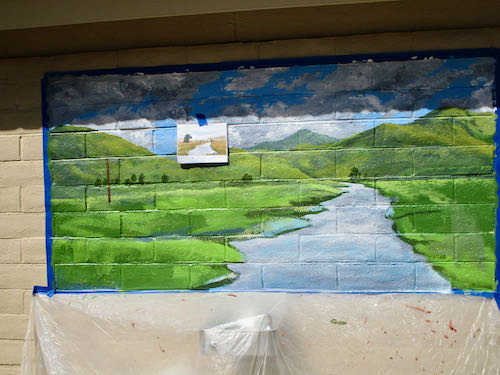
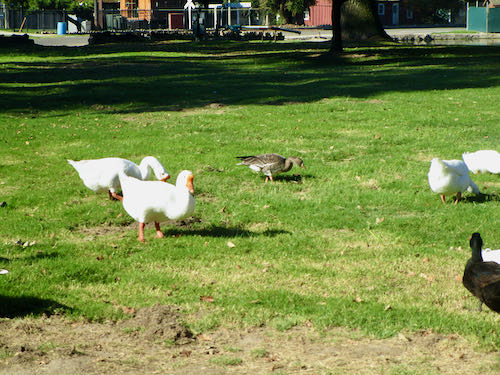
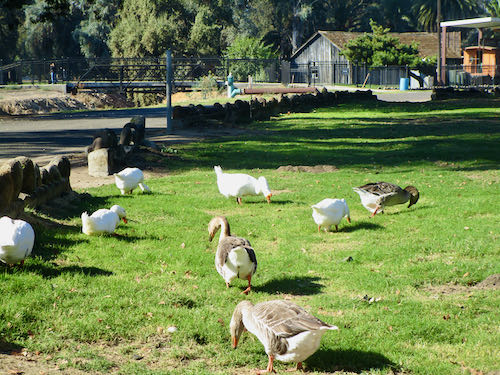
Instead, I saw this creature. Mooney Grove is known for its peacock population, although now there are way more Canada geese. Fortunately, they were not in mating season or hanging around my location like the last Mooney Grove mural.

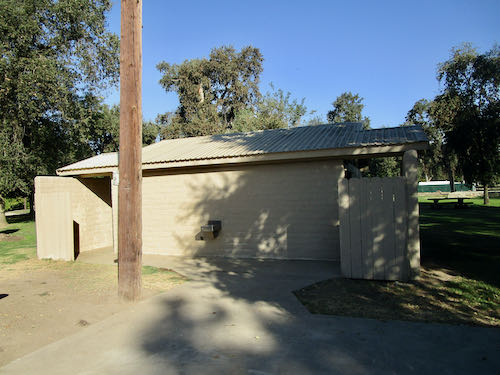
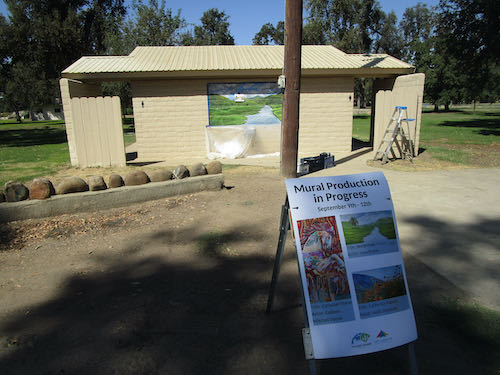
Hello, restroom. I was happy to see some shade. I didn’t know what was coming.

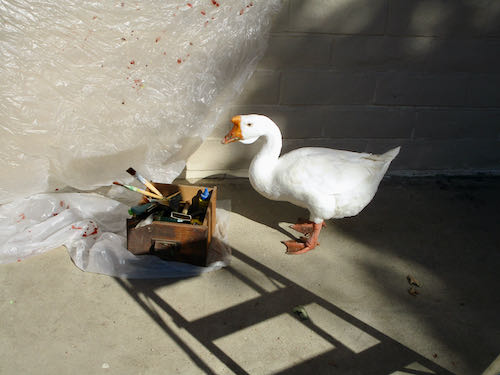
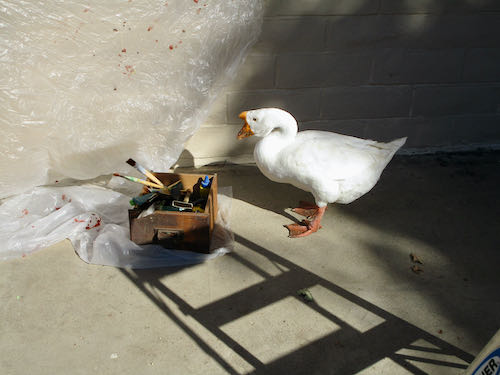
There were domestic geese waiting for me to set up, and very very bold about it. 9 a.m. and it was already hot in the sun.HEY! BUG OFF! Apparently he had a conference to attend, so eventually he waddled away. 
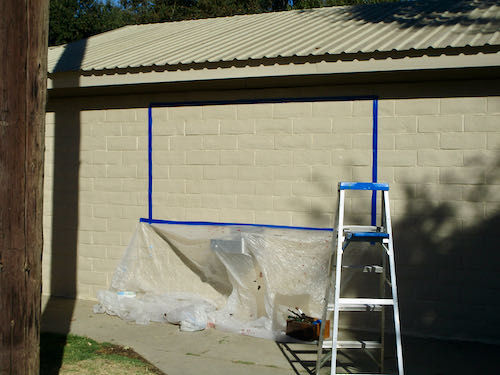
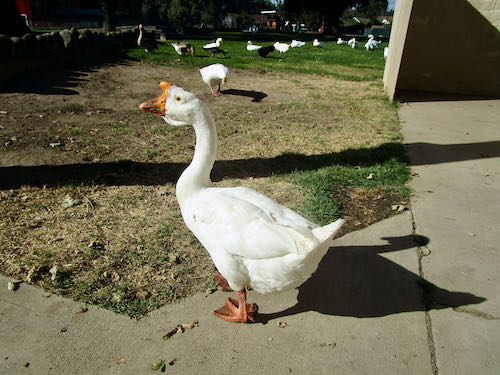
Let’s get to work. You guys too.

Farthest thing first – the sky. I didn’t have a colored copy of the painting that I submitted to the committee, so I was trying to recreate the scene using the original photos and a very poor pale copy of the painting.

Now it is in total sun, with the power pole shadow working its way across. I decided to put base coats on each segment, then return for detailing, rather than trying to complete each section as I went.

After applying blocks of color to each section and trying to squish the paint into the holes in the concrete block, I had to figure out how to proceed. The plan of attack: stand in the shade, plan the next move, decide the necessary colors, quickly grab the paints and brushes, sprint to the wall, and slam out the next small segment before running back to the shade to evaluate my work and figure out the next steps.

Watch the shadow of the pole move across. I kept dragging my crates of paint to the shadow as it inched to the right.

I ran out of water, and 2 wonderful park maintenance men brought me 4 bottles!! 

I finally realized that I couldn’t hold the palette, brush, and the photo, so I taped it to the wall. Sometimes I don’t want to do that because the tape causes the fresh paint to peel. This paint stopped being “fresh” about 20 minutes after application. The maintenance men eventually brought this sign.
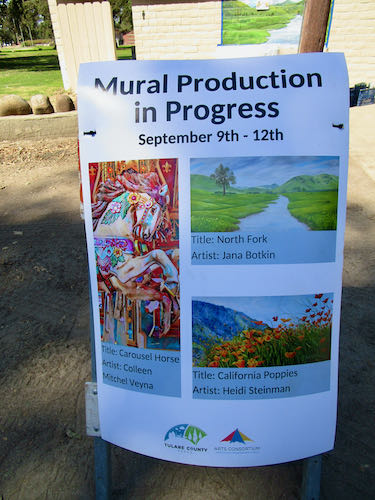
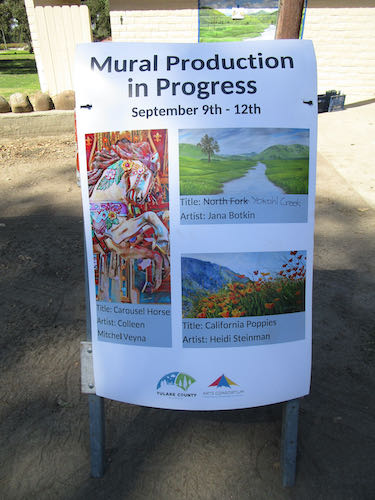
They also gave me permission to cross out the incorrect title. I didn’t bother with the incorrect dates, but I did add an “L” to Colleen MitchelL Veyna’s name.

Just rewriting this makes me almost collapse from the memory of heat. We will continue tomorrow with the rest of the very hot day of painting a mural on a south-facing wall in September at Mooney Grove Park.

New Mural at Mooney Grove Park

About two and a half years ago, I worked on several murals on the outside of the Tulare County Museum at Mooney Grove Park on the south side of Visalia, California. Each day when I finished painting, I walked around that giant park of a zillion trees. As a muralist, I am always aware of blank walls, and I counted 7 concrete block restrooms, all painted white, all with multiple walls screaming for murals.

I photographed several of the buildings, photoshopped some of my paintings onto the plain buildings, then wrote up a proposal to present to a committee that meets 4 times a year. I also wrote a letter and asked to be on the next meeting’s agenda.

Then, The Plague struck. No response to anything I requested, no followup, nothing.

A few months ago, the Arts Consortium invited artists to submit five designs apiece, each proportioned to fit a 4×8′ horizontal mural. Five artists would be selected to paint a mural on a restroom. I submitted 5 ideas, and included my photoshopped versions for their visualizing convenience. (Always make it easy for the customer!)

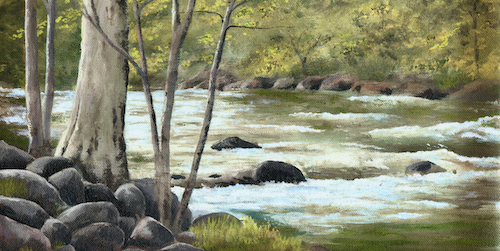
Eventually, I got a congratulatory email saying my painting of the North Fork had been selected for one of the restrooms. Not my favorite, but I have painted and sold this scene about three times, so it seemed like a good candidate for a juried situation.

Next, I got instructions that all the muralists would be painting their restrooms on the same weekend, from a Friday through a Monday, and would be finished on that Monday, no exceptions, so there. 

I looked at the weather, saw that Friday would be 104, contacted the nice man at the Arts Consortium and asked for a postponement or to be fired.

Being reasonable, he agreed that paint dries too fast in those conditions and went to the committee making the decisions. 

We were then allowed to pick our own four day block to paint, and I chose September 21-24.

The forms began flying back and forth, along with a visual to remind me which painting had been selected, and a photo of it on “my” restroom wall.

Excuse me??

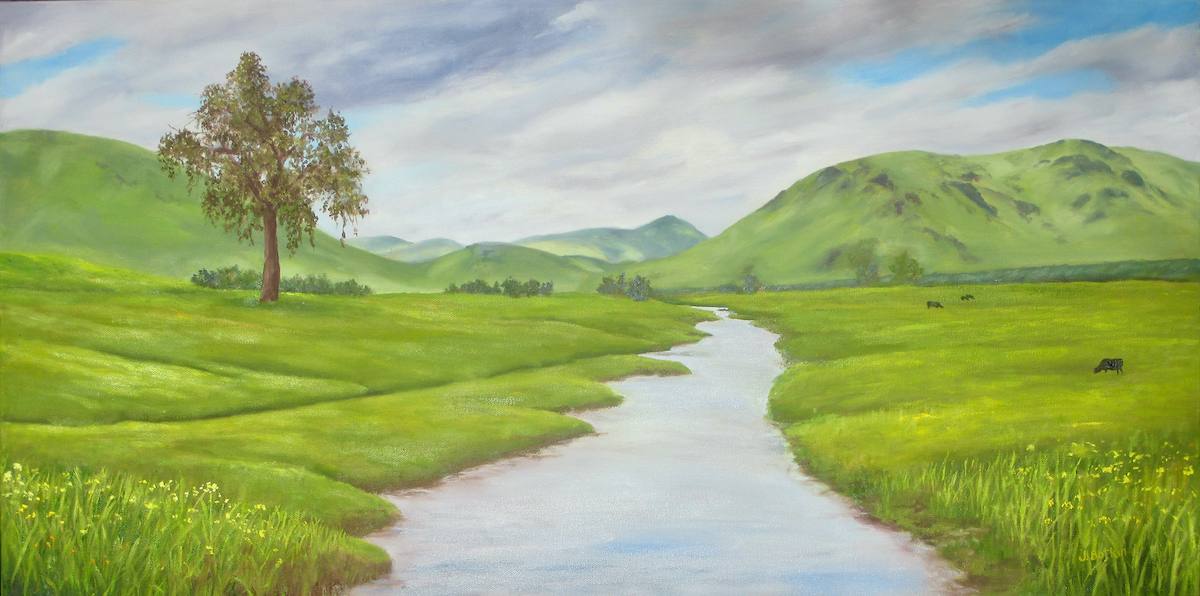
All-righty-then! So, I will be painting Yokohl Creek, which might indeed be my favorite. (GREEN!!)

Supposed to begin tomorrow, but many of the project details have been fluid, so time will tell. . .