How to Draw With Graphite and Colored Pencils, Ch. 4

Conclusion of the graphite portion of the pencil drawing

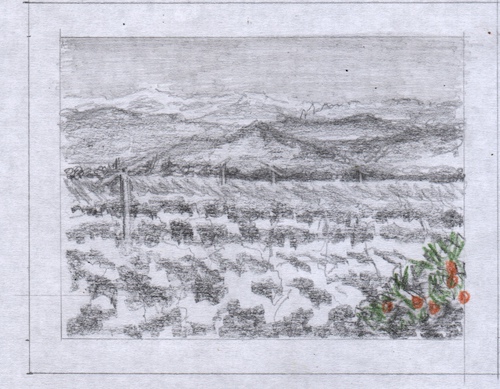
Today we will conclude the graphite part of the drawing tutorial. Tomorrow I will take you on a walk, or a cruise around the yard, or something to give your overworked minds a break from the minutia of pencil drawing. If you haven’t unsubscribed by Monday, you will see the steps of adding color to the drawing, last seen looking like this:
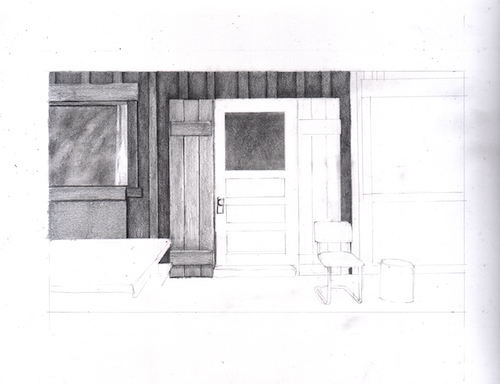
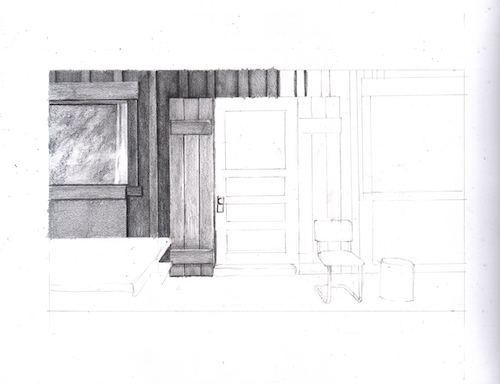
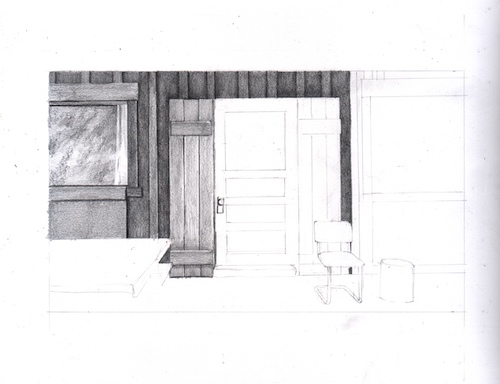
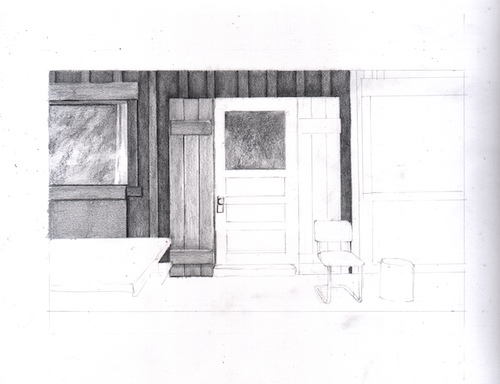
Step twelve: It is time to make a decision about the door and the shutters. In the photo, they are green and brown, and these shades are the same value (the same shade of gray if we turn the photo to black and white). I decided that the brown would be darker than the green when I did the shutter on the left. Now I want to be consistent with the green door and other green shutter, deciding which is darker and where it is darker, but in general, keeping the green lighter than all the brown. The way I do this is to only use 2B instead of 4B in the darkest cracks and for the darker edges, and do the bulk of the shading with HB. As I worked on the shutters and the door, the chair got smeary. I keep erasing it and cleaning its edges because it needs to be clean paper in order to take the colored pencil well later.
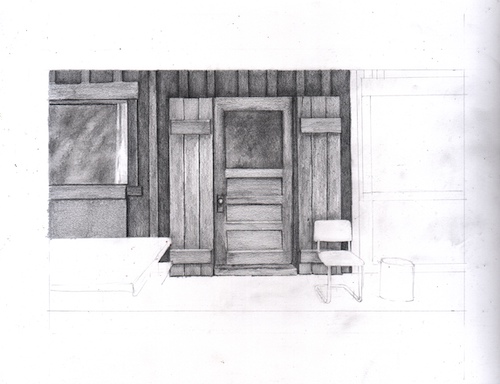
NOTES ABOUT FIXING AS YOU GO: As I shade, I find layout lines that need to be adjusted or erased. So, I take care of those as I find them while I am inching across the drawing.

Step thirteen: Moving across the rest of the scene, I am ignoring the picnic table because it seems like a giant So What, unless I figure out how to put a place setting, a mug, a book, a something on it. I allowed stroke marks show on some of the wood, always going with the direction and appropriate length of the wood grain. In this window, I started with 4B, added 2B, and finished off with B, leaving a few places without pencil. Then I used the tortillon to smooth it. This time I left a little bit of paper color and also sort of followed the shapes that appeared in the photo for a hint of what is inside the cabin. After blending it with the tortillon, I added HB to the darker places to make them even darker.
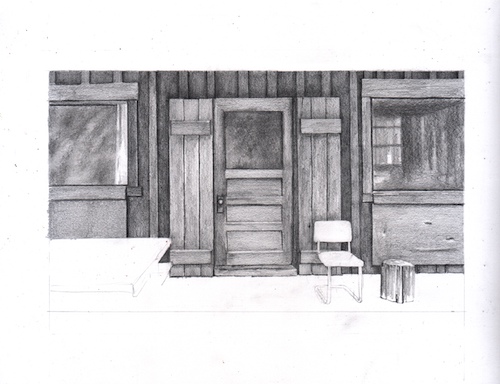
Step fourteen: A book on the table, but some confusion about what is beneath the table structurally. So, I will skip this for a bit and move next to the floor of the porch instead. Sometimes procrastinating gives my brain an opportunity to find a solution.
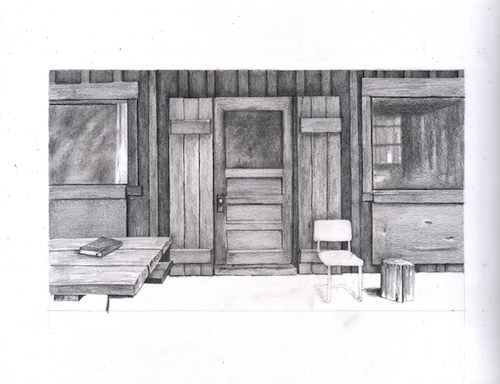
NOTES ABOUT CONFUSION: Even when working from one’s own photo, there are always areas of blurriness or seemingly irrelevant information. In spite of using a photo, some things just don’t make sense, so we have to make up things, cover them with darkness, or grow a shrub over the top.

Step fifteen: Because I have changed the perspective on this picture, the floor boards will be parallel to the horizontal edge of the drawing. Here is the photo again so you can see the how they slope upward to the right:
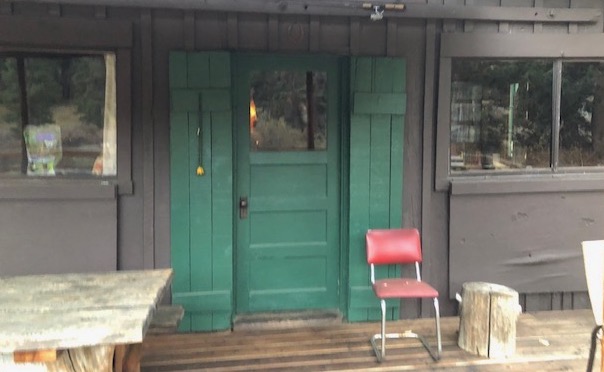
This is easy to do using my T-square, and I will guess the distances between the boards, simply eyeballing it and figure that closies count here (like horseshoes and hand grenades). Although I drew the lines using a straight edge, these boards are old and worn, so as I shade using a B, HB, and 2H, I made them a bit rough along the edges.

As I worked on the boards, my hand would have been resting on some of the completed parts of the drawing, so I put a piece of paper down to rest my hand on.
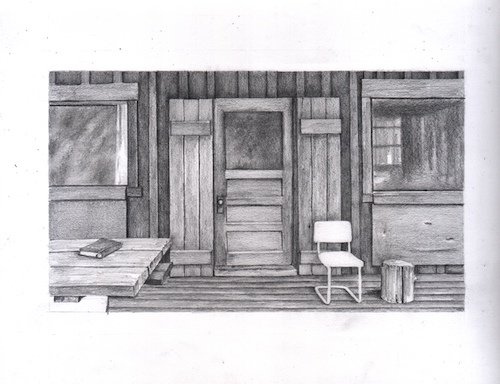
Step sixteen: All that is left to shade in pencil is the mysterious lower left corner. First, I looked at the uncropped photo to see if anything helped to explain the blobs: hmmm, some sort of legs. I could either make it all super dark (In which case I am telling my viewers, “Sorry, it was all in shadow, can’t be helped!”) or copy the blobs as I see them. This is the sort of problem that occurs when working with a photo one hasn’t taken oneself. Ahem. I think I did take this photo (unless Tracy or Dan did —thank you!), and I have actually sat at that table. But I have slept since then. . . End of excuses. I just picked up a 2B and started shading exactly what I saw, because unless it is really weird and distracting, nobody will notice or care.
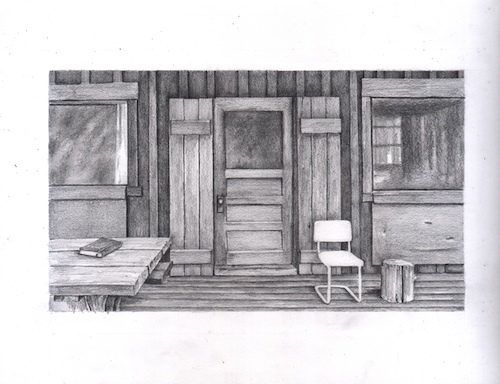
Step seventeen: that lower left corner looked ugly. The bottom left corner was very light on the photo, and that didn’t look right either. So I just darkened the whole mess, burying it in 4B. And honestly, I was losing focus after drawing, scanning, and writing about it for 5 hours, so I just might have been getting careless and sloppy.

The final steps of the graphite portion of the drawing: erasing the margins, making sure there was zero pencil on the chair, looking at everything under that giant magnifying glass on my drawing table*, and then spray-fixing it with Blair Matte Spray Fix. This means (in theory, but sometimes not in reality and I don’t know why not) that you can still draw on the piece but nothing will either smear or erase. Yes, the spray stinks.
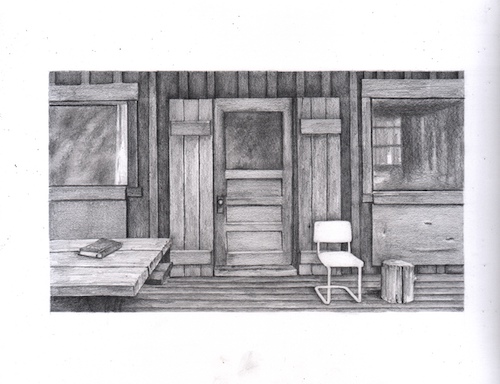
HOLY GUACAMOLE! I did this entire drawing without knowing where my real eraser is. I used the kneadable and the Tombow Mono Zero, a tiny eraser in a pen-like holder. It is best to be sure there are no pens lying around to be grabbed by accident when you use one of these—one of my drawing students did that once. Still, I sure would like to know where my Staedtler Mars white plastic eraser is hiding.

Oh for Pete’s sake. As soon as I unwrapped the stubborn cellophane off a new eraser, I looked in another pencil mug on the drawing table, and there was my old eraser. Were there trolls messing around in my studio over Christmas??

Next, we will add color. Nope, I don’t have a mouse in my pocket. This is the royal we speaking.

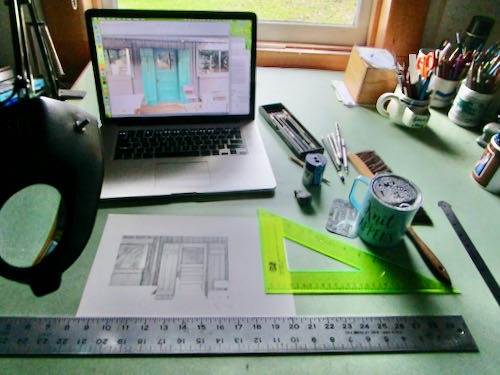
*See the giant magnifying glass? Also, note the mug of tea. NEVER do this. 
How to Draw With Graphite and Colored Pencils, Ch. 3

Today we continue the tutorial that takes you step by step through drawing with pencil and eventually, colored pencil.

EDGES OR OUTLINES? Real life has edges; coloring books and cartoons have outlines.  Rather than separate items with a black line, use different shades of gray. It is a constant questioning: is this darker or lighter than the thing it touches? Sometimes it will change as you move through a particular area—within a particular item, it can be against something lighter in one place and something darker in another.
Step eight: Keep layering. I used 4B for the shadows of the battens above the door, and added 2B on top of the 4B and over the boards and battens. You can see that this little area isn’t as dark as its neighbor on the left.

Step nine: I continued on the upper board and batten section, and this time added HB on top so it matches the previous shaded areas. I also placed the erasing shield over the top of these parts and erased my jagged lines that went over the border.

MORE NOTES: There are many little finessing techniques that I do automatically and if I called them all out and scanned each one, it would be 2026 before you read this tutorial. A few of those techniques are (1) erasing little pieces that cross over into other territory; (2) darkening areas slightly in order to separate them from their neighbors; (3) ditto #2, but lightening, sometimes tapping gently with an eraser; (4) using a straight edge to clean up edges.

ANOTHER NOTE ABOUT TOOLS: With old buildings like cabins, I first use a straight edge to draw a line, but when shading, I do it freehand so there is a touch of wobble, which gives the look of age and wear (sort of like my face these days).

Step ten: The window started with some 4B, then 2B, then B (yep, a new pencil I hadn’t used yet) over all the glass. I am just pantsing this part because I think the photo has some unimportant specifics, and I’d rather put my efforts into the parts that matter, things that are identifiable.

NOTES ABOUT COLOR: When working from a colored photo, you have to decide which colors are darker and which are lighter. We don’t use black outlines in realistic drawing, so the different colors in real life are depicted by different degrees of darkness in a monochromatic drawing (single color, in this case gray) called “values” in Art Speak. I choose to work from colored photos instead of converting to black and white because it sharpens my ability to see the values; it also helps me know when 2 items of the same value are actually 2 separate items and not one indiscernible blob of gray.

Step eleven: I decided that the glass on the windows looks too fuzzy, grainy, textured, so I used a tool called a tortillon, which is sort of a paper “pencil”, to smear and blend things. A Q-tip, tissue, or your finger will also do the trick.

MORE NOTES ABOUT VALUES: When one item is on top of another item of the same color, the one behind will be slightly darker where the two meet. That’s the way to separate them without the dreaded outline. 

Tomorrow: chapter 4, in which we complete the graphite portion of the drawing.

More Orange Groves in Pencil

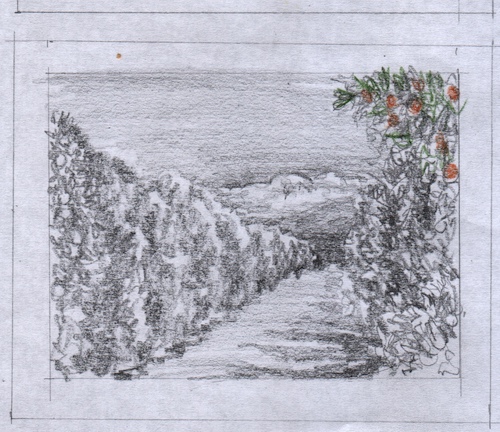
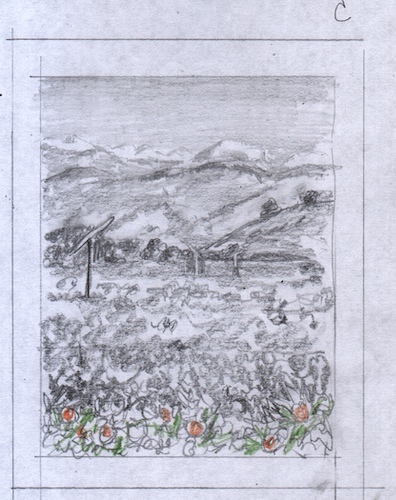
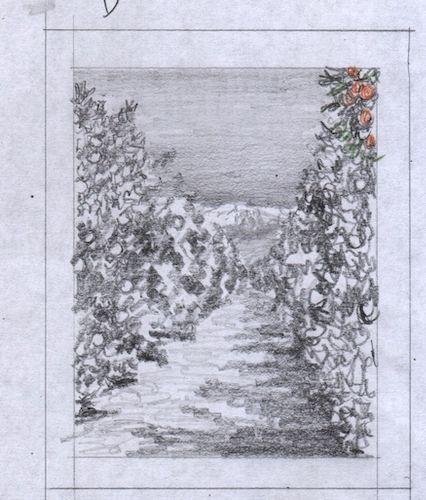
I have two new pencil commissions, both of orange groves with foothills and mountains in the distance. 

I love this stuff! (Big happy face emoji could fit here but this is a blog, not a text, and we speak English here, not hieroglyphics).

Here are 4 ideas for the customer to choose from or develop into something else. Good thing she knows that I can draw.

She didn’t specify whether she prefers horizontal or vertical, nor did we establish which part of the mountains she prefers: Alta Peak with Castle Rocks or a bit farther south to show Sawtooth and Homer’s Nose.

She did say that she wanted a little bit of color.

You probably have a clear favorite but it is the customer’s opinion that will prevail.

Big Old Country House, Done!

Done? That word brings biscuits to mind, or perhaps a tri-tip. “Completed” is probably a better word for a custom pencil drawing.

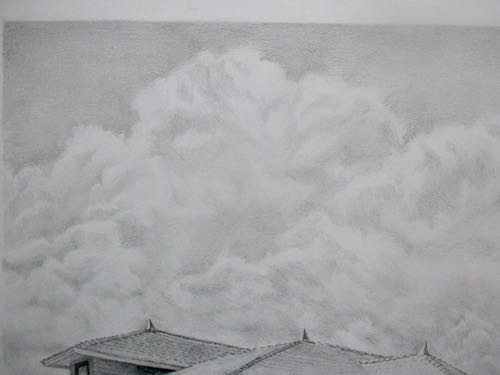
Because of the influence of my drawing students, I decided to put clouds in the sky rather than oranges or walnuts. (Oranges in the sky? Walnuts in the sky? Riders in the sky?)

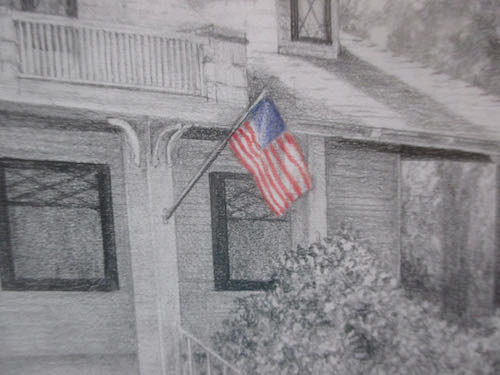
Because I love our flag and love to add color, Jane and I decided to add a flag to the drawing that wasn’t there in person.

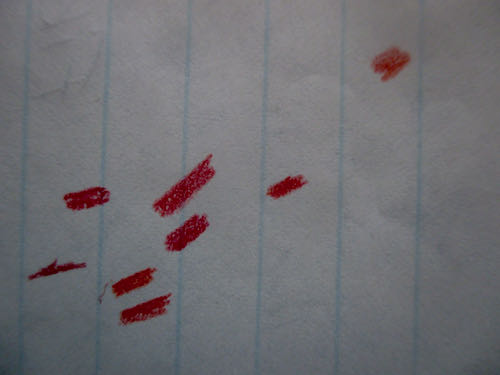
Because I want the colors to be right on the flag, I experimented on a piece of scrap paper on the drawing table.

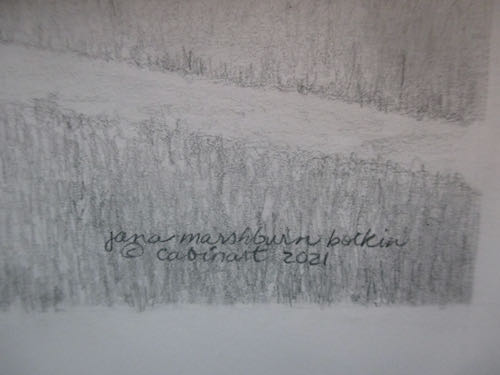
Because it is a huge drawing, I decided to sign with my huge name. (When I paint, all I can manage with that uncontrollable paintbrush is “J. Botkin”.) I don’t know why I got into the habit of not capitalizing, but now it is an established habit.

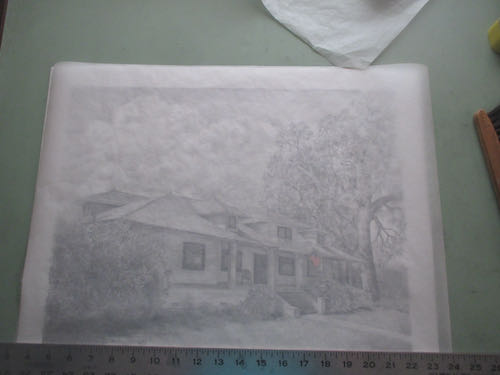
And because it is so vulnerable, just a piece of paper, until Jane and I decide a retrieval/transfer date and method, it has to remain flat on the table, covered by tissue paper. (The drawing has [t]issues?)

The most difficult part of the entire drawing was getting a good photo. It was too bright outside, too dark in the studio, and so no matter what I tried, it had to be photoshopped to be worthy of showing to Jane. It is just too big for the scanner, so all that fiddling around had to be done.

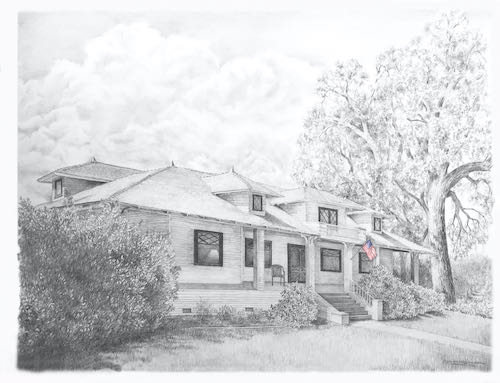
Enough teasing. Here is the Big Old Country House custom pencil drawing, 16×20″:

Using pencils, oil paint, and murals, I make art that people can understand of places and things they love, for prices that won’t scare them.

Big Old Country House Drawing, 1

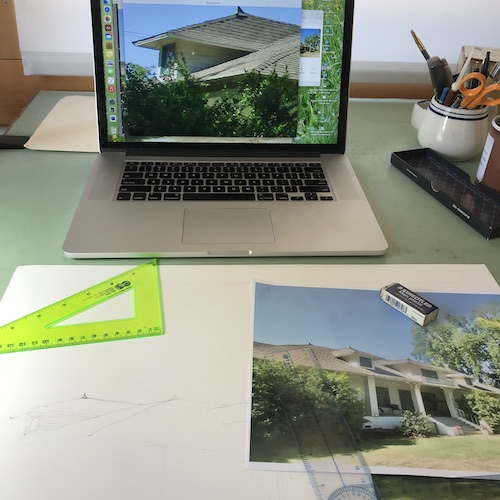
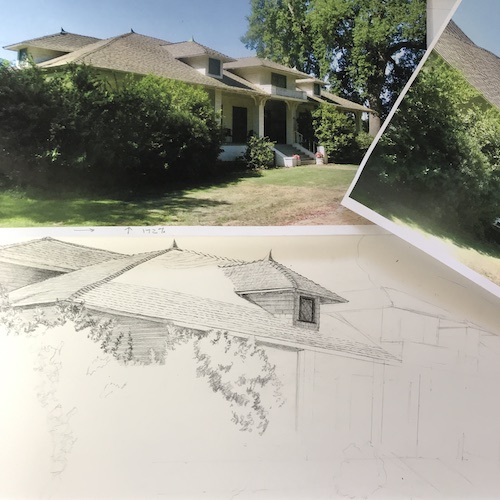
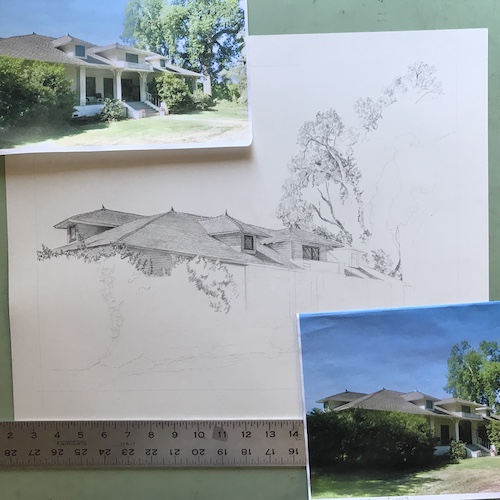
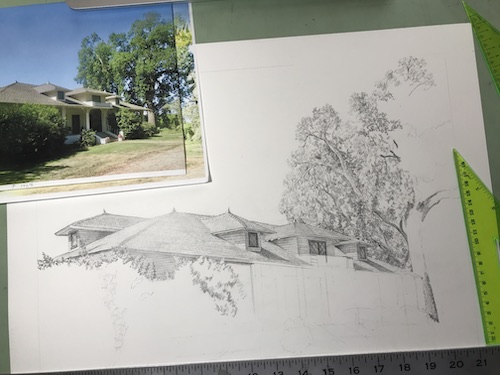
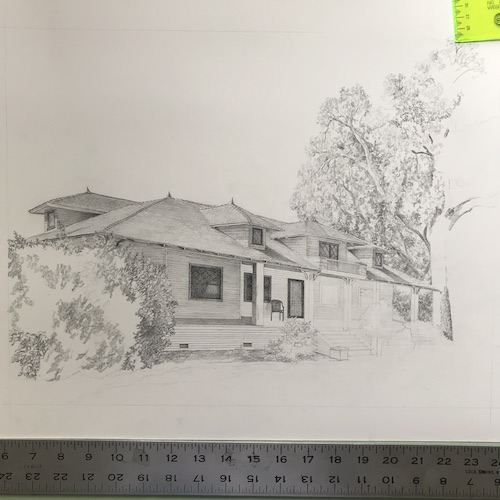
After finishing the 3 small custom pencil drawings of 3 small houses from 3 small photos, my confidence returned to begin the big custom drawing of the big old country house, working from about a dozen big photos, enlarged on my laptop screen in order to see the details clearly, drawing while looking under my big magnifying glass.

Big job. Good thing I love to draw.

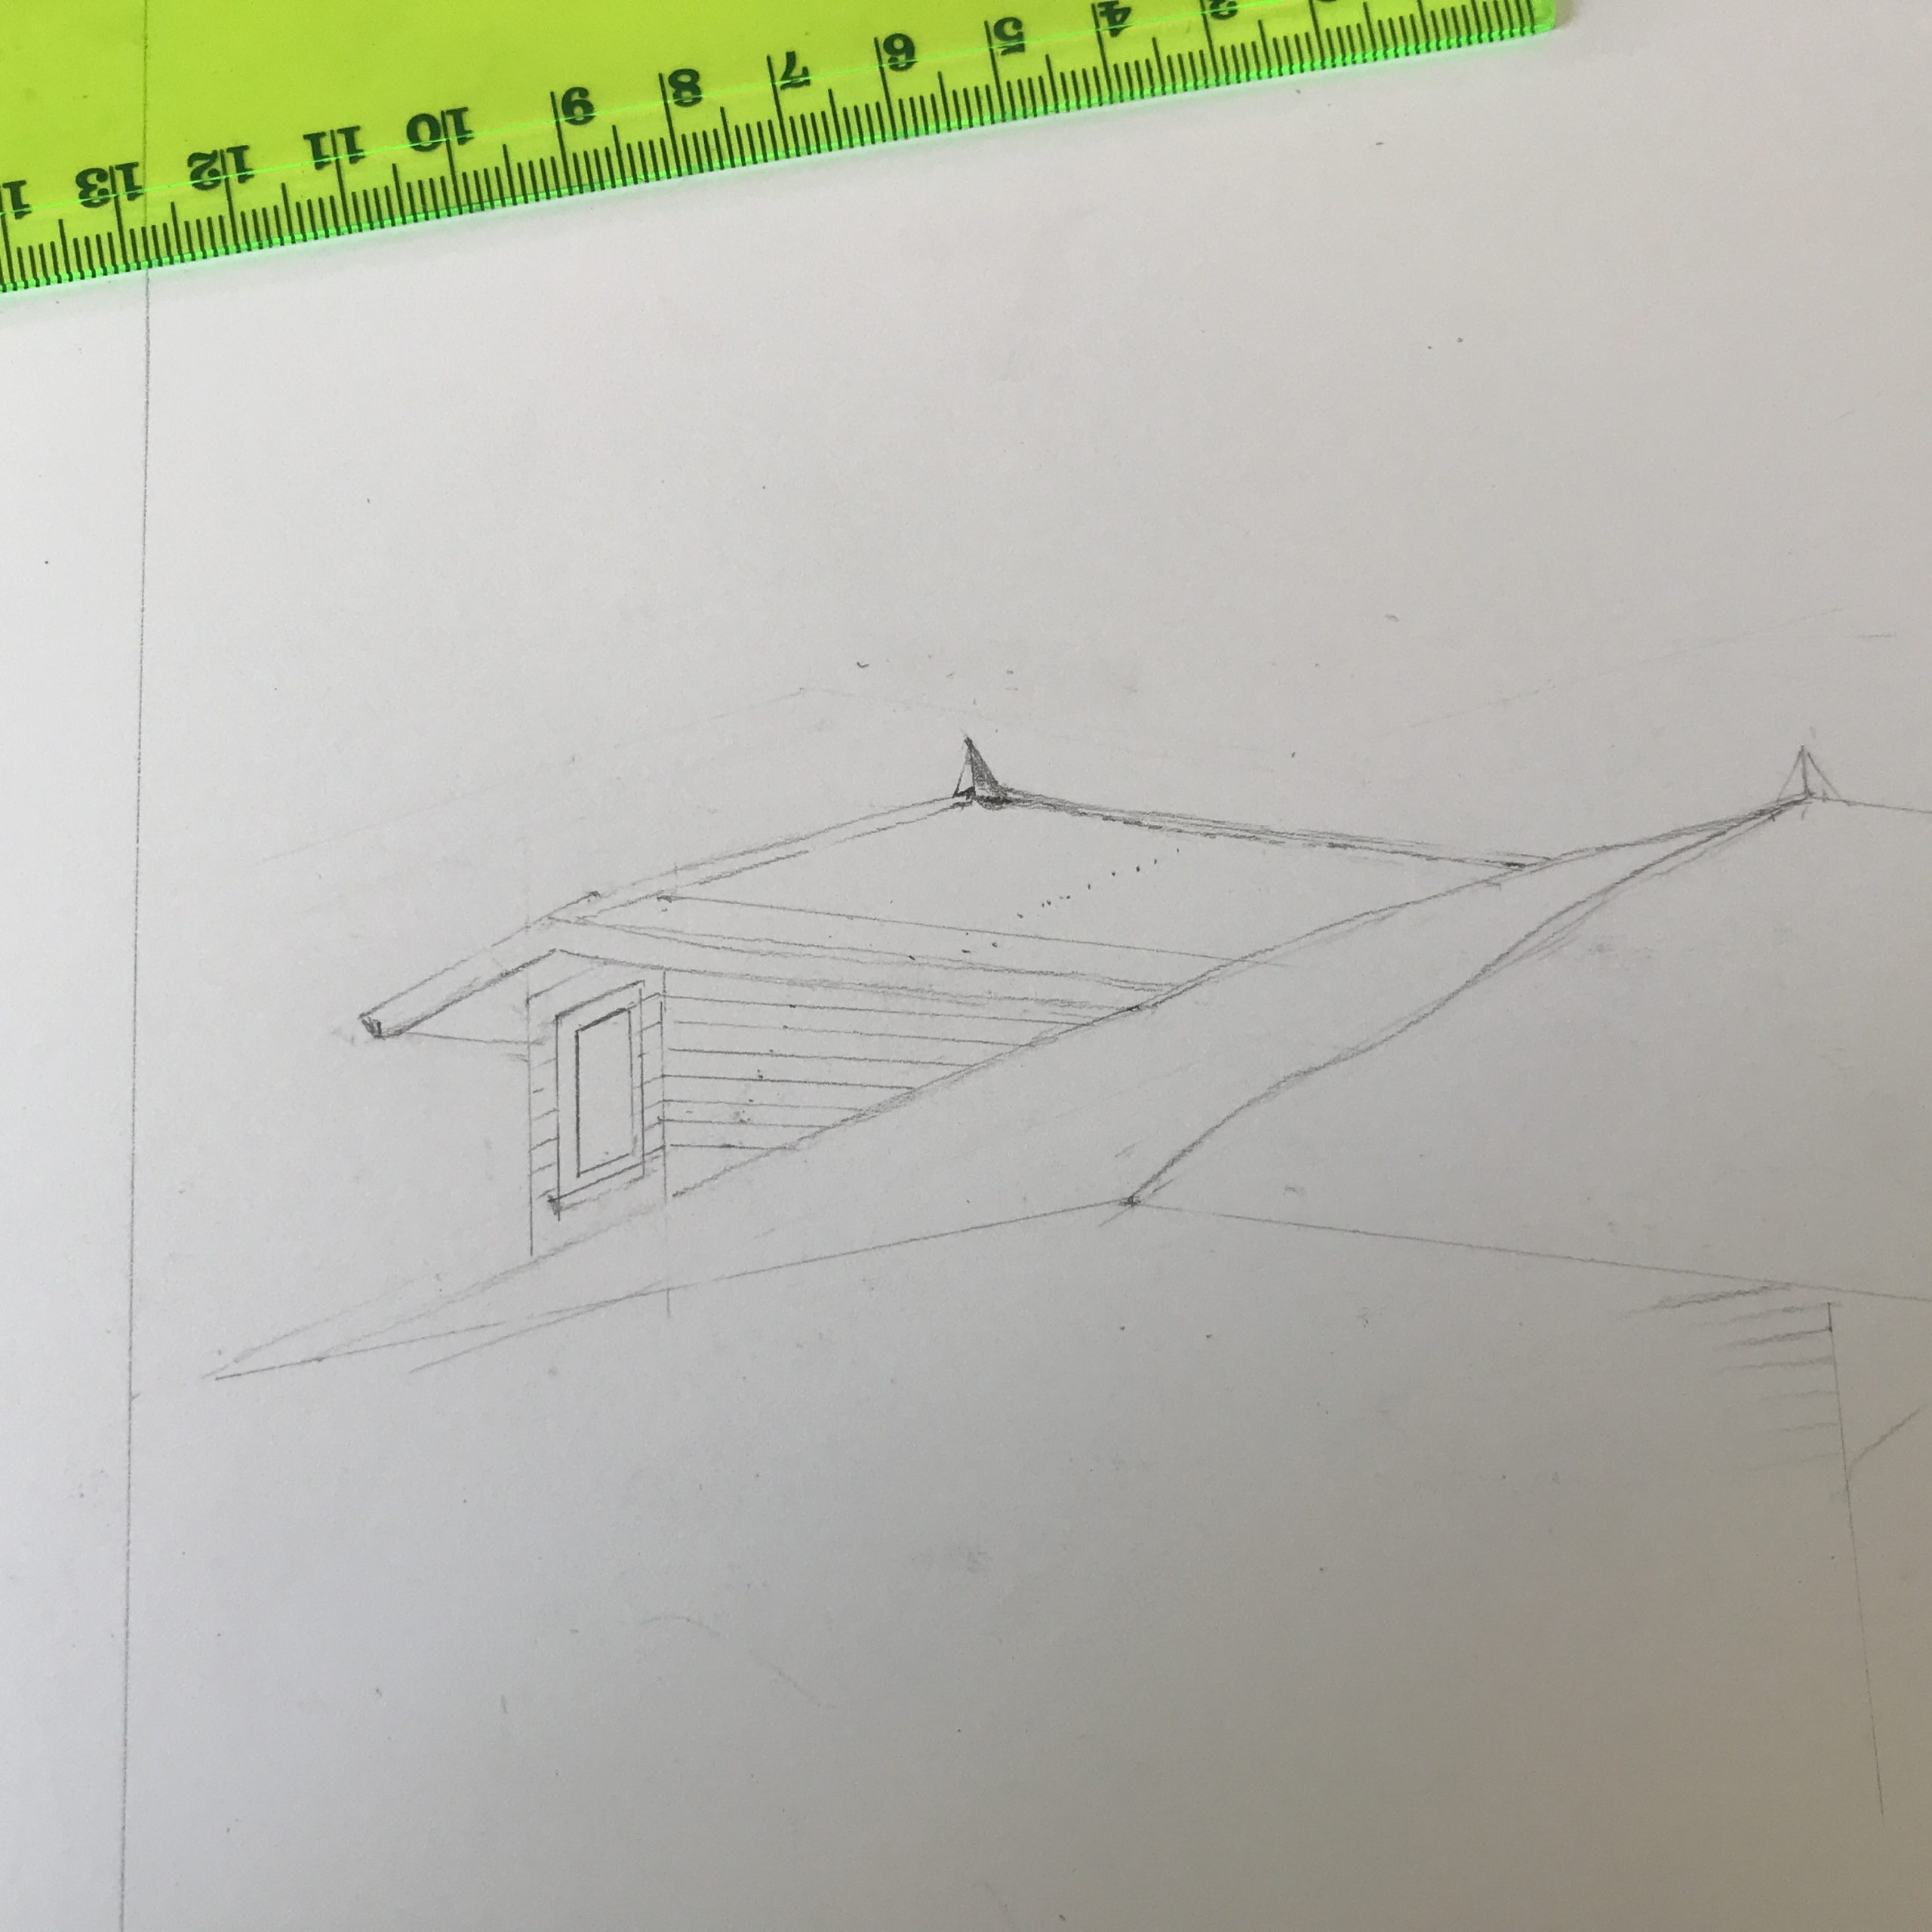
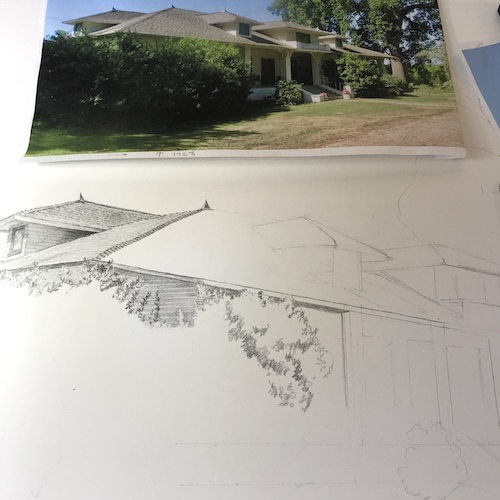
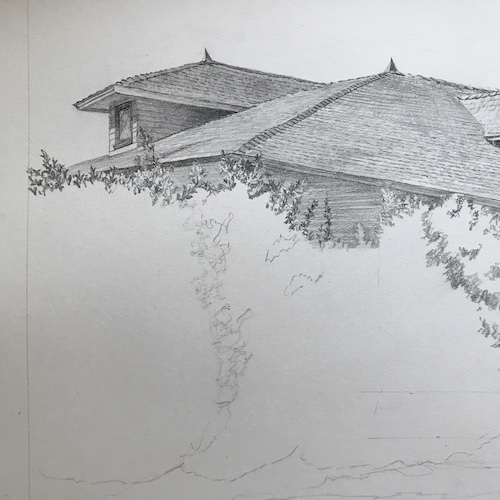
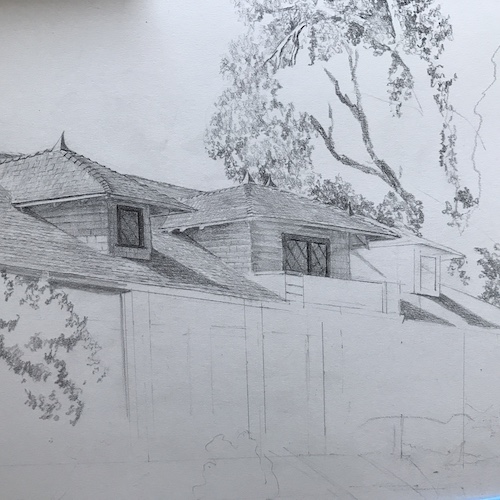
These photos represent 2 days of working on the picture. 

You can see in the last photo that I pruned the bushes back on the left in order to show more of the structure. It was a little tricky to figure out the size and placement of the window on that segment of newly exposed wall. Working from multiple photos is full of challenges, because I leave behind the security of being able to measure directly from a photo. Instead, I look at one that shows a particular item, put it in the drawing, and realize that I don’t know where it truly belongs in relation to the things that don’t appear in the photo where I got it.

See? Can’t even explain it simply. Guess you’d have to be there.

The goal is believability AND with a piece of custom art, recognizability.


Christmas Cabin Surprise

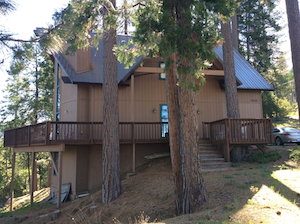
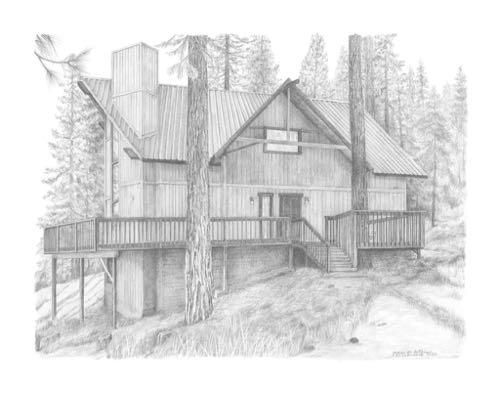
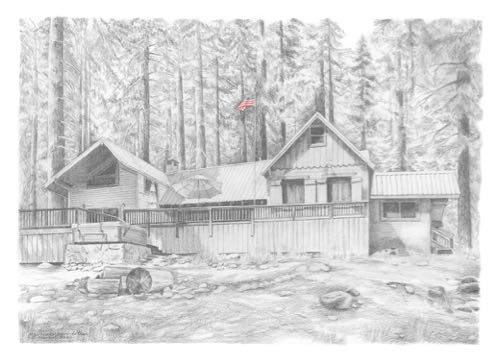
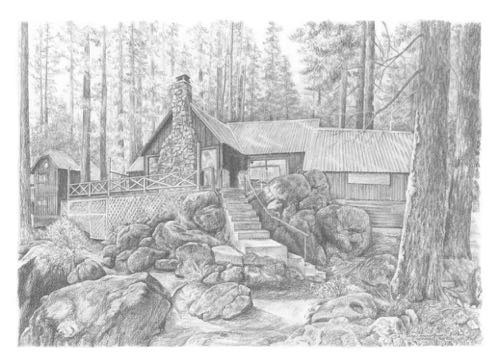
A friend asked me to draw this cabin, another one that didn’t survive the wildfires. Her photos were fairly inadequate, but my confidence in making up things is growing. This is due to experience, both with cabins, and knowing that most people don’t observe detail to the degree that I do when drawing.

The front door of a place is the most important feature, and this one is hidden by the dual trees. I asked my friend if I could remove those trees and if she could describe the front door. She said yes to both.

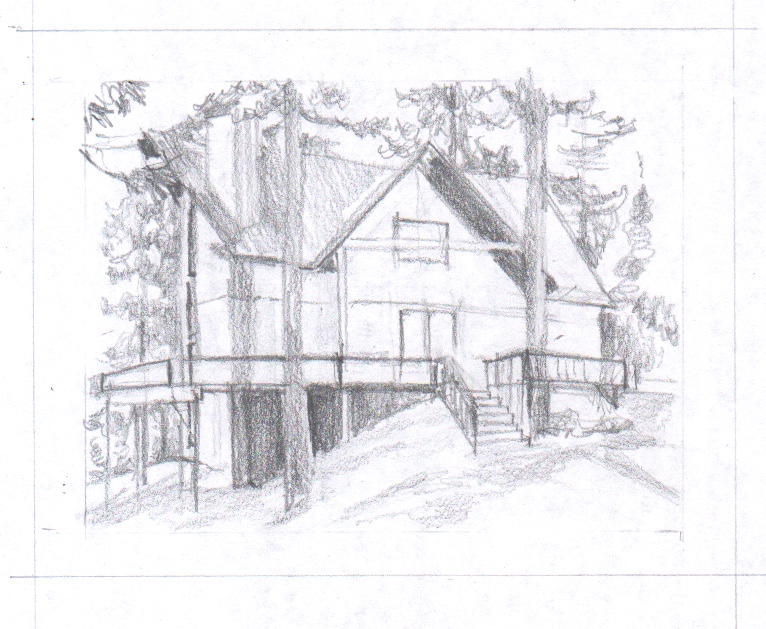
When custom art jobs are tricky, meaning when there aren’t adequate photos, a sketch is often helpful.  This one has an unusual roof shape on the left gable end, and a surprisingly wide chimney, along with steps that were hidden behind the tree that I removed.

The sketch was approved, so I did the drawing. 


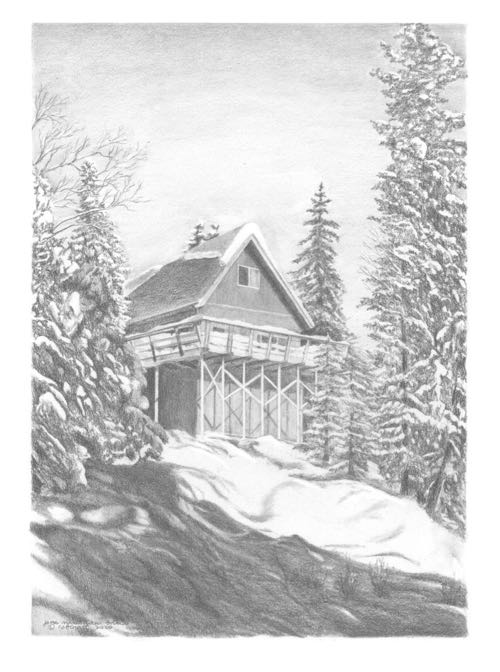
Winter Cabin

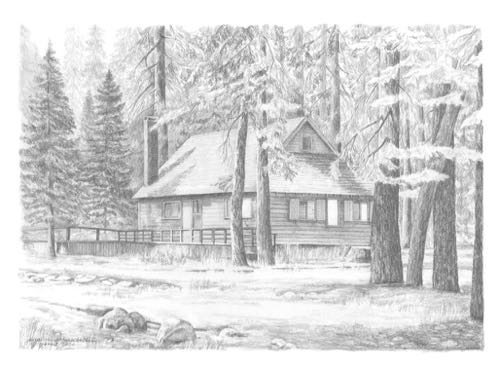
This cabin burned. I don’t know where it was or who owned it. The customer provided the photo and requested the drawing as a gift for the cabin owner. I haven’t heard the outcome. I feel fairly confident that the cabin owner won’t know about me or my blog.

P.S. If you recognize this cabin, shhhhh. It is meant to be a surprise.

Rush Drawing Commission

The custom art jobs are slowly getting completed. Many of them cannot be shown, because the recipients might be readers of this blog. Can’t be giving away secrets like that just before Christmas!

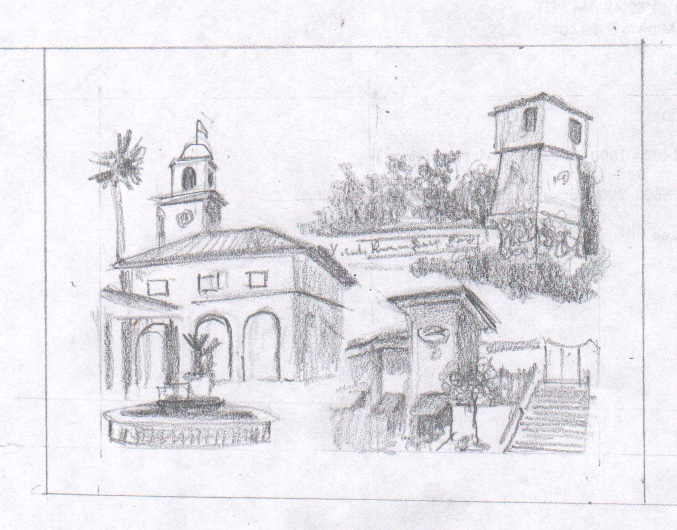
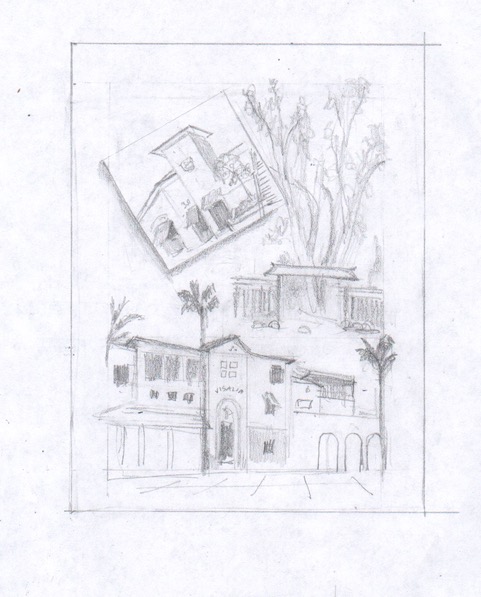
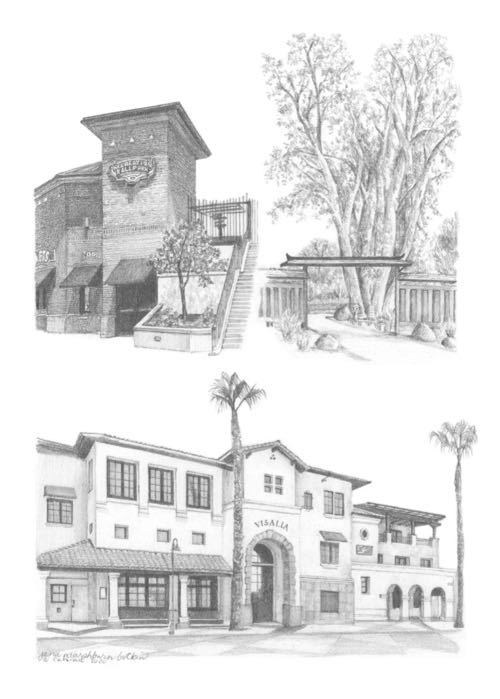
This is a drawing that the recipient has already received. It began with some sketches.

The customer didn’t want these subjects shown this way. (Why did they – customer and assistant – send me these photos to work from??)

I tried again from the photos they specified out of the batches they had sent to me. (Often multiple photos help me see details that might be obstructed by shade or trees or trash cans or cars or. . .)

This was accepted, but the customer requested that the upper left image not be on a tilt.

It was a rush job, so I spent all day on a Saturday and a few hours on Sunday completing the drawing.

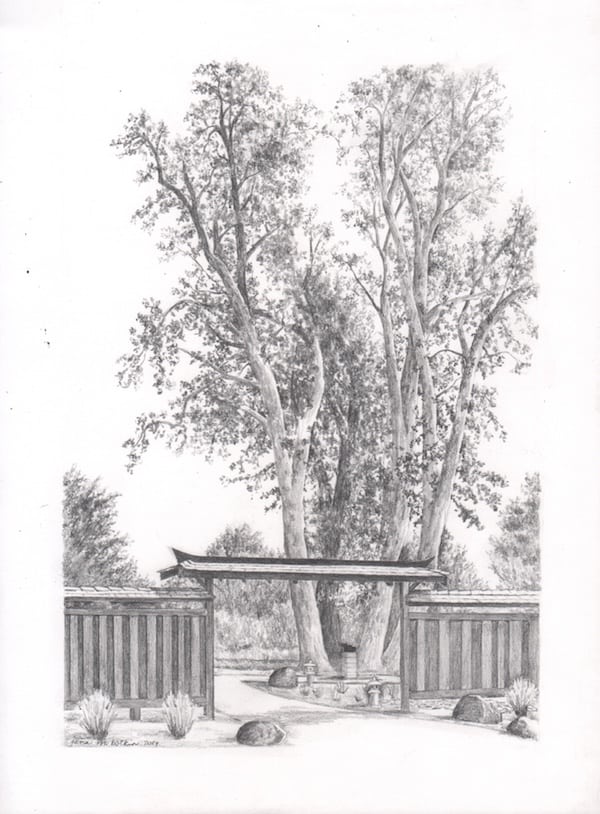
The upper right scene was drawn from another rush job for the same customer several years ago.

P.S. This was a very challenging job, causing me to rethink my custom prices and available sizes for collages. I know for sure now that 9×12″ is too small for this amount of detail (BRICKS – oy vey!)

Three Delivered Pencil Drawings

A thoughtful and generous man hired me to draw 5 cabins for 5 different friends who lost them in the wildfires. He asked me to not put them on the blog, because they were to be surprises. He must think that I have a larger readership than I do; on the other hand, this is Tulare County, where there aren’t 6 degrees of separation – it is more like 1-1/2.

Three of the drawings have been delivered. The customer sent me photos of the recipients, but because this is the World Wide Web, I’ll just show you the cabin drawings without the recipients (even though some are wearing masks). 

One Bite at a Time

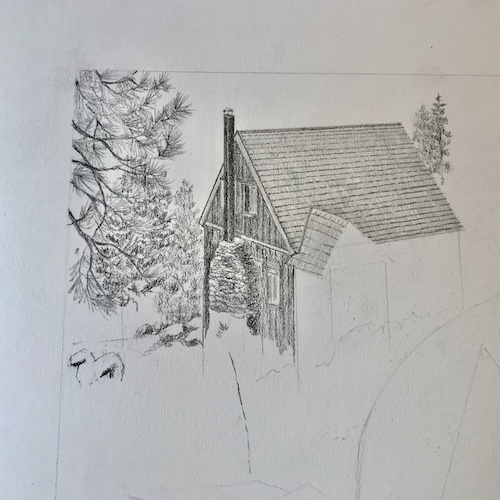
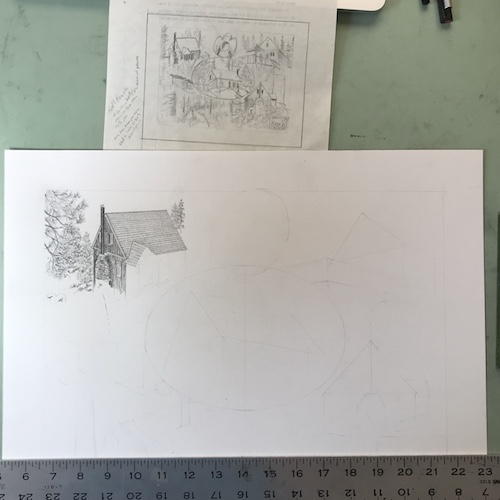
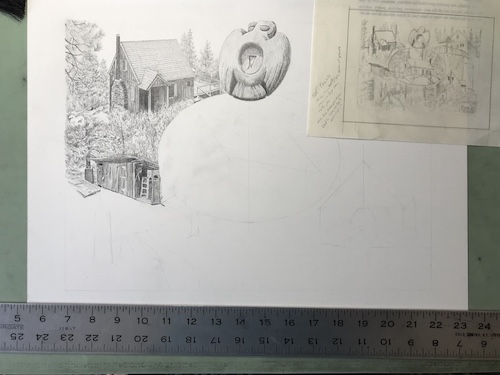
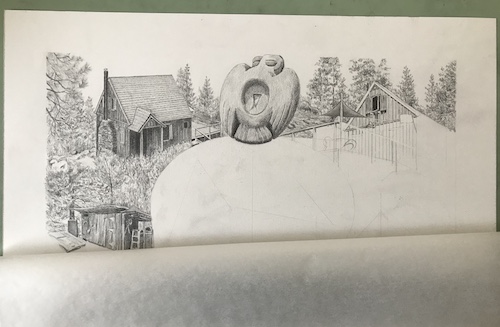
Or, if you read Anne Lamott, one bird at a time*. That’s the way I will accomplish this large complicated custom pencil drawing.

My large paper has more texture than I am used to. This will mean adding more layers than usual.
As a right-hander, there is less smearing if I work top to bottom, left to right. (This isn’t smeared all over the center – it is the shadow cast by my magnifying light.)

The paper’s texture means that smearing is more of a problem than usual, so I cover it with tissue paper for protection whenever I leave the studio.

As with many of my projects, I start out wondering if I have bitten off more than I can chew. Once I see a little progress, my confidence returns, and pretty soon I start really enjoying the project. This one is no different; each segment gives a sense of accomplishment, so instead of thinking that the end is far away, I get to experience many little endings.

*Anne Lamott wrote a book about writing called Bird By Bird.