How To Draw

How To Draw is the title of my upcoming talk/demonstration at CACHE, Center for Art, Culture, History—Exeter!

So many people have an interest in drawing, but it is often assumed that it is a talent which either you have or you don’t.

Is typing a talent? Is driving a talent?

Nope. All these things can be taught, and they can be learned. Sure, some people will type 25 wpm and others will type 90, because people have different interests and aptitudes. Some people will become bus drivers and others shouldn’t be given licenses, but all are driving.

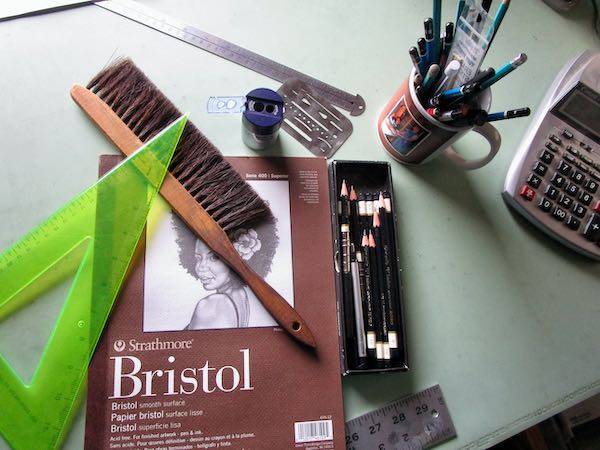
These tools are helpful, but they won’t teach you the basics of drawing.

Some people have had awful experiences with artists posing as teachers. (I had one of those who told me, using these exact words, “Just because you can draw doesn’t make you an artist.” Well, just because you can use words doesn’t meant you can communicate well either, so there.) I want to help those folks.

Jackson wouldn’t put up with that sort of rudeness from anyone.

Some people are learning to paint but aren’t happy with the results. If you don’t know how to get your shapes correct, don’t know anything about perspective, can’t see proportions, and don’t understand values, of course you won’t be happy with the results. I want to help those people.

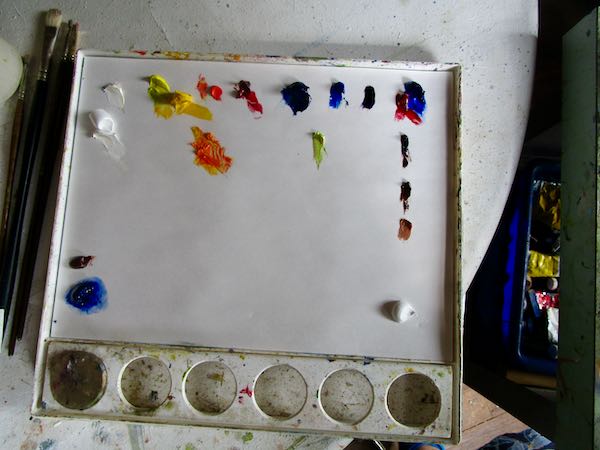
On top of all those basics, painting requires learning about color.

Some people just love to learn new skills. I want to help those people too.

This antique store is across Rocky Hill Drive from CACHE, and the late afternoon light is often just perfect on this picturesque store.

Do any of these descriptions fit you? Want to come to How To Draw?

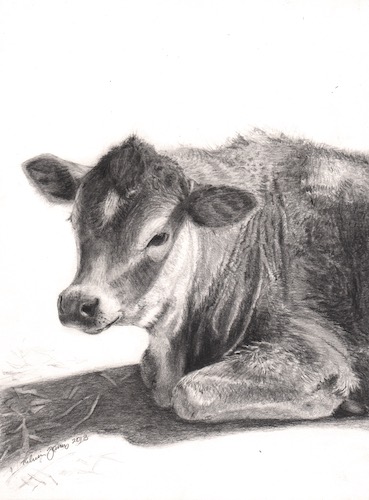
Nope, you won’t be able to draw like this for quite a few years.

THE THING: Tuesday, November 12, 6:30-7:30 How To Draw at CACHE. Contact me if you are interested, because seating is limited.

P.S. It is free.

SIMPLY HOME

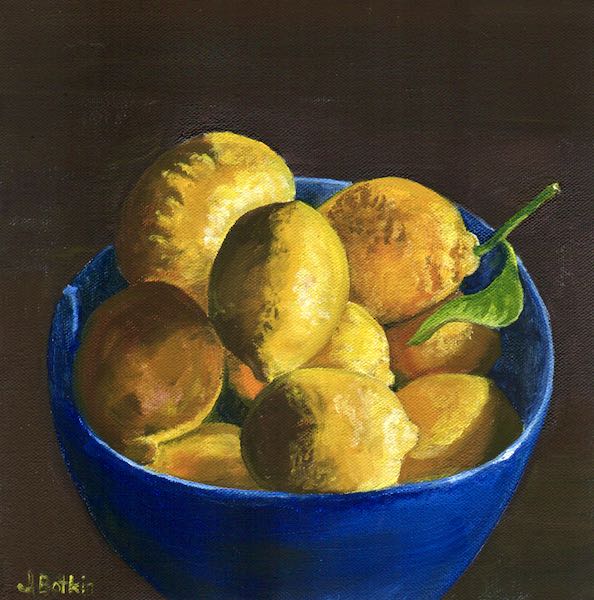
“Blue Bowl, Yellow Lemons”, 10×10″, $200

Fast or Good?

My drawing students are used to hearing me tell them, “You can be fast or you can be good; I get to be both.” Everyone still laughs, in spite of the obnoxiousness of the second part.

This is an indisputable truth, when it comes to the highly detailed, accurate type of drawing that I teach.

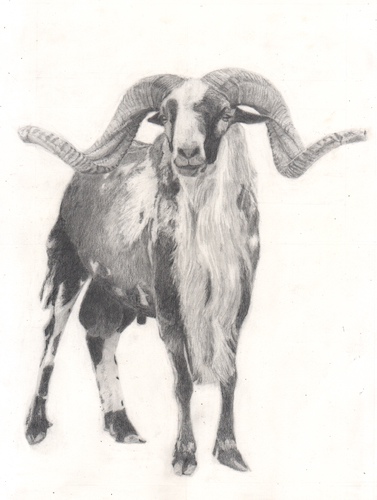
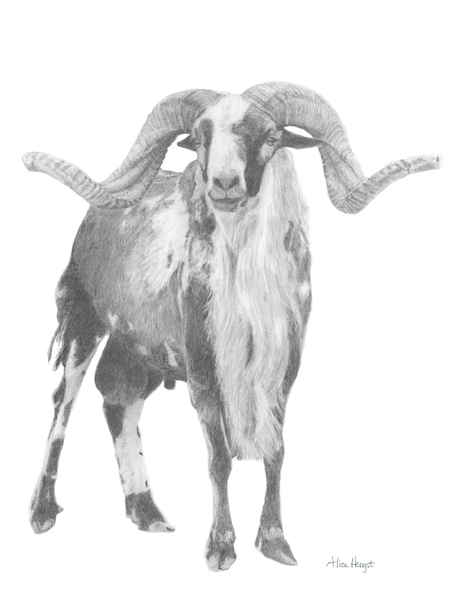
Alice worked on a drawing of her Desert Painted Sheep, nicknamed “Oughtie”, for several years. (Hey Alice, I didn’t mean THAT S L O W!) But things take as long as they take*. She was very meticulous about every shape, every texture, every value, and she did a fantabulous job.

I didn’t take any photos of the process, or more accurately, I don’t remember if I took any photos of the process. We discussed various background ideas, tried some different textures, and ultimately, she decided that the drawing is finished.

During the process, I learned that goats’ tails go up and sheeps’ tails go down. She made some good friends to play pickleball with. (My drawing students have varied interests and are some of the nicest people you could ever spend time with.)

Here is the final outcome, scanned, but not yet scrubbed up with Photoshop (the junior version).

The artist forgot to sign the drawing before she sent it home with me to scan, so she emailed me a few signatures. I chose one and placed it on the scrubbed-up scan.

My classes are full but you are welcome to get on a waiting list. If there are four people waiting who can all meet at 1 p.m. on Tuesday afternoons, I will add that 1 p.m. class.

*How’s that for a quotable truth?

How to Draw with Graphite and Colored Pencils, Ch. 2

Happy Birthday, Trail Guy!

Hello, my guinea pig friends! Today I continue testing out my tutorial writing skills. 

The Next Steps

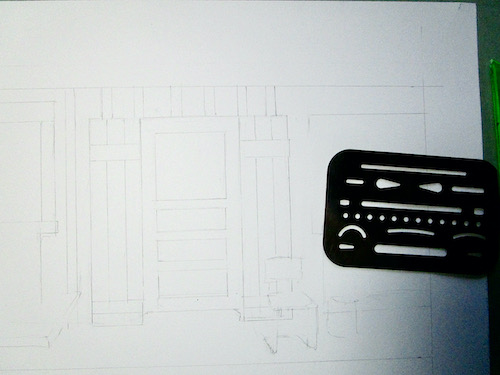
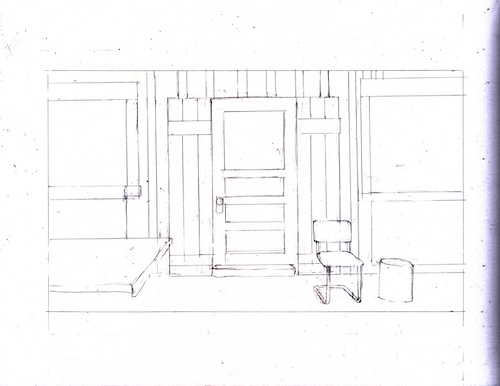
Step five: Straighten out the lines. It is NOT “cheating” to use straight edges. If it took a tool to build the actual item, it most likely will take a tool to draw it accurately. There is quite a bit of erasing at this stage, and I use the erasing shield to remove the tiny lines that are wrong. I want my work to be clean and accurate, without hairy or double (or triple) sketchy lines.

ANTI-SMEAR TACTIC: When you erase, you make crumbs. If you flick them with your hand, you will smear. If you blow, you might spit. (Yes, spit happens). Use a drafting brush, a soft paint brush, an antique shaving brush, whatever you have.

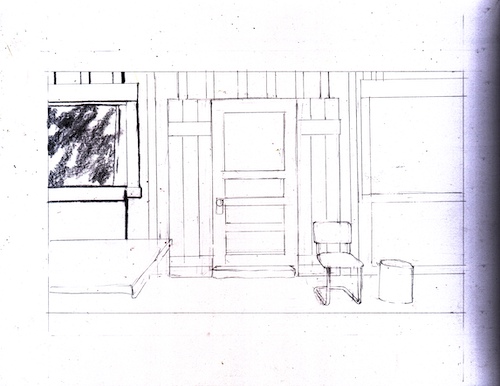
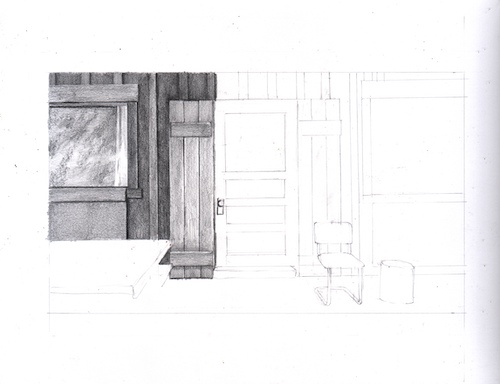
Step six: start shading. Shading is the fun part, the party! It is when things come alive with textures and depth. Because I am right handed, I start on the left and the top. This keeps me from dragging my hand across the shaded parts and smearing it. 

I start with a 4B, using the side of the lead. The photo has lots of indiscernible blobs in the window, so I chose to just do some fuzzy sloping strokes, almost a painting technique. Keep the pressure very light, because you can always add more, but it is a hassle to erase if you get too strong in the beginning. The scan looks much darker than the actual drawing because I want the texture to show.

PENCIL TALK: There is no industry standard, so the same pencils look different in different brands. “B” means black; “H” stands for hard. The higher the number with the B or H, the more of that particular quality. For example, 4B is blacker (and softer) than 2B; 6H is harder (and lighter) than 4H. HB is smack dab in the middle, and is the equivalent of a #2 pencil, which is a completely different pencil rating system.

Step seven: Continue layering. Over the 4B, I put 2B using the same type of strokes, and extended it to some new areas, then followed with HB layered on top of the previous layers, and ended with 2H, on top of the previous layers and on the rest of the glass on the window. I just kept layering, working on the glass and the wood surrounding it. I build my shades with many layers rather than pressure, and mostly use the side of the lead rather than the point. Then I come back with a point to sharpen the edges.

I think we will have about 2 more days of this tutorial, and then I’ll abruptly change topics so I don’t lose my readers who are bored with watching paint dry.


How to draw with graphite and colored pencils, Ch. 1

My colored pencil artist friend Carrie Lewis asked me to write a tutorial, showing the steps of completing a drawing with pencil and colored pencil. 

I said, “How do I do that?” 

She offered to type while I talk through the steps, but I realized we’d have to be on the phone for about 8 hours. 

So, I chose a photo, started drawing, photographing the steps, and writing about it. Well, yes, sort of, sort of not.

The first session was confusing. I took notes, was sure I’d remember what they meant in order to transcribe them later. 

I photographed a few things, and also scanned the drawing as I went along, but then it was tricky to figure out which order all the pictures went in. Then, I realized there is a lot of information that doesn’t fall in line with the steps.

I’ve decided to post the whole tutorial here on my blog, in 5 chapters. Maybe we can tighten it up together.

How to draw with pencils (and later, add some color) 

The first four steps

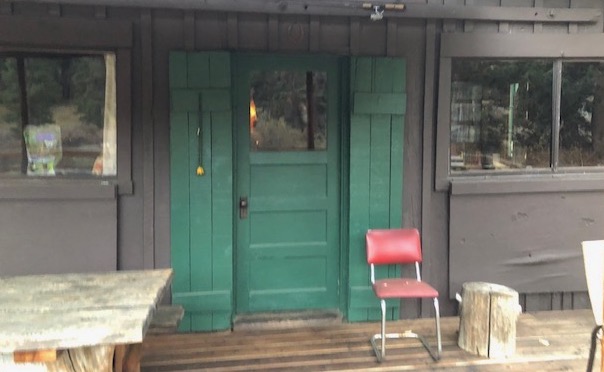
Step one: Choose your photo. I chose this because the red chair is a good candidate to be drawn in colored pencil, with everything else in graphite. You can just tint things at the end of a drawing or you can choose a specific item to do in full color. I prefer the latter method.

Step two: crop the photo. Beginners often feel chained to exactly what is in front of them. Over time and with experience, we learn what matters and what doesn’t, and eventually decide that we are the boss of our own artwork.
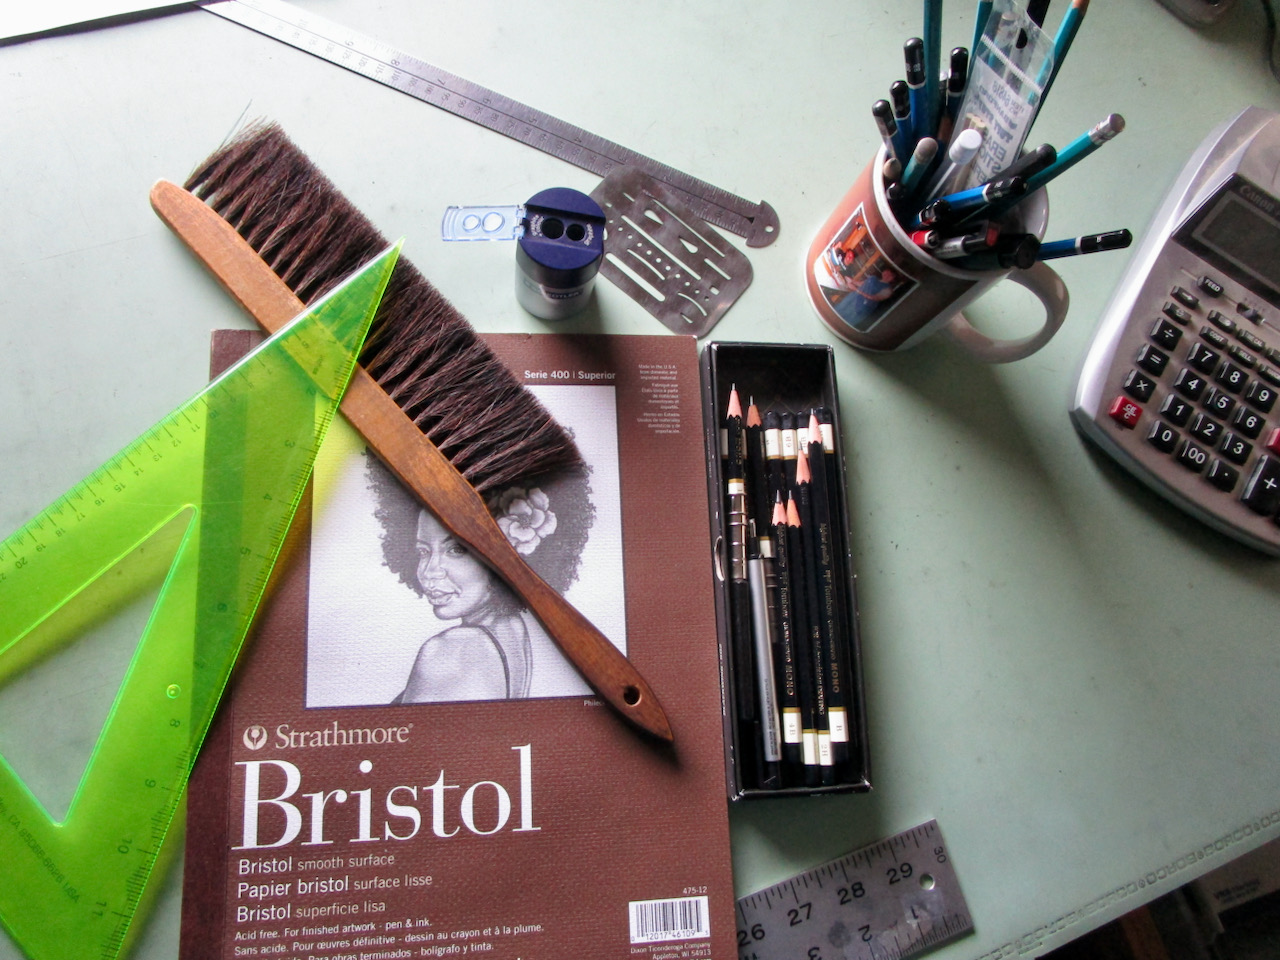
TOOLS: I use the items in the photo, working at a slanted drafting table. T-square, ruler (with picas so I don’t have to deal with fractions), drafting brush, erasing shield, calculator, pencil sharpener that catches its own crumbs, and Tombow pencils, from 4B to 2H, along with a couple of erasers that don’t show. I prefer the Mars white plastic, but seem to have lost mine. Because I began drawing so lightly, the kneadable eraser works, but it is too ugly to photograph. (It looks like gray chewed gum, gross.)
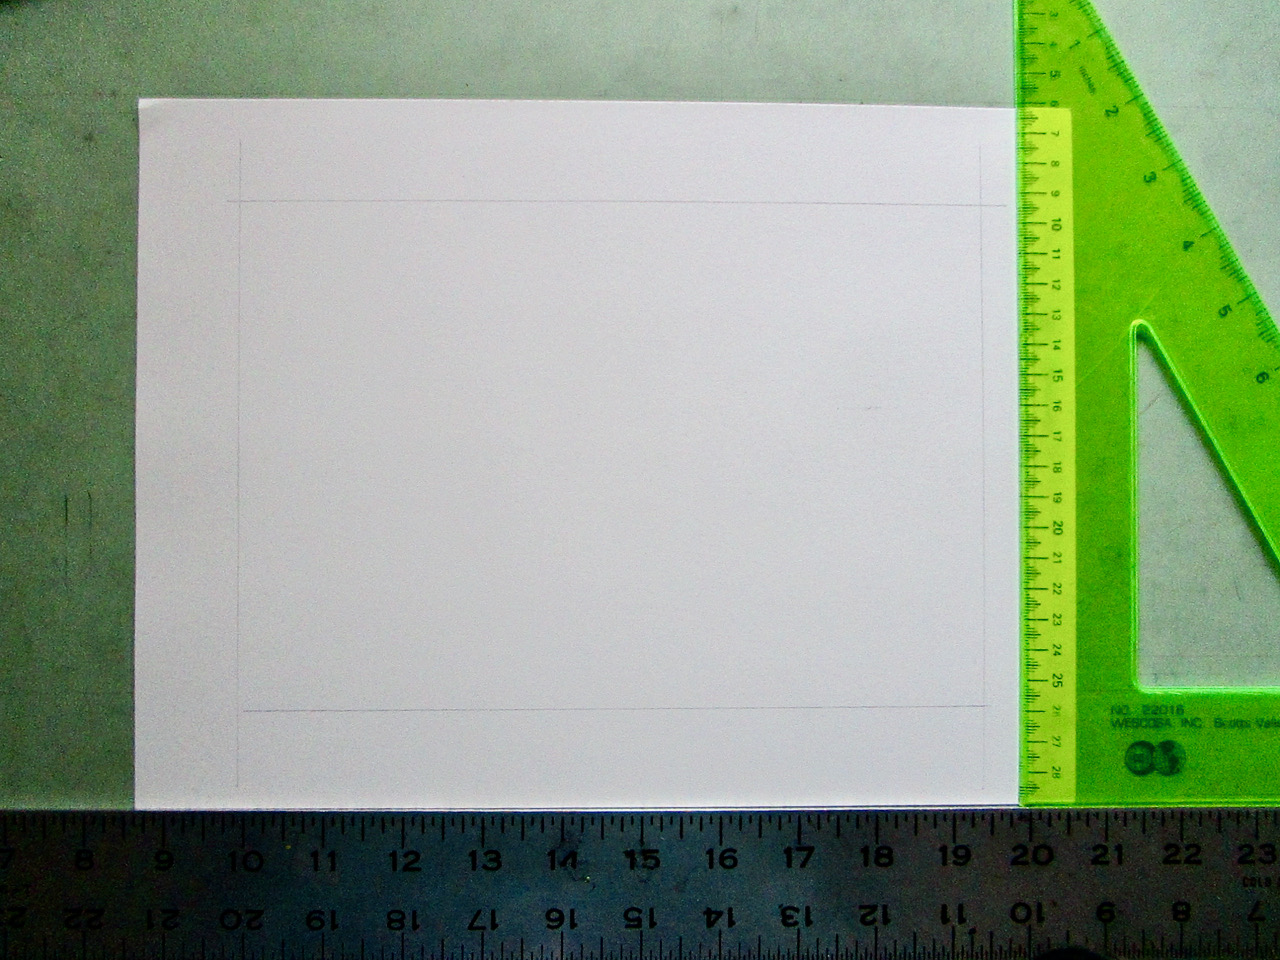
Step three: draw the borders, making a size that is proportional to the photo. Measure, use math, eyeball it—whatever works best for you. I measure and use tools. It is always best to have margins, so you don’t view the edge of your paper as the edge of your drawing. If you misjudge sizes while drawing, this will give your drawing room to grow. It also prevents a signing or framing problem, should you decide to get it framed. I draw the border with a sharp point on an HB, using a very light touch. I might want to move the border later, draw exactly up to it, or draw over it without it showing through.
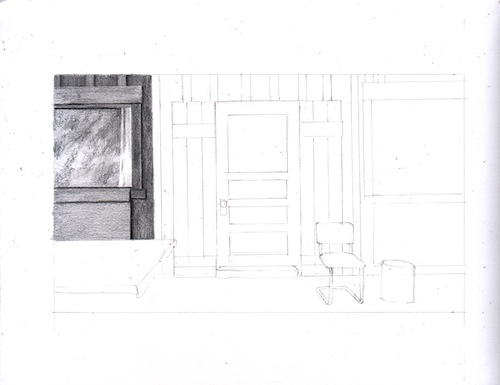
Step four: Start figuring out where things are going to go. Look for the main items, in this case, the door and the chair. Draw very very lightly. My lines barely show, so I darkened the lines (just on the photo using my scanner) in order for you to see them.
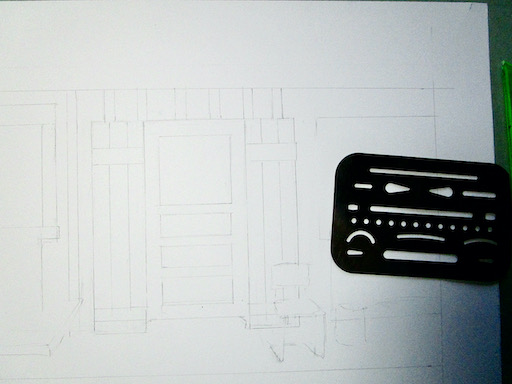
DISCLAIMER: I chose to alter the picture, to appear as if we are looking straight on the scene rather than from an angle. In most pictures, vertical is always vertical. It is the horizontal surfaces and lines and edges that disappear off toward vanishing points. However, I decided to keep the horizontals and verticals all true to a straight on view rather than slightly angled, as the photo shows. THIS IS REALLY HARD TO DO WHEN YOU ARE STARTING OUT, so you will have less trouble if you just stick to the photo.

Tomorrow: the next steps.

Drawing is a Skill

Drawing is a skill, not a talent. It is like typing: anyone can learn to type. Some will type 25 words per minute, some will type 60, and some whizkids will type 90 wpm. All of them are typing. Those who get the great speed and accuracy probably have some innate talent, or perhaps they work more at it because they enjoy it more. Maybe they enjoy it more because they work harder at it.

The skill of drawing is a mechanical ability to put on paper exactly what you see, or exactly what you mean to put on paper. It is not artistic at that point—it is mechanical, methodical, painstaking, and systematic.

Once you know how to evaluate what you are seeing, break it down into its foundational parts, divide up the visual parts in a manageable way, and most importantly, see accurately, then the artistic parts come into play.


The only people who don’t learn are the ones who quit too soon. If you don’t enjoy the process, don’t truly want the product, and don’t push through the difficulties, then you won’t learn.

No blame, no judgement. Drawing isn’t for everyone, just as sports are not for me, and knitting, gardening, or baking bread may not be for you.

But you won’t know unless you try.

Here are some links to previous posts about lessons:

Drawing Lessons are for Learning to Draw

More on Drawing Lessons

Drawing Lessons

Drawing Lessons Begin

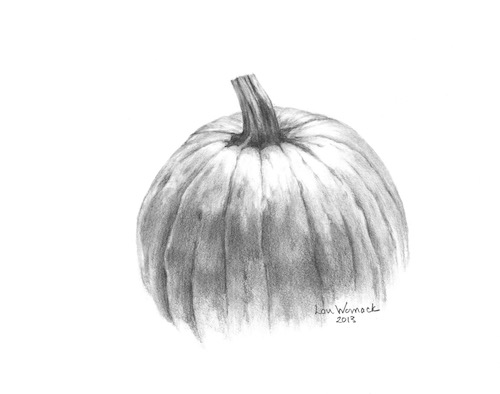
P.S All of today’s drawings are by my drawing students.

Electronic Drawing Lesson with Buck

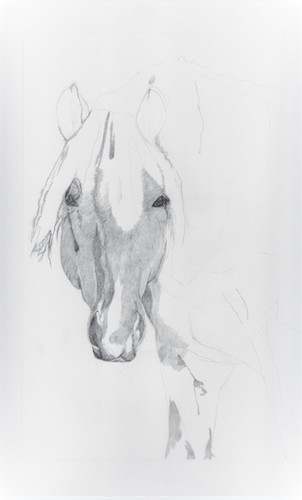
Remember my drawing student, C? She and I have been doing drawing lessons through email since last year. I haven’t updated you on her pencil drawing of a horse named Buck, whom I referred to for awhile as Mr. Curly.  I have been posting about other things, while C has been working diligently.

The last time I showed you:


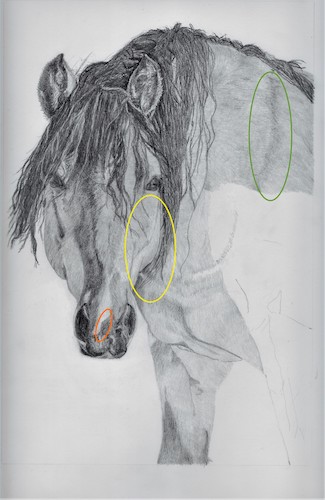
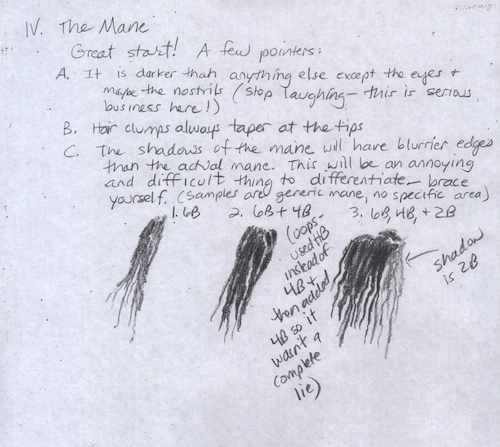
The mane is looking great. She has now begun “undercoating”, just laying down pencil for a base coat while she waits for me to tell her something helpful. I actually had very little to say because she is doing a great job on her own.

This is what I told her:

1. Yellow: the cheek sticks out a bit too far. I noticed because his face seems noticeably curvy in your drawing. This made me check the photo, and when I put a box around the area on the drawing and one around it on the photo, I could see the drawing had a wider box. Just carve off a little of the cheek by widening the mane on the right side of the cheek. A fraction ought to do the trick.
 
2. Orange: blur the edge between the dark and the light of this area so it looks like something is changing color instead of being 2 separate pieces ofnthe face/nose.
 
3.  Green: Obviously you aren’t finished with this yet so this is just a heads-up to be sure to have the dark parts of the coat much darker than the bright-light parts. There is a ton of contrast in the photo, which is part of the appeal.
 
GOLD STAR FOR YOU!! 
 
Here is her original photo so you can see what I am referring to:

And if you would like to see the previous posts about virtual drawing lessons with C, here is the list. (Each link will open in a separate tab so you don’t lose this page.)

Previous Lessons

The beginning

Lesson 2

Mr. Curly Becomes Buck (lesson 3)

Lessons via email (lesson 4)

Soldiering on (lesson 5)

It is possible I missed a link to a post; it is more possible that I just didn’t keep you all current.

Soldiering on with Drawing Lessons via Email

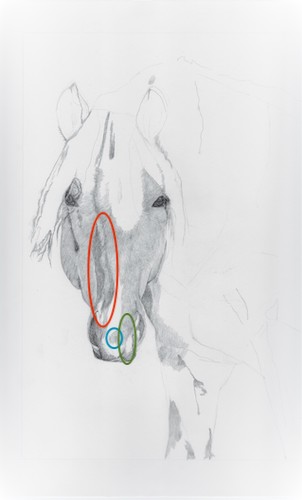
C sent me this, requesting help with some specific areas.Oh how I wish we were together in person! But my o-so-wise dad taught me this: “If you put a wish in one hand and spit in the other, which hand actually contains something?” So we shall soldier on.

First, I did this:

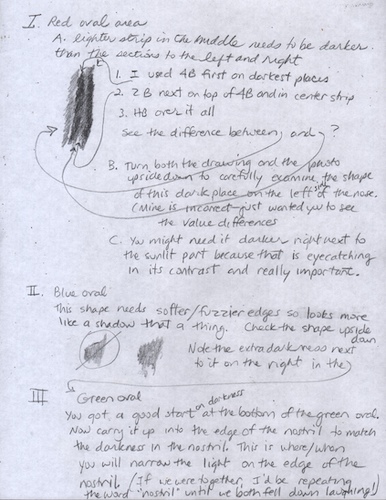
Then I wrote up these notes:

P.S. It costs a fortune to have a transplant, and while insurance covers much, there is much more that it does not cover. If you feel generous and inclined to help my friend, Rachelle, this is the best way to do so: HelpHopeLive.Org